How to Draw a Sunflower Step by Step for Beginners

Have you ever wanted to create a sunflower drawing but weren’t sure how to begin? Don’t worry—you’ve come to the right place! This simple tutorial is designed for beginners like you. With just a pencil and paper, you’ll be able to craft a beautiful sunflower drawing step by step. Let’s dive in and let your creativity shine!
Materials for Sunflower Drawing
Before you dive into drawing, it’s important to gather the right materials. Having the right tools makes the process smoother and more enjoyable. Let’s take a look at what you’ll need.
Essential tools: pencil, eraser, and paper
To start, you’ll need just three basic items: a pencil, an eraser, and some paper. These simple tools are the foundation of any great sunflower drawing.
Pencil: A graphite pencil is your best friend here. Use an HB pencil for light sketching and a 6B pencil for shading. These give you control over your lines and help you create depth in your drawing.
Eraser: Don’t think of an eraser as just a mistake-fixer. It’s also a creative tool! You can use it to add highlights or create texture in your sunflower’s petals and leaves.
Paper: The type of paper you choose matters. Thicker paper works well for shading and layering, while smoother paper is great for clean, crisp lines. Experiment with different types to see what suits your style.
Pro Tip: Keep your pencil strokes light at first. This makes it easier to erase and adjust as you go.
Optional tools: colored pencils, markers, or shading tools
Want to take your sunflower drawing to the next level? Adding color or shading can make your artwork pop! Here are some optional tools to consider:
Colored pencils: These are perfect for adding vibrant yellows, greens, and browns to your sunflower. Layering colors can also create a more realistic look.
Markers: If you prefer bold and bright colors, markers are a great choice. They’re especially fun for creating a cartoonish or modern style.
Shading tools: Blending stumps or tortillons can help you smooth out pencil shading and add depth to your drawing. They’re great for creating realistic shadows on the petals and leaves.
With these tools in hand, you’re ready to learn how to draw sunflowers. Follow the step by step instructions in the next section, and you’ll see how easy and fun it can be to create your own sunflower masterpiece!
Step-by-Step Guide to How to Draw a Sunflower
Step 1: Start with the sunflower’s center (draw two circles)

Begin by drawing two circles in the middle of your paper. The inner circle represents the sunflower’s core, while the outer circle marks the boundary for the petals. Keep the circles light and neat so you can adjust them later if needed. This step sets the foundation for your sunflower drawing.
Tip: Use a compass or trace a round object if you want perfectly shaped circles.
Step 2: Add texture to the center (tiny circles or dots)

Inside the smaller circle, add texture by filling it with tiny circles or dots. These represent the sunflower’s seeds. You don’t need to make them perfect—just scatter them naturally. This detail brings your sunflower to life and makes it look more realistic.
Step 3: Draw the first layer of petals (teardrop shapes around the outer circle)

Now, it’s time to draw the first layer of petals. Start at the edge of the outer circle and sketch teardrop shapes all the way around. Make sure the petals are evenly spaced and point outward. This outer layer of petals forms the sunflower’s iconic look.
Pro Tip: Vary the size of the petals slightly to give your sunflower a more natural appearance.
Step 4: Add a second layer of petals (overlapping the first layer)
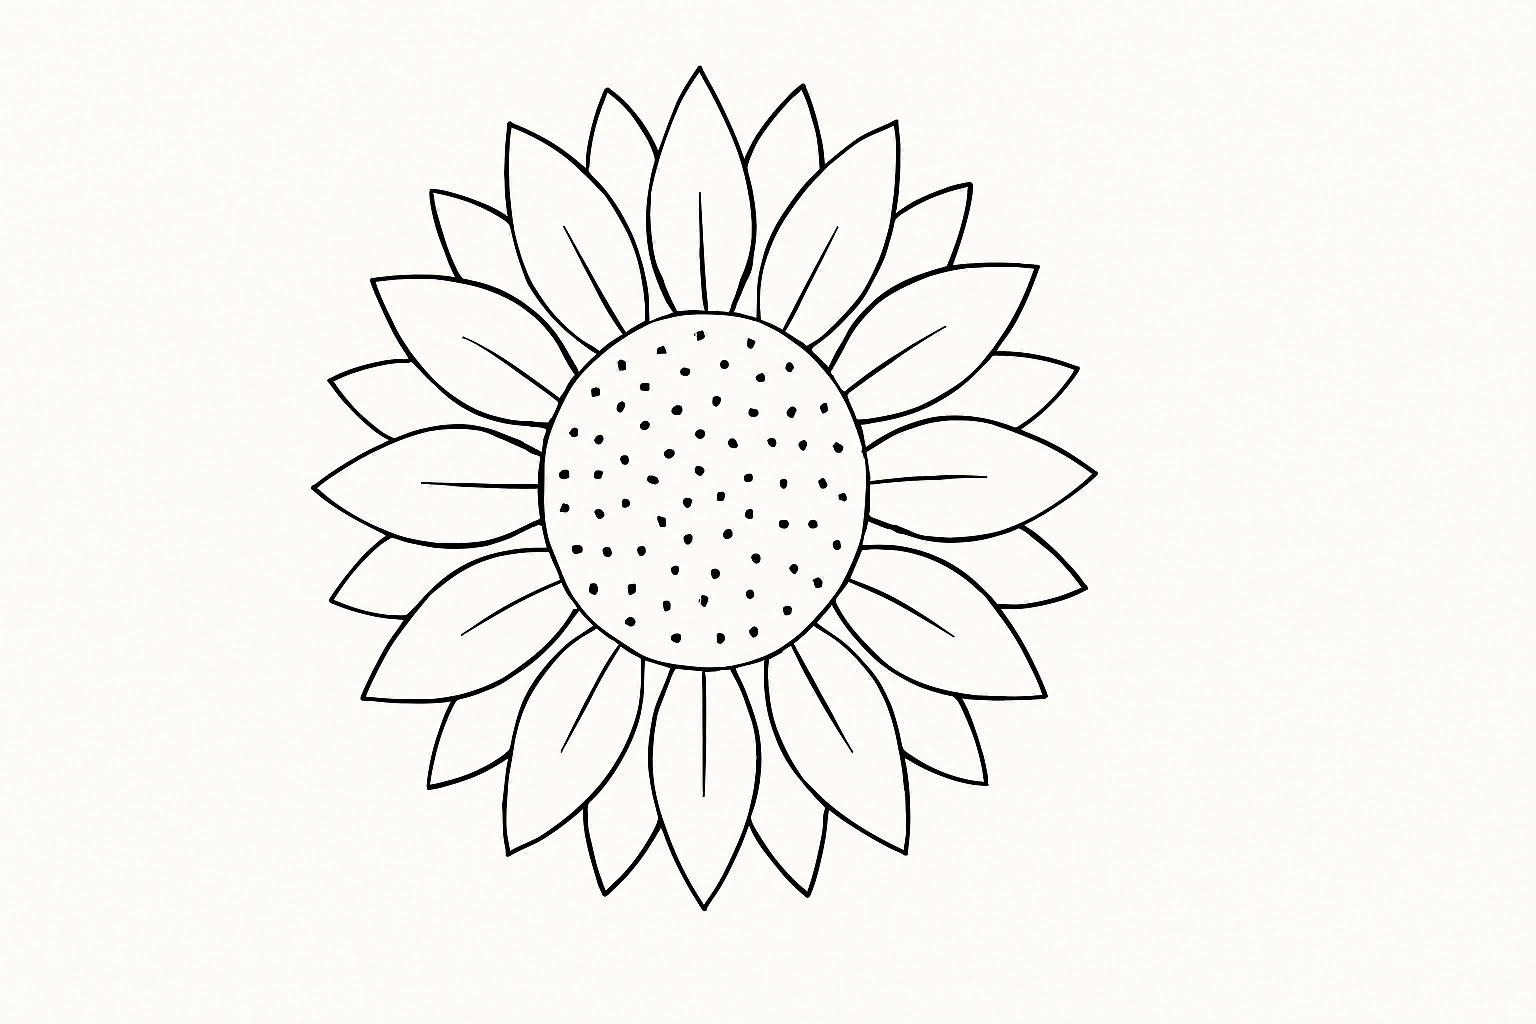
To make your sunflower fuller, add a second layer of petals behind the first. Draw these petals in the spaces between the first layer, overlapping them slightly. This step creates depth and makes your sunflower look more vibrant.
Step 5: Sketch the stem and leaves (simple lines and shapes)

Draw a straight line extending downward from the center of the flower to create the stem. Then, add two or three leaves on either side of the stem using simple oval or heart-shaped outlines. Research shows that adding veins to the leaves enhances their natural look, so don’t forget to include those details.
Step 6: Enhance the drawing with details (veins, shading, or texture)

Finally, bring your sunflower to life by adding details. Shade the petals lightly to show depth, and add veins to the leaves for a realistic touch. You can also darken the center or add more texture to make it stand out. These finishing touches make your sunflower drawing truly unique.
Why it works: Breaking the process into manageable steps helps you focus on each part of the sunflower. Overlapping petals and adding texture are key techniques for creating a natural look.
Tips for How to Draw Sunflowers
Keep pencil strokes light for easy changes
Start your sunflower drawing with soft pencil strokes. This makes it simple to erase and fix mistakes. Light strokes are helpful for sketching petals or the sunflower’s center. Pressing too hard can make errors harder to correct. Take your time and let the pencil move gently on the paper.
Tip: Use a kneaded eraser to lift pencil marks without smudging.
Pay attention to natural shapes and balance
Sunflowers are famous for their balanced look. To draw this, focus on the petal shapes and spacing. When sketching the first layer of petals, try to space them evenly. Don’t stress if they’re not perfect—nature isn’t perfect either! Aim for a natural and balanced appearance.
Practice drawing petals and leaves separately
If certain parts are tricky, practice them alone first. For example, draw a few petals by themselves before adding them to your sunflower. Work on the teardrop shape of petals or the veins in leaves. Practicing these details will make your sunflower look better overall.
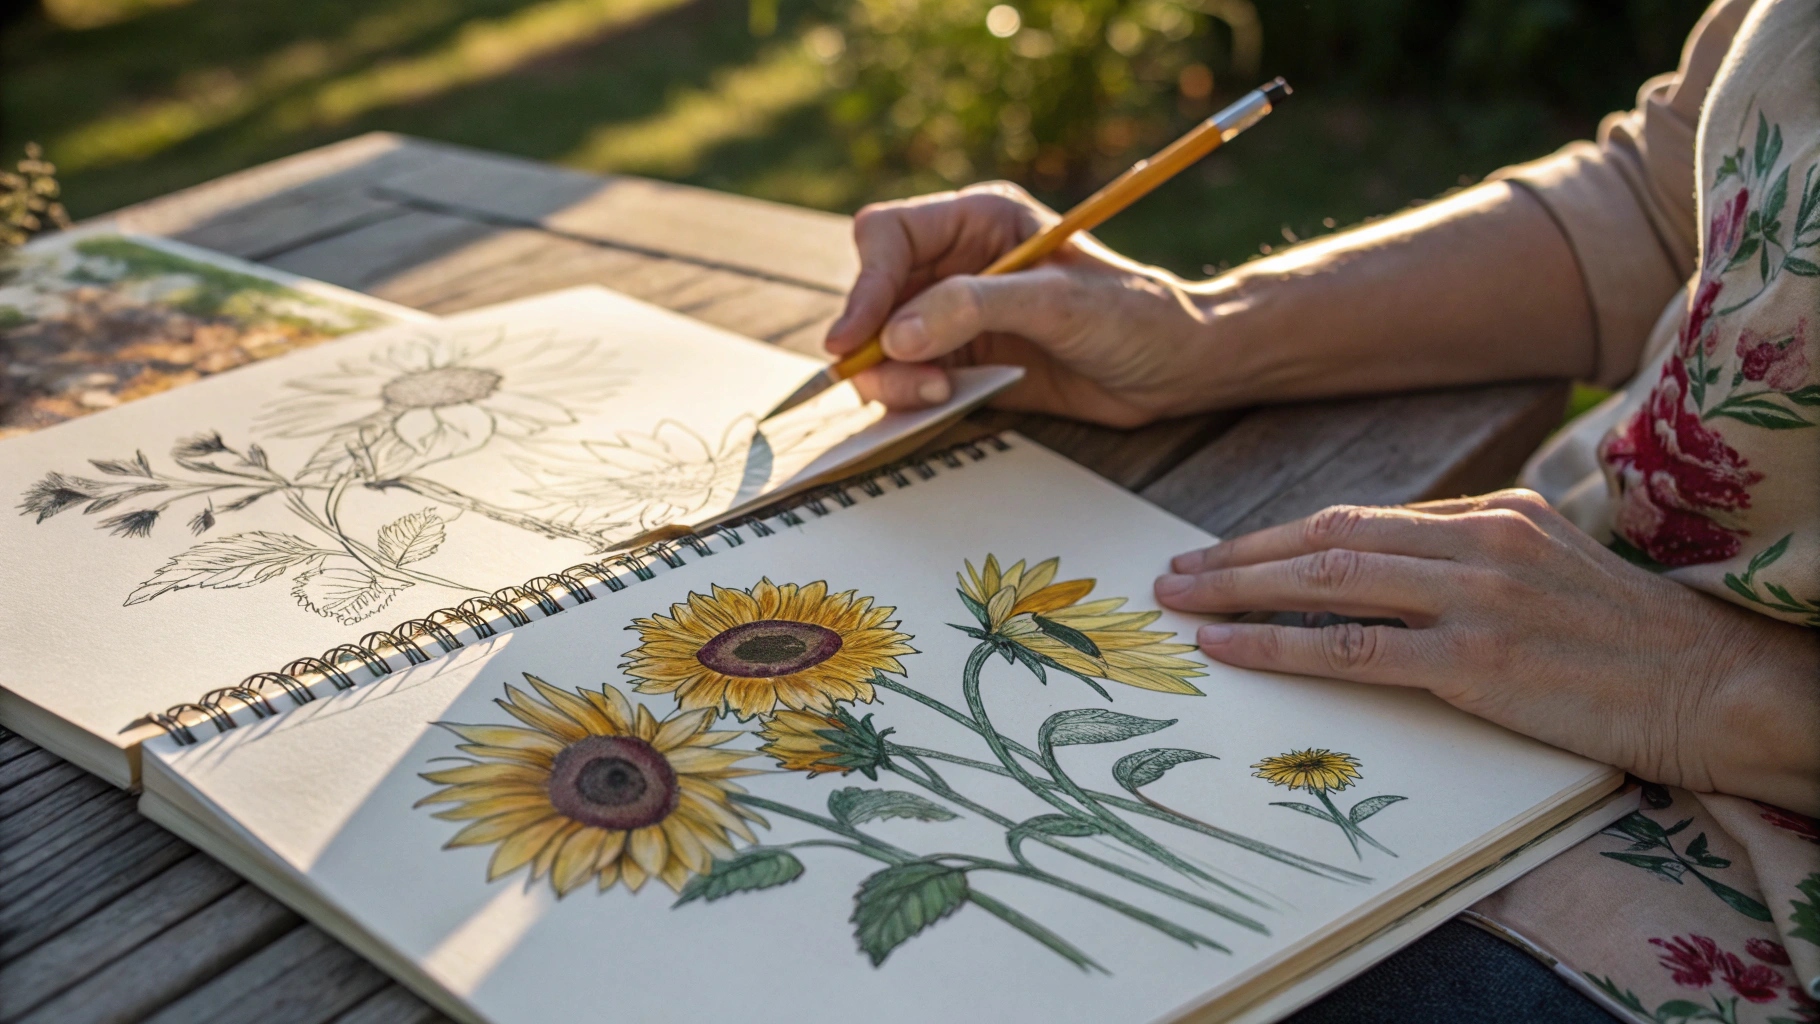
Use real sunflowers or pictures for ideas
Looking at real sunflowers or photos can help you understand their design. Notice how petals overlap or how leaves bend. References can also inspire you to try new styles, like realistic or playful sunflowers. Studying these details will improve your sunflower drawings.
Pro Tip: Keep sunflower pictures nearby while drawing. They’ll help with shapes and details.
Optional Enhancements for Your Sunflower Drawing
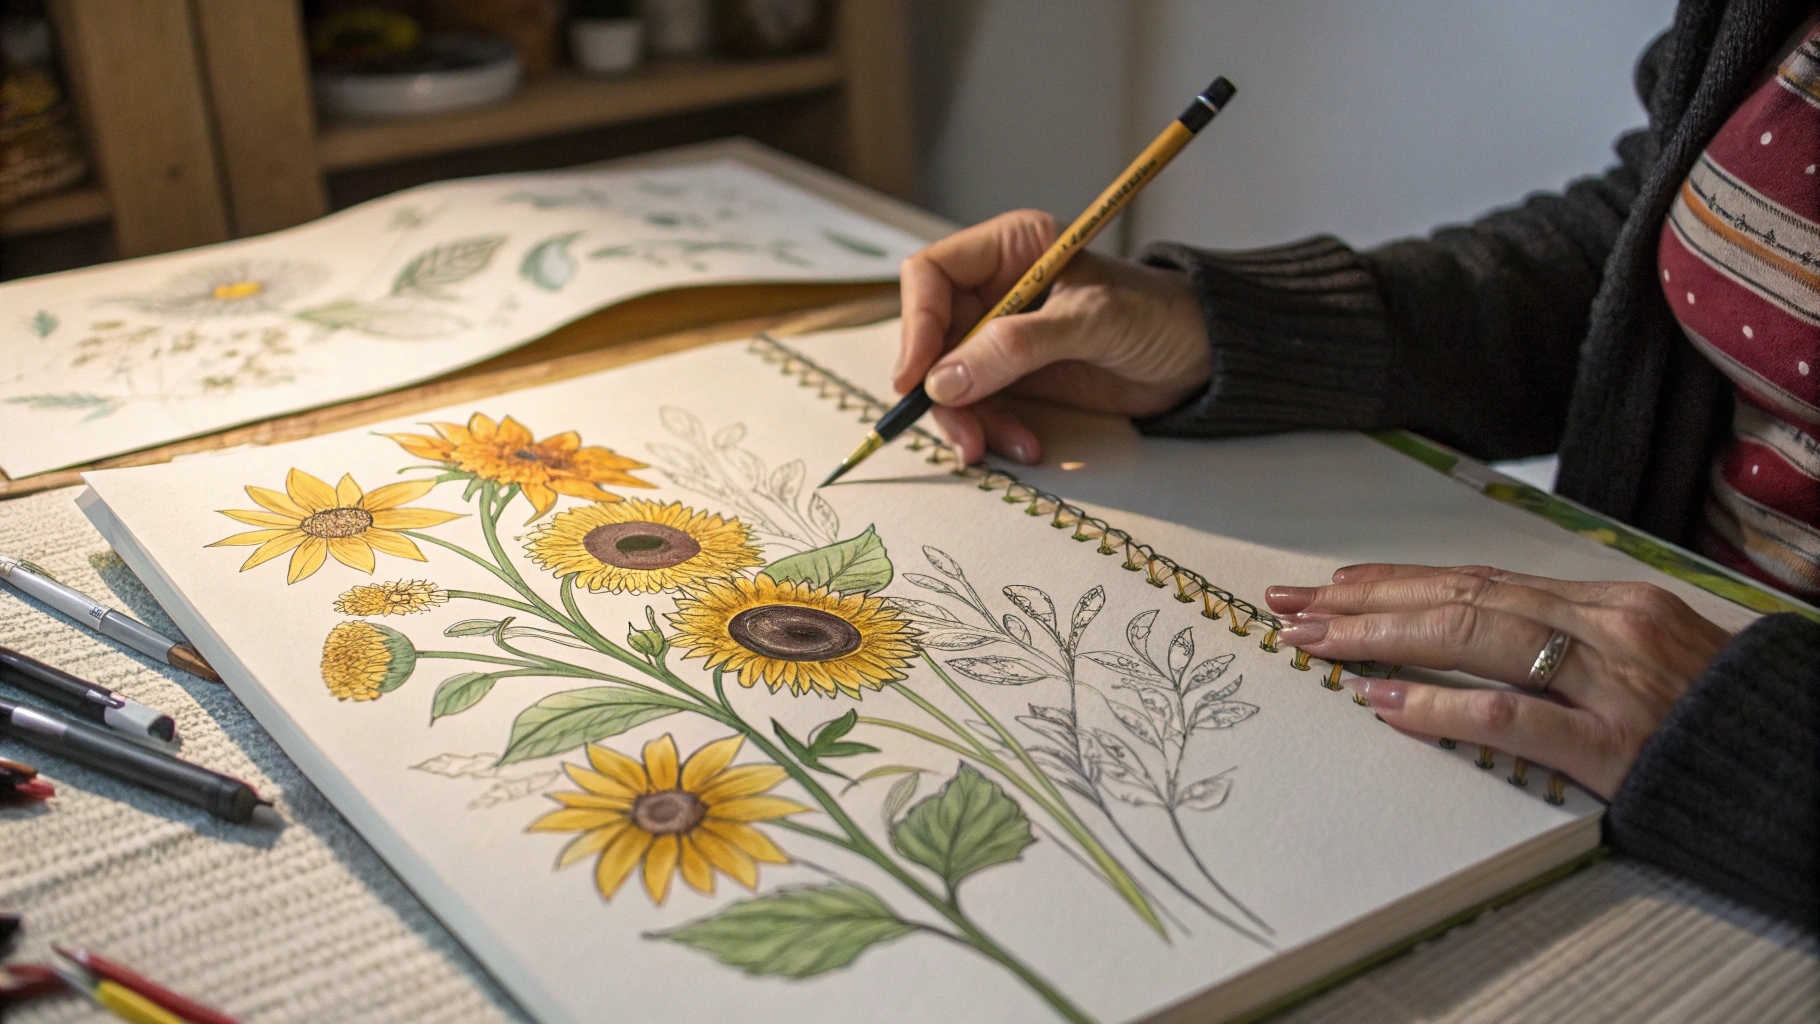
Add color with pencils or markers
Adding color is one of the easiest ways to make your sunflower drawing stand out. Grab some colored pencils or markers and bring your sunflower to life with vibrant yellows, oranges, and greens. Start by coloring the petals with a bright yellow, then layer in some orange near the base for a natural gradient. For the center, use shades of brown to mimic the sunflower’s seeds. Don’t forget the stem and leaves—green tones will complete the look.
If you’re using markers, try blending two shades together for a smooth transition. For example, use a lighter green for the edges of the leaves and a darker green for the veins. This small detail can make your sunflower drawing pop!
Tip: Test your colors on a scrap piece of paper first to see how they look together.
Experiment with shading for depth and dimension
Shading can take your sunflower drawing to the next level. Use a soft pencil, like a 2B or 4B, to add shadows to the petals and leaves. Focus on areas where the petals overlap or where the leaves curl. This creates a sense of depth and makes your drawing look more realistic.
For a smoother effect, use a blending stump or your finger to soften the pencil marks. You can also use an eraser to lighten certain areas, creating highlights. Shading doesn’t have to be perfect—just experiment and see what works for your style.
Why it matters: Shading adds dimension and makes your sunflower drawing feel more dynamic.
Try different styles, such as cartoonish or realistic sunflowers
Your sunflower drawing doesn’t have to look like a photograph. Experiment with different styles to find what you enjoy most. For a cartoonish look, use bold outlines and bright, solid colors. Keep the shapes simple and playful.
If you prefer a realistic style, focus on details like the texture of the petals and the veins in the leaves. Use references, like photos or real sunflowers, to capture their natural beauty. You can even try a mix of styles—combine realistic shading with a fun, colorful background.
Pro Tip: Trying new styles keeps your sunflower drawing exciting and helps you grow as an artist.
Creating sunflowers step by step is enjoyable and satisfying. Don’t worry about making it perfect—just have fun and be creative. The more you practice, the better you’ll get quickly. Be proud of every sunflower you finish, whether it’s detailed or simple. Keep trying new things, and maybe you’ll explore acrylic painting someday!
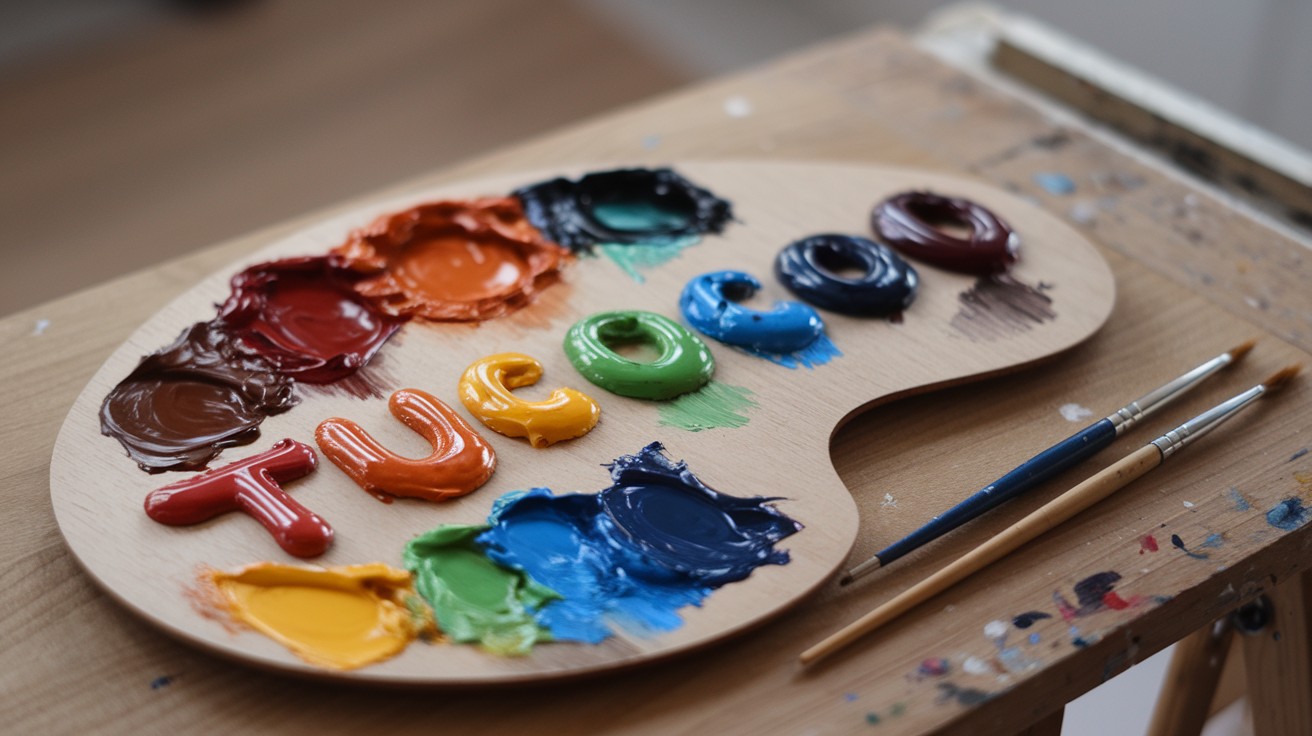
Tucocoo Flowers Paint by Numbers