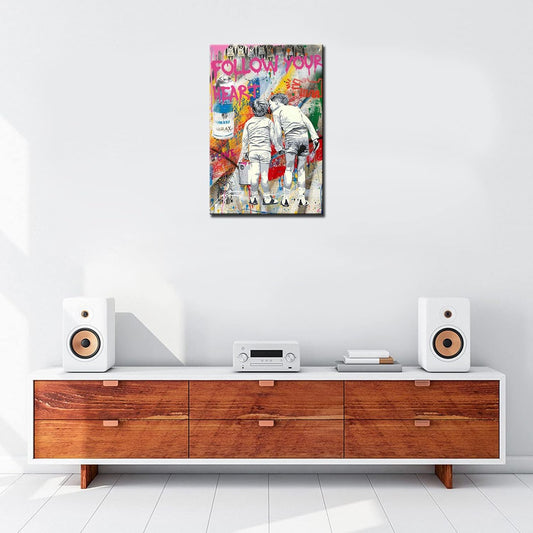
How to Paint Your First Fairy Art Masterpiece for Beginners

You can create beautiful fairy art, even if you’ve never picked up a paintbrush before. Imagine painting a cute mushroom fairy using just a few colors and some simple steps. Acrylic paints make it easy for any beginner to learn how to paint magical fairy art scenes. Let your imagination guide you. Don’t stress about perfection. Enjoy the sparkle and wonder that fairy art brings to your day! ✨
Key Takeaways
Start with a small set of beginner-friendly acrylic paints and a few synthetic brushes to keep painting simple and fun.
Sketch your fairy lightly, then build your painting in layers from light to thick paint to create depth and vibrant colors.
Add details with a small brush and finish with sparkle effects like glitter or special paints to make your fairy art magical.
Take good care of your brushes and fix mistakes by painting over them once dry; acrylic paint is forgiving and easy to work with.
Stay motivated by setting small goals, sharing your art with others, and joining art communities to learn and grow.
Materials
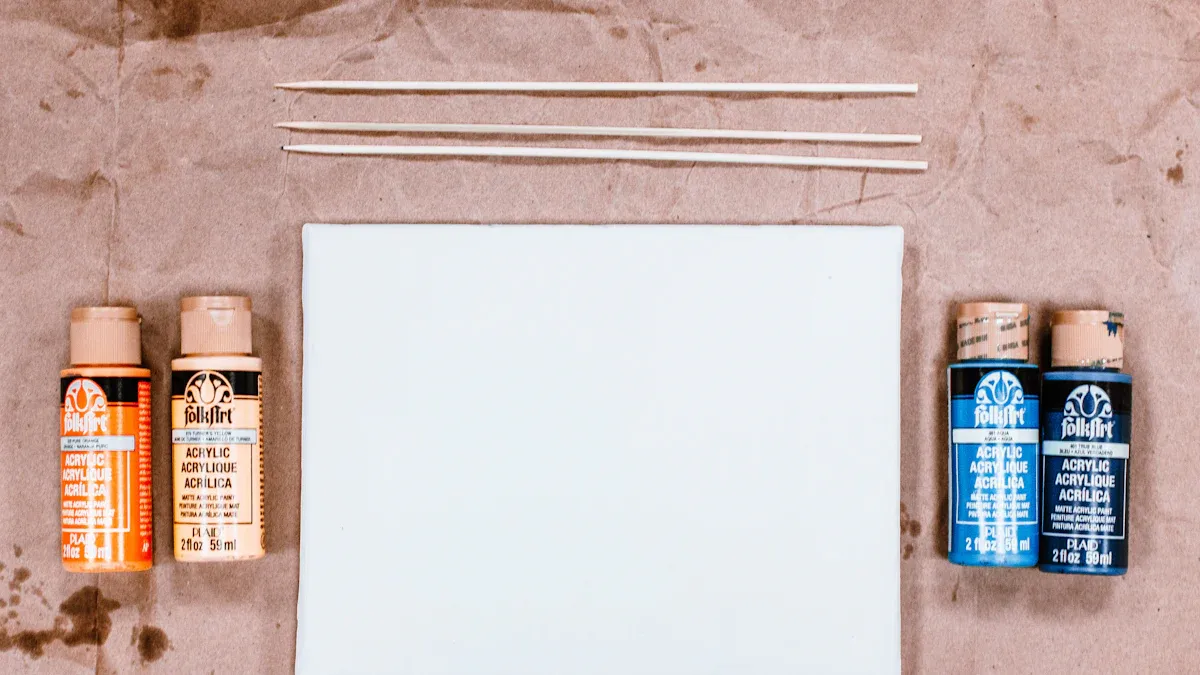
Paint Colors
Choosing the right paint colors makes your fairy art pop with magic. You do not need a huge set to start. A limited palette helps you learn color mixing and keeps things simple. Here’s a handy table of beginner-friendly acrylic colors:
Color Category |
Recommended Colors |
|---|---|
Yellows |
Cadmium Yellow Medium, Yellow Ochre |
Reds |
Cadmium Red Medium, Quinacridone Magenta |
Blues & Greens |
Phthalo Blue, Ultramarine Blue, Phthalo Green |
Purples |
Dioxazine Purple |
Earth Tones |
Burnt Sienna, Burnt Umber |
Whites & Blacks |
Titanium White, Mars Black |
Metallics |
Gold metallic paint |
Tip: Using fewer colors helps you create harmony in your painting. You will also get better at mixing your own shades, which is a key skill in any acrylic painting lesson.
Brushes
You do not need a giant brush set for your first painting. Synthetic brushes work best with acrylics because they last longer and hold paint well. Try these types:
Filbert brush (medium size): Great for blending and blocking in shapes.
Round brush (small): Perfect for details like fairy wings and tiny flowers.
Flat brush: Helps you fill in large areas quickly.
Pick a few sizes to cover both big spaces and fine details. You will find painting much easier with the right brush for each step.
Surfaces
You can paint fairy art on different surfaces, but pre-gessoed canvas and canvas boards are the most popular for beginners. They come ready to use and make painting less stressful.
Surface Type |
Size (inches) |
Features |
|---|---|---|
Pre-gessoed canvas |
16 x 20 |
Ready to use, sturdy |
Canvas board |
9 x 12 |
Portable, beginner-friendly |
Note: Priming your surface with a base color, like a soft blue or green, can set the mood for your fairy scene.
Paint by Numbers
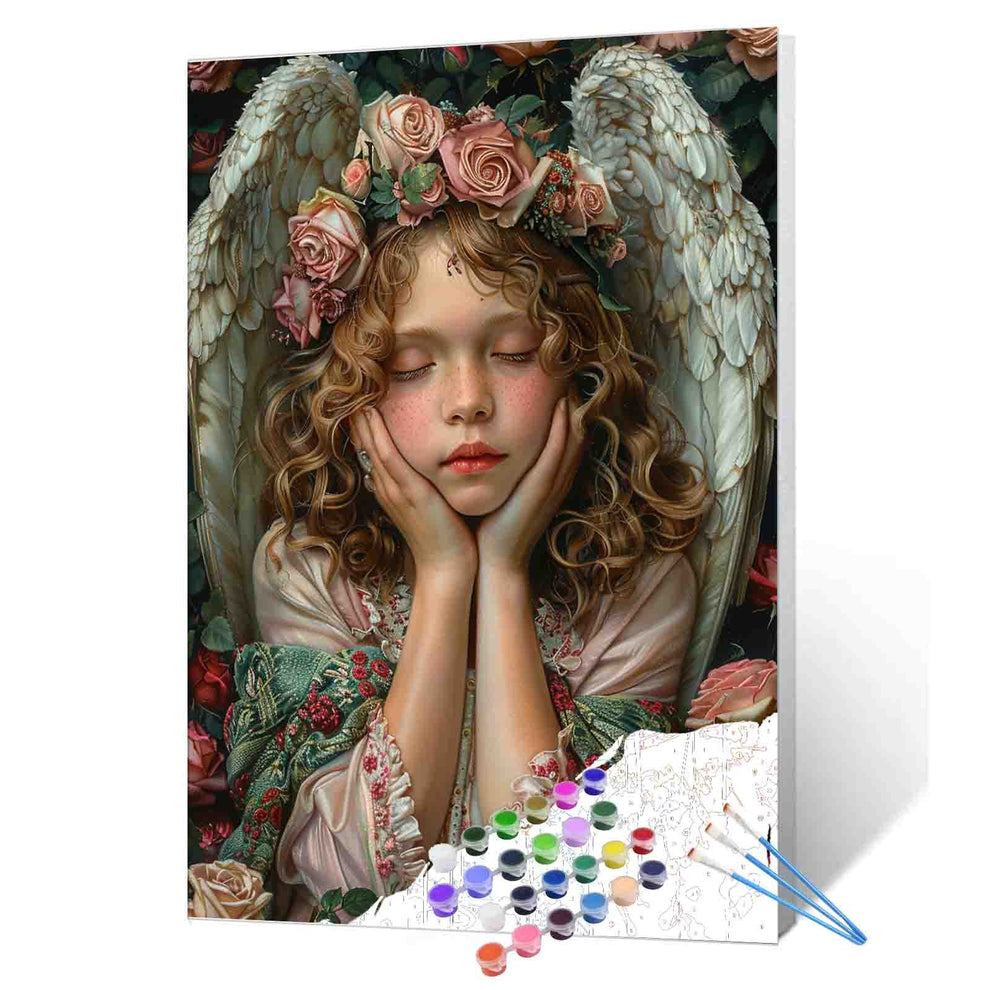
Paint by Numbers kits make a beginner how to paint project much easier. These kits give you a canvas with outlines and numbers. Each number matches a paint color, so you know exactly where to put each shade. You do not have to worry about mixing colors or drawing the fairy yourself. This guided approach helps you build confidence and enjoy the process. Many people find Paint by Numbers relaxing and a great way to start their acrylic painting journey.
Fairy Art Steps
Sketching
Start your fairy art with a simple sketch. Use a pencil to draw basic shapes. Ovals and circles work well for the head and body. Lightly sketch the wings, arms, and legs. You do not need to make it perfect. If you want to paint a cute mushroom fairy, sketch a mushroom cap for a hat and add small details like leaves or flowers.
Tip: Reference images help you get the pose and anatomy right. You can find fairy poses and wing ideas on sites like PoseMy.Art. They even have a free posing app, so you can create your own fairy pose. Looking at real people or other fairy drawings can also help you understand how to draw arms, legs, and wings.
Base Layer
Once you finish your sketch, paint a base layer. This first layer sets the mood for your painting. Pick a color that matches the feeling you want. For a spring scene, use a cool green or soft blue. For a magical night, try a deep purple or navy. Use a flat brush to cover the background and let it dry before moving on.
Note: You can prime your canvas with this base color. It helps your fairy art look more vibrant and makes the next layers easier to paint.
Layering
Now you can start building up your painting. Begin with broad areas of color. Paint the background, the fairy’s dress, and the mushroom cap. Use a filbert or flat brush for these bigger shapes. Let each layer dry before adding the next. This keeps your colors clean and bright.
Artists often use a layering method that goes from thin to thick paint. Think of it like making tea, coffee, milk, cream, and butter. Start with watery, see-through paint (like tea). Add thicker, more solid paint (like cream or butter) as you go. This helps you create depth and makes your fairy art pop. Wait for each layer to dry before adding more. This way, your painting will not get muddy.
Details
When your main shapes look good, switch to a smaller round brush. Add details like the fairy’s face, hands, and wings. Paint tiny flowers, leaves, or glowing lights around your fairy. If you want your fairy to look more real, use reference images for anatomy and poses. PoseMy.Art has special fairy and wing references. You can also try different poses, like flying, sitting, or dancing.
Many artists find inspiration in fairy tales, nature, and even the stars. You can add flowers, leaves, or even a moon to your scene. Try mixing styles, like classic storybook or modern fantasy, to make your fairy art unique.
Sparkle Effects
The last step is adding magic! Use special paints and powders to make your fairy art sparkle. Fairy Dust acrylic paint gives a blue to purple shimmer, especially on dark backgrounds. Holographic mica powders add a shiny, magical look. Bliss Drops are puffy paints that work well for dots and highlights. You can also use Gloosh with mica powders for extra sparkle.
Tip: Dab a little glitter paint on the wings or around glowing lights. This makes your fairy art look magical and fun.
Now your painting shines with color and sparkle. You have created your own cute mushroom fairy or any magical scene you imagined!
Tips for Beginners

Color Mixing
Mixing colors can feel tricky at first, but you will get the hang of it with practice. Here are some easy tips to help you:
Start with lighter colors and slowly add darker ones. This helps you avoid making your mix too dark.
Use titanium white to lighten your colors and make them more opaque.
Skip black paint for darkening. Try using dark blue or brown instead. This keeps your colors bright and lively.
Add a little fluorescent pink if your mix looks dull. It can make your colors pop!
Mix primary colors carefully to create new shades. For example, yellow and fluorescent pink make a bright orange.
Place your primary colors on your palette with titanium white in the center. This makes mixing easier.
Use a brush or palette knife—whichever feels best for you.
Tip: Acrylic paints dry a bit darker than they look when wet. Mix your colors a little lighter than you want them to be.
Brush Care
Taking care of your brushes keeps them working well for every acrylic painting lesson. Follow these steps:
Rinse your brushes right after you finish painting. Use warm (not hot) water and mild soap.
Gently remove all the paint. Don’t scrub too hard.
Reshape the bristles while they are still wet.
Lay your brushes flat or hang them with the bristles down to dry.
If paint dries on your brush, soak it in warm soapy water for 10-15 minutes. Use a fine-toothed comb to get out stubborn paint.
Avoid letting paint dry on your brushes or using harsh chemicals.
Note: Regular cleaning and gentle handling help your brushes last much longer.
Fixing Mistakes
Everyone makes mistakes, even experienced artists. Acrylic paint is very forgiving, so you can fix most problems:
If you use the wrong color, let it dry and paint over it with thin layers.
For big mistakes, you can apply a fresh coat of gesso and start again.
Wait for each layer to dry before adding more paint. This keeps your colors clean and prevents smudging.
If you overwork an area, take a break. Look at your painting with fresh eyes before fixing it.
Use acrylic mediums instead of too much water to thin your paint. This keeps your colors strong.
Tip: Don’t worry about being perfect. Every mistake is a chance to learn something new.
Staying Motivated
Staying excited about your art helps you improve. Here are some ways to keep going:
Break your painting into small steps. Set daily goals or use a timer to stay on track.
Choose fairy themes you love. Painting what excites you makes the process more fun.
Keep your supplies organized and ready to use. This makes it easier to start painting anytime.
Celebrate your progress, even small wins. Take photos of your work and notice how you improve.
Try short challenges, like painting for 15 minutes a day or finishing one piece each week.
Share your art with friends or join an online group for support and feedback.
Remember: Every painting is a step forward. Enjoy the journey and let your creativity shine! 🌟
Community & Sharing

Sharing Art
You just finished your fairy painting—now what? Take a photo of your masterpiece and share it online! Posting your art on social media lets you show your work to people all over the world. You can find fans who love your style and connect with other fairy art lovers. Sharing your journey, including your wins and mistakes, helps you grow as an artist.
You get free marketing for your art.
You can meet people who enjoy your unique style.
You find inspiration and new ideas from artists everywhere.
Sharing your progress helps you feel proud and motivated.
Tip: Set limits for your online time. Enjoy sharing, but save time for painting, too!
Looking at art online can also boost your mood and spark creativity. You might feel happier and more inspired after seeing what others create.
Art Communities
You do not have to paint alone. Join art communities or watch live painting lessons, like those from The Art Sherpa. These groups give you feedback and support. You can ask questions, share tips, and learn new tricks.
Get helpful advice from other artists.
Share your ideas and learn from others.
Find friends who love fairy art as much as you do.
Grow your skills and discover your own style.
Note: Being part of a group makes painting more fun and helps you keep learning.
Next Projects
Ready for your next fairy adventure? Try new projects to build your skills. You can scan your sketches, print them larger, or paint on different surfaces. Practice layering colors, adding details, and playing with light and shadow.
Here are some fun ideas for your next fairy art:
Paint a fairy garden with tiny doors and magical plants.
Use natural items like pine cones, moss, or shells in your art.
Make a fairy house or a secret garden scene.
Try painting roses, leaves, or stones using layering and washes.
Add whimsical accessories, like miniature garden tools or fairy baths.
Let your imagination lead the way. Each project helps you learn and brings more magic to your art! ✨
You finished your first fairy art masterpiece—be proud of yourself! 🎉 Every brushstroke, even tiny ones, helps you get better. Celebrate your progress to feel more confident and stay excited. Practicing often helps you learn new skills and find your style. Share your art with others and join creative groups for support and ideas. Painting fairies is fun, helps you relax, and lets your imagination show. Keep making art and let fairy magic make your world brighter!
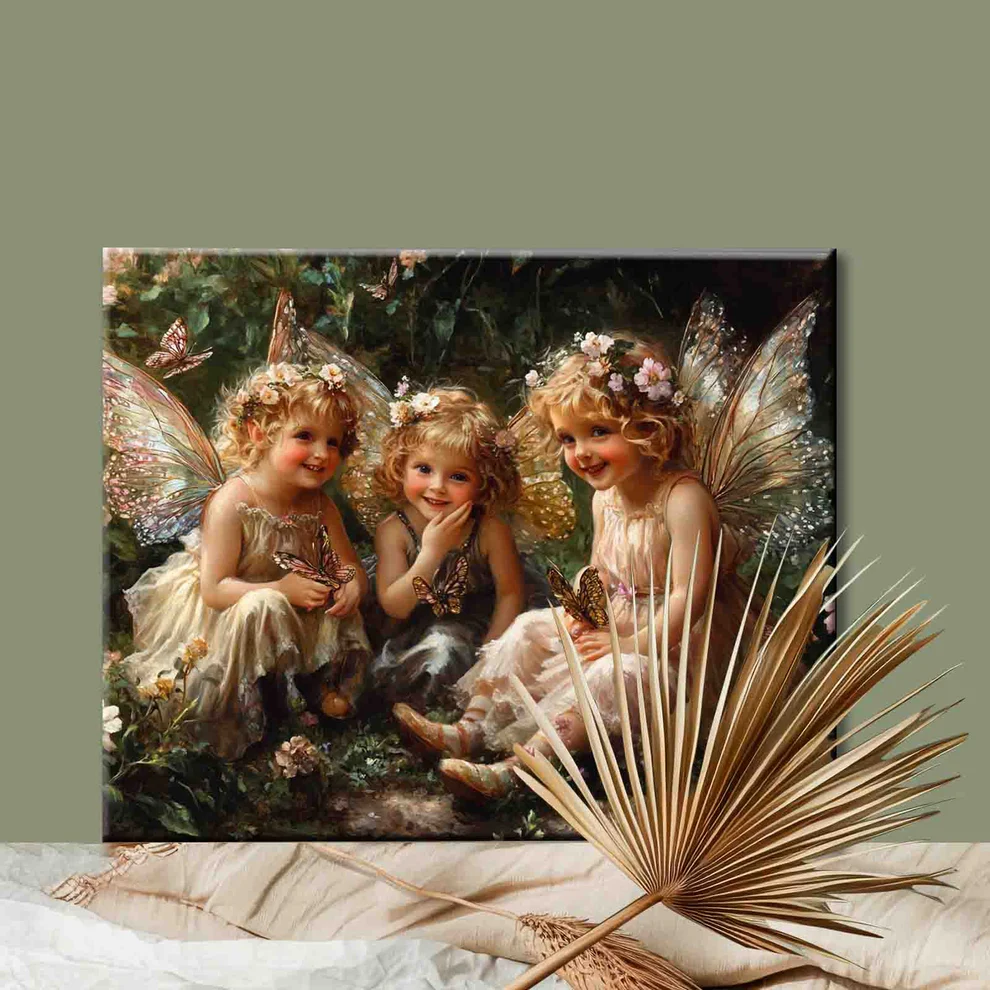
Tucocoo Fairy Paint by Numbers
FAQ
How do I keep my fairy painting from looking flat?
Try adding layers of color. Start with light shades, then add darker ones for shadows. Highlights make wings and faces pop. Use a small brush for details. You can also add sparkle paint for extra magic!
Tip: Look at your painting from far away to spot flat areas.
What if I mess up my fairy drawing?
Don’t worry! Acrylic paint lets you fix mistakes. Let the paint dry, then paint over the area with a new color. You can also use a little gesso to cover big errors. Every artist makes mistakes—just keep going!
Can I use watercolor paper for acrylic fairy art?
Yes, you can! Pick thick watercolor paper (at least 140 lb). Make sure to tape it down so it doesn’t curl. You might want to prime it with gesso for best results. Canvas and boards work well, too.
How do I make my fairy wings look see-through?
Use a thin layer of watered-down paint for the wings. Let the background show through a bit. Add a touch of white or shimmer on the edges. You can also use a little glitter for a magical effect.
Try layering soft blues, pinks, or purples for extra glow.