Step by Step Guide to Drawing a Beach Scene for Beginners
You can learn how to make a great beach drawing, even if you have never picked up a pencil before. Grab some paper and something to draw with. Use basic shapes and bright colors to fill your scene with energy. Don’t worry if your lines look a little wobbly. Every drawing is a chance to have fun and try new things!
Key Takeaways
Get easy art supplies like paper, pencil, eraser, and coloring tools before you start your beach drawing. Start your drawing by making the horizon line, shoreline, and big shapes like the sun and clouds. This helps set up your scene. Add important things like palm trees, umbrellas, and people. Use simple shapes to make your beach look lively and fun. Use colors and shading to make your drawing look real. Work in layers from the back to the front to show depth. Practice often, try different colors and details, and add your own style. This will make your beach drawing special and fun.
Materials for Beach Drawing

Before you start your beach drawing, you need to gather a few simple art supplies. You do not need anything fancy. You can create a fun scene with just the basics.
Basic Supplies
Here is a quick list to help you get started:
Paper: Choose any kind you like. Printer paper, sketchbook paper, or even a notebook page works.
Pencil: Use a regular pencil for sketching. You can erase and fix mistakes easily.
Eraser: Mistakes happen. Keep an eraser nearby so you can change anything you want.
Black pen or marker: Outline your drawing to make it stand out. This step makes your beach drawing pop.
Tip: Keep your art supplies organized in a small box or pouch. This way, you can find everything quickly when you feel inspired.
Coloring Tools
Adding color brings your beach drawing to life. You have lots of choices for coloring tools. Pick what feels best for you.
Colored pencils: These give you control and let you blend colors smoothly.
Crayons: Crayons work well for bold, bright color. They are easy to use and great for filling large spaces.
Markers: Markers make your colors look vibrant. Use them for details or to add a splash of color.
Watercolors: If you want a soft, dreamy look, try watercolors. They mix well and create beautiful effects.
You can mix different coloring tools in one drawing. Try using colored pencils for the sand and markers for the umbrellas. Experiment with color to see what you like best. Remember, every beach drawing looks unique when you play with color and style.
Note: You do not need every tool on this list. Start with what you have. The most important thing is to enjoy the process and have fun with your art supplies.
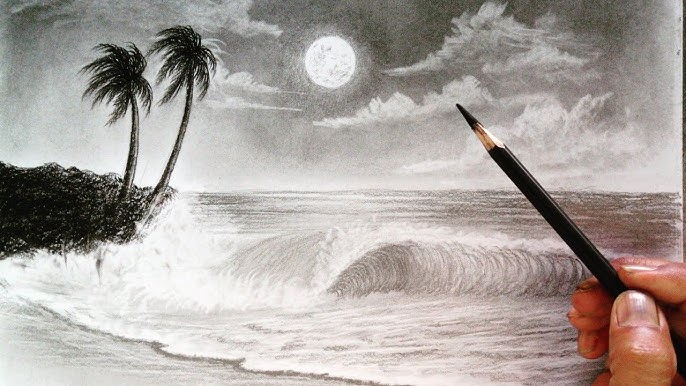
How to Draw a Beach Scene
Horizon Line
Start your beach drawing by drawing a horizon line. This line separates the sky from the water. Place it about one-third from the top or bottom of your paper. This step helps you set up the whole scene. Research shows that where you put the horizon changes how your picture feels. Here’s a quick look at how different cultures use the horizon line:
Aspect |
East Asian Landscape Drawing |
Western Landscape Drawing |
|---|---|---|
Horizon Line Placement |
High in the frame |
Lower, at eye-level |
Perspective Technique |
Multiple viewpoints |
Single vanishing point |
Context |
Lots of details |
Focus on visible elements |
Cultural Meaning |
Holistic view |
Object-focused view |
Artists and photographers agree: the horizon line shapes the mood and balance of your art. Try moving it up or down to see what works best for your beach drawing.
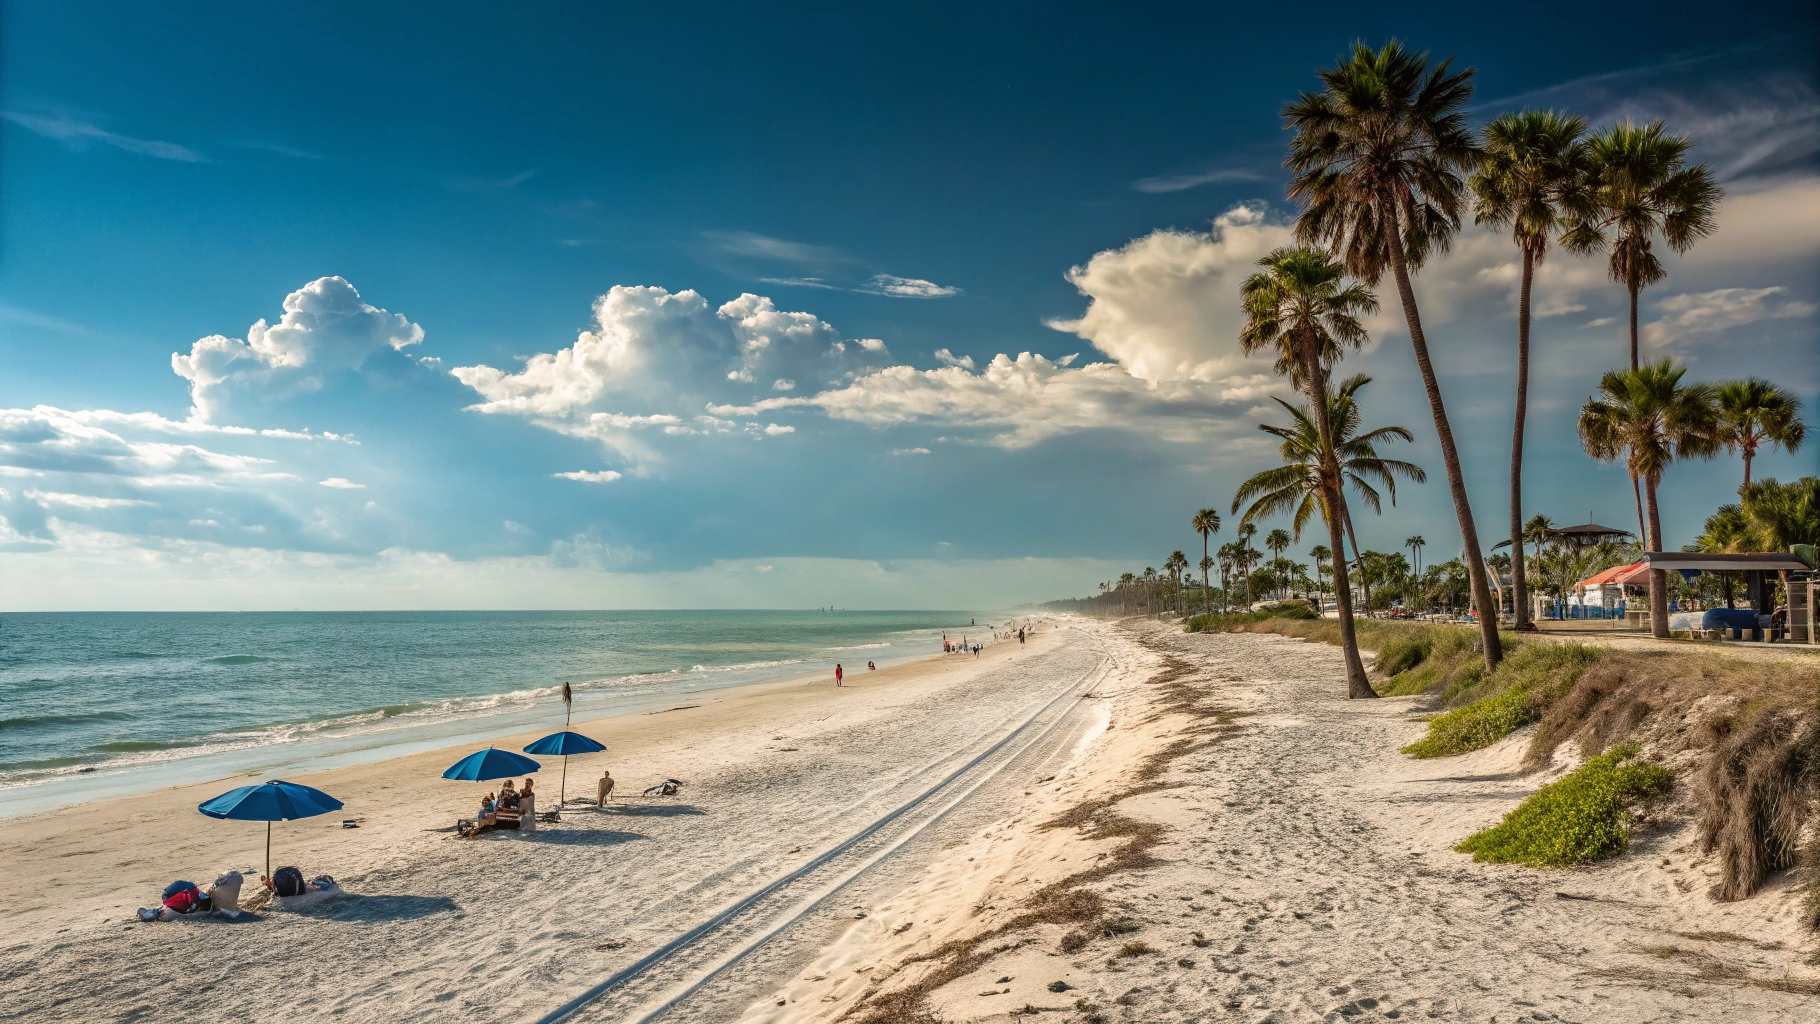
Water and Sand
Next, draw a wavy line for the shoreline. Add squiggly lines for waves. You can use light, flowing strokes to show water movement. For the sand, use soft, curved lines. Some artists use watercolor to show how water and sand mix. Others add real sand or soil for texture. Here are some tips:
Use gentle lines for calm water.
Try blending colors for wet sand.
Add small dots or dashes for texture.
These simple steps help you tell a story with your beach scene.
Sky and Sun
Draw a big circle or half-circle for the sun. Add a few clouds with puffy shapes. Use simple shading to show sunlight and shadows. Studies show that even basic shading makes your sky and sun look real. Try using light blue for the sky and yellow or orange for the sun. Shade under the clouds for a soft effect.
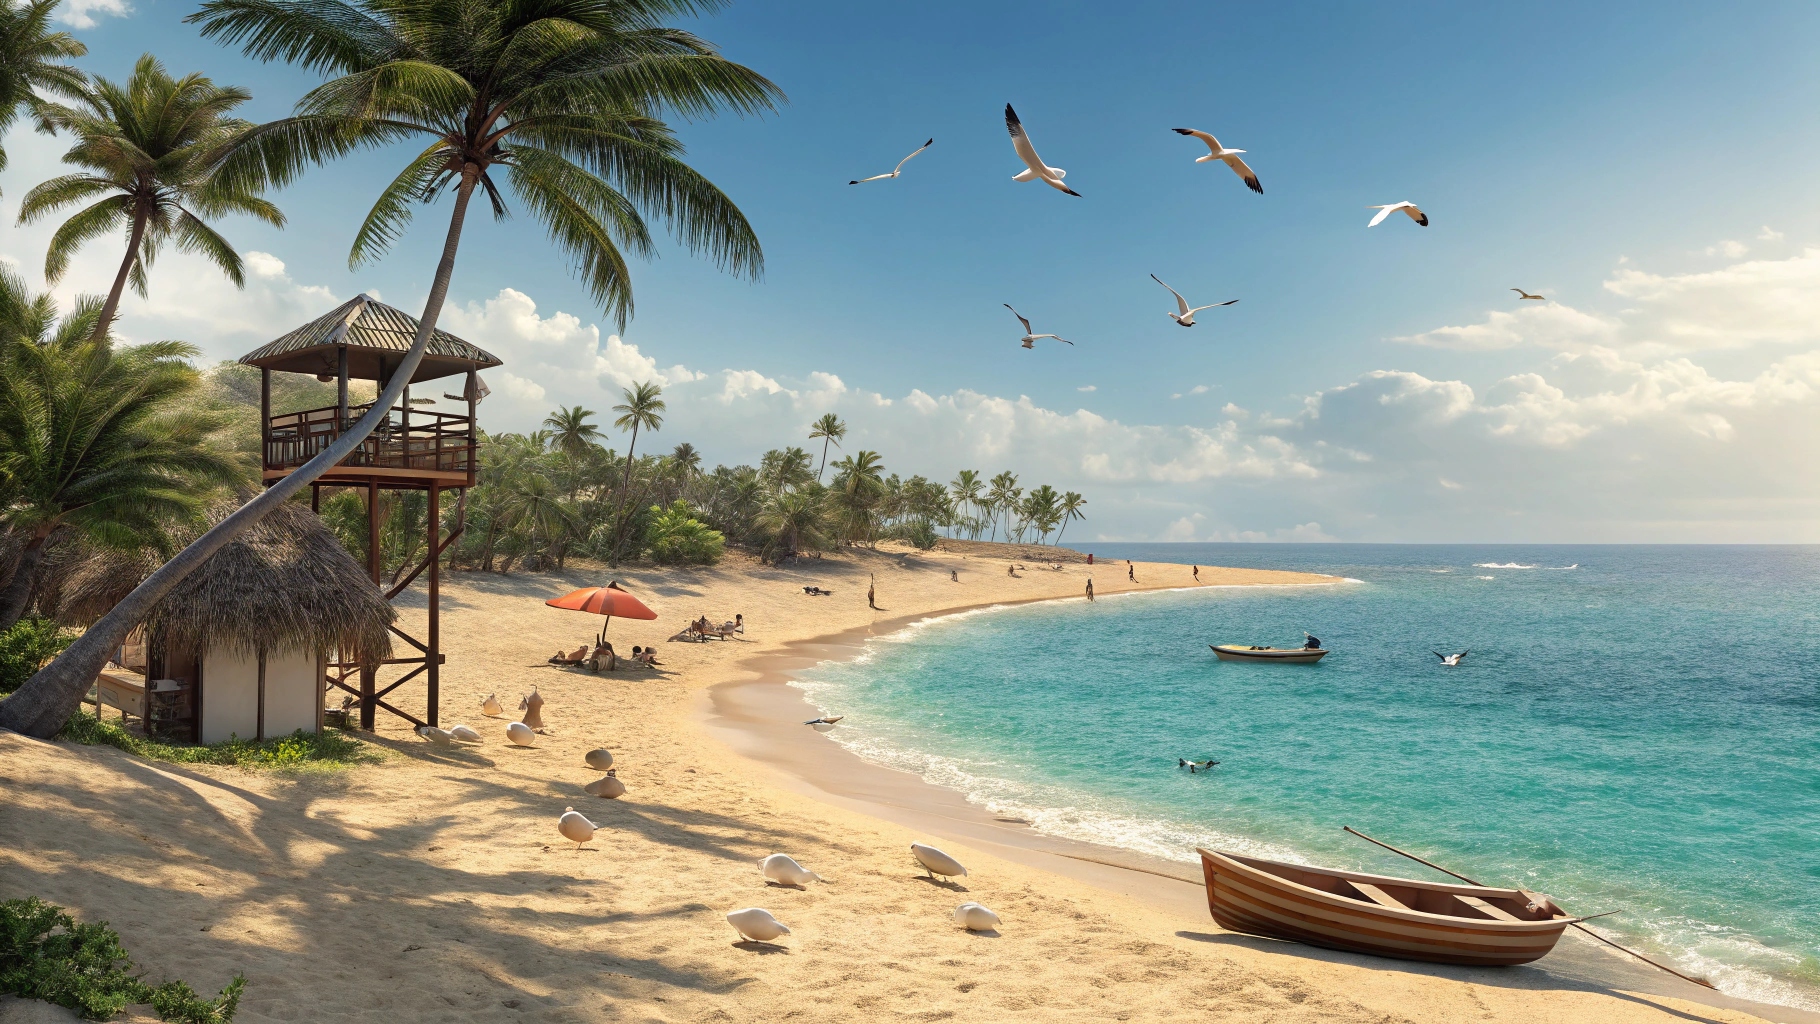
Palm Trees and Umbrellas
To draw a palm tree, start with two curved lines for the trunk. Add big, feather-like leaves at the top. Use zig-zag lines for leaf edges. For a beach umbrella, draw a curved top and a straight pole. Add a towel or beach ball nearby for fun. Many art tutorials suggest drawing leaves as big shapes, not tiny lines. This keeps your drawing simple and lively.
People and Details
Add small stick figures or simple shapes for people. Draw hats, towels, or buckets to make your scene lively. Artists like Eugène Boudin often started with people to make their beach scenes feel real. Little details, like bows or parasols, bring your drawing to life. Layer your elements from the background to the front for depth. Use your pencil first, then add color to finish your beach drawing.
Tip: Practice each part—like palm trees or umbrellas—on scrap paper before you add them to your main drawing. This builds your confidence and helps you learn how to draw a beach with ease.
Step-by-Step Tutorial: Draw a Beach Scene
Sketching the Layout
Let’s start your beach masterpiece with a simple plan. Grab your pencil and lightly sketch the background. Begin by drawing the horizon line. This line separates the sky from the water and sets the stage for your whole scene. Place it about one-third from the top or bottom of your paper. This step helps you decide where everything else will go.
Next, draw a wavy line for the shoreline. This line shows where the water meets the sand. Use gentle, flowing strokes. Don’t worry if your lines aren’t perfect. You can always erase and try again. Sketch the area for the sand with soft, curved lines. This gives your beach a cozy, inviting look.
Now, block in big shapes for the sky, sun, and any clouds you want to add. You can use circles for the sun and puffy shapes for clouds. When you focus on sketching the background first, you make it easier to add details later. Practicing how to draw a beach by starting with these basic shapes helps you build confidence and keeps your drawing organized.
Tip: If you make a mistake, just erase and redraw. Every artist does this—even the pros!
Adding Key Elements
Once you have your layout, it’s time to add the fun stuff! Draw palm trees by sketching two curved lines for the trunk. Add big, feather-like leaves at the top. For a beach umbrella, draw a curved dome and a straight pole. Place a towel or a beach ball nearby to make your scene lively.
You can also draw simple stick figures to show people enjoying the beach. Add hats, buckets, or sunglasses to give them personality. Try drawing a sandcastle or some seashells near the water. These little touches make your drawing feel alive.
Researchers have found that the way you arrange these elements really matters. Artists use composition to guide your eyes around the picture. Eye-tracking studies show that people look at art in a certain order, following the path set by the artist. Even beginners and experts look at the same spots first. When you add key elements like palm trees, umbrellas, and people, you help guide the viewer’s gaze and make your drawing more interesting. Balanced compositions also make your art look more attractive and pleasing.
Try this: Practice drawing palm trees or umbrellas on a scrap piece of paper before adding them to your main scene. This helps you get the shapes just right.
Coloring and Shading
Now comes the best part—adding details and color! Start by choosing the colors you want for the sky, water, and sand. Use light blue for the sky and a deeper blue for the ocean. Yellow, tan, or light brown work well for the sand. When you color, use gentle strokes and layer your colors to create a soft, blended look.
Focus on the big shapes first. Artists say that understanding the form—the three-dimensional shape of things—matters more than tiny details. If you want your palm trees to look real, shade one side of the trunk a little darker. Add a shadow under the umbrella or people to show sunlight. This makes your drawing pop off the page.
Many art teachers suggest breaking your drawing into chunks. Work on one part at a time, like the sky, then the water, then the sand. This chunking method helps you stay focused and makes the whole process less overwhelming. You can add small details, like seashells or footprints, after you finish the main colors.
Use colored pencils for smooth blending.
Try markers for bright, bold color.
Add shading by pressing harder or layering colors.
Studies show that tutorials focusing on form and chunking lead to better, more realistic art. Artists who use these steps create drawings that look more lifelike and organized. Don’t worry about making everything perfect. The goal is to have fun and learn how to draw a beach scene that feels lively and colorful.
Remember: Adding details and color is your chance to make the scene your own. Try different color combinations and see what you like best!
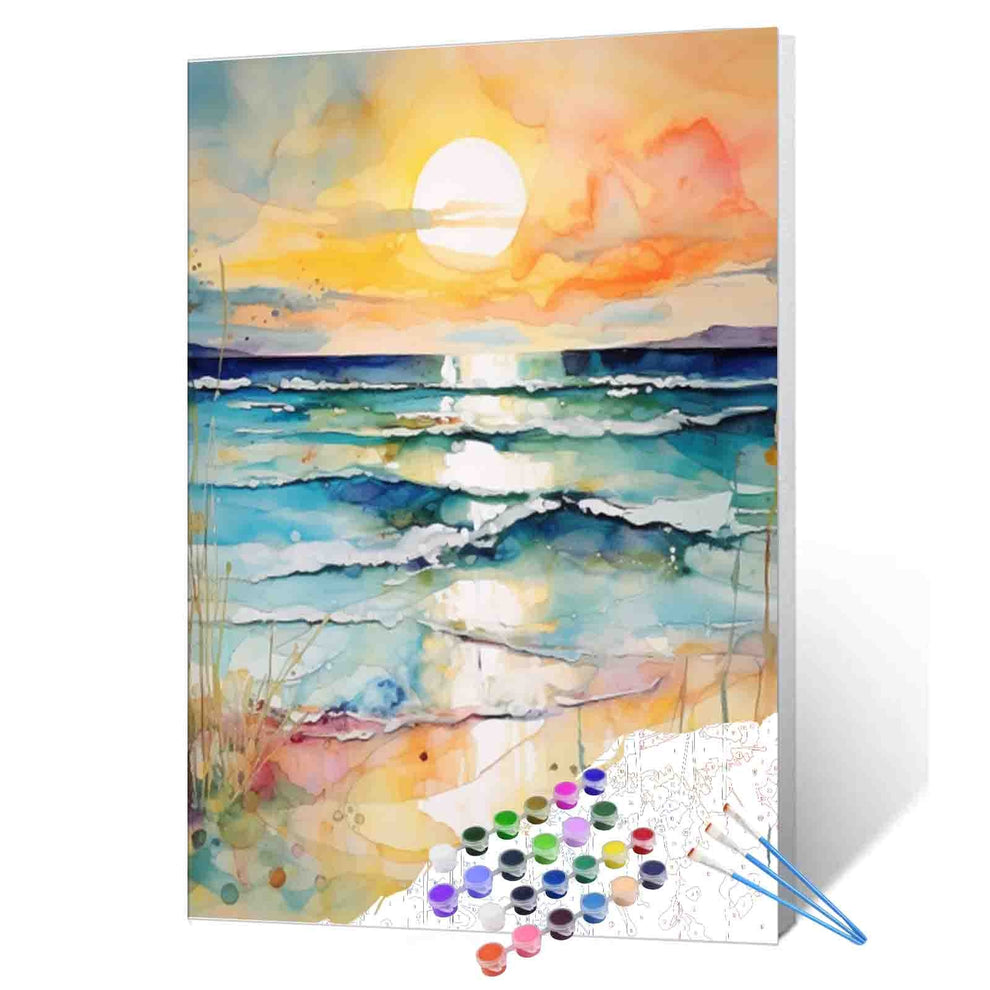
Paint by Numbers for Beach Drawing
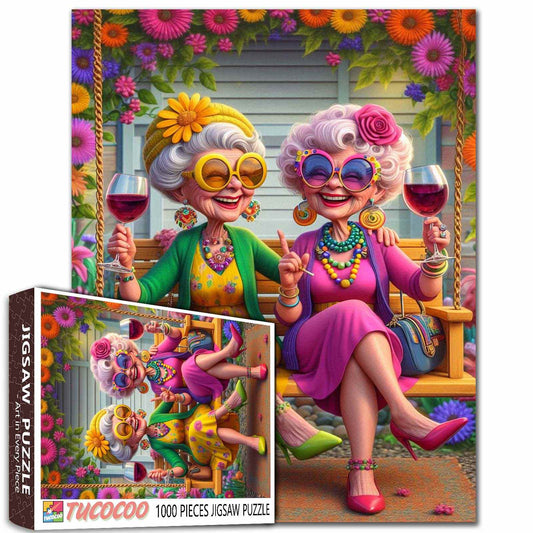
Tucocoo Paint by Numbers
Why Use Paint by Numbers
Paint by numbers makes art simple and fun, especially if you feel nervous about starting. You do not need to draw anything from scratch. The kit gives you a canvas with numbers and matching paints. You just fill in each space with the right color. This method helps you learn about color and structure without feeling overwhelmed.
Over 70% of people in surveys say paint-by-number activities boost their creativity.
Sales of DIY art kits have jumped by 20% since 2018.
During the pandemic, adults bought 30% more art kits for stress relief and creative fun.
Studies show paint by numbers can help you focus, build patience, and improve your hand skills.
The clear steps take away the fear of a blank canvas, so you can start painting with confidence.
Tip: Paint by numbers is not just for kids. Many adults use these kits to relax and learn new skills.
Choosing a Kit
Pick a kit that matches your interests and skill level. If you are a beginner, look for a beach scene with bigger spaces and fewer colors. This makes it easier to paint and finish your project. Most kits include a canvas, paints, and brushes. Some even come with a reference guide.
You might want to gather a few extra supplies:
A flat surface or cardboard to support your canvas
Masking tape to keep your canvas in place
An easel for comfort
Extra brushes in different sizes
Paper towels and cups of water for cleaning brushes
A magnifying glass for tiny details
Tips for Beginners
You can make your first paint-by-number project a success by following these steps:
Set up your workspace in a bright spot and protect your table.
Organize your canvas, brushes, and paints before you start.
Make sure your canvas is flat and smooth.
Look over the numbers and guide to plan your painting.
Start with the largest or lightest color areas.
Paint one section at a time, moving from top to bottom or left to right.
Clean your brushes well between colors.
Let your painting dry before you move or frame it.
Add a sealant if you want to protect your finished art.
Note: Take your time and enjoy the process. If you make a mistake, just let it dry and paint over it. Every painting is a chance to learn and have fun!
How to Draw a Beach Landscape: Tips
Layering for Depth
If you want your beach scene to look real, you need to think about layers. Start with the background and work your way forward. When you draw the sky and ocean first, you set the stage for everything else. Next, add the sand, then place palm trees, umbrellas, or people in front. This order helps you build a sense of space and makes your drawing pop.
Many artists use a layering system to create depth. Here’s a simple table to help you remember the steps:
Layer Name |
What to Draw |
Why It Matters |
|---|---|---|
Base Layer |
Horizon, sky, ocean |
Sets up the scene |
Detail Layer |
Sand, waves, rocks |
Adds texture and interest |
Atmospheric Layer |
Mist, clouds, faded objects |
Creates distance and mood |
Glazing Layer |
Extra color, shadows, highlights |
Makes colors rich and deep |
Try overlapping objects, like drawing a towel partly under an umbrella. Use lighter colors for things far away and darker shades for things close to you. Artists like Andrew Wyeth and David Hockney use these tricks to make their art feel alive. If you want to learn more about how to draw a beach landscape with depth, watch expert tutorials or look at reference photos. You will see how layers turn a flat picture into a realistic beach scene.
Tip: Be patient. Sometimes you need to add several layers of color or shadow to get the look you want.
Personal Touches
You can make your beach landscape drawing special by adding your own ideas. Maybe you want to draw a favorite beach toy, a pet, or even a unique shell you found. When you add personal touches, your art feels more like you. Studies show that people who put their own style into art feel happier and more connected to what they create.
Don’t be afraid to experiment with colors. Try a pink sunset or bright blue sand. You can use references or video tutorials to spark new ideas. When you learn how to draw a beach landscape, you get to decide what makes it fun. Every time you draw, you build confidence and discover new ways to show your world.
Remember: There is no right or wrong way to draw your beach. Your personal style makes your art stand out!
You can keep getting better at drawing beaches if you practice and try new things. Every drawing you make is special. Guided tutorials help you see shapes, space, and details in new ways. Check out how practice helps you grow:
Drawing Skill |
How Practice Helps |
|---|---|
Perspective |
You learn to see from new angles |
Composition |
You spot and fix weak spots |
Depth and Volume |
You show objects in 3D |
Share your art with friends or add something new to your next beach scene. Most of all, enjoy the creative process and keep drawing! 🎨
FAQ
How do I fix mistakes in my beach drawing?
You can use an eraser for pencil marks. If you use markers or crayons, try drawing over the mistake with a lighter color. Don’t worry—mistakes help you learn. Every artist makes them!
What if I can’t draw palm trees or umbrellas well?
Practice on scrap paper first. Break each object into simple shapes. For a palm tree, draw a curved trunk and big leaves. For an umbrella, use a half-circle and a straight line. You’ll get better each time you try.
Which colors work best for a beach scene?
Try light blue for the sky, deep blue for the water, and yellow or tan for the sand. You can use bright colors for umbrellas and towels. Mix and match to create your own style!
Can I use only pencils for my beach drawing?
Yes, you can! Use your pencil to sketch, shade, and add details. Try pressing harder for dark areas and lighter for soft shadows. If you want, add color later with crayons or markers.
How do I make my beach scene look more real?
Add layers. Start with the background, then draw objects in front. Use shadows and highlights to show sunlight. Add small details like seashells or footprints. These tricks help your drawing pop!