How to Draw a Dog Step by Step for Beginners in 2025
Drawing a dog doesn’t have to feel overwhelming. You just need a pencil, paper, and a few simple steps to get started. Whether you’re new to art or just want to learn how to draw a dog, this guide will show you how to create a fun and easy sketch.
Key Takeaways
Get simple tools like a pencil, eraser, and paper to begin drawing a dog.
Use step-by-step instructions. Start with easy shapes, then add details to make the dog look real.
Start with easy dog types to feel confident and improve basic drawing skills.
Materials for Easy Dog Drawing
Before you start your easy dog drawing, it’s important to gather the right materials. Having the right tools can make the process smoother and more enjoyable. Let’s take a look at what you’ll need.
Essential Drawing Supplies for Beginners
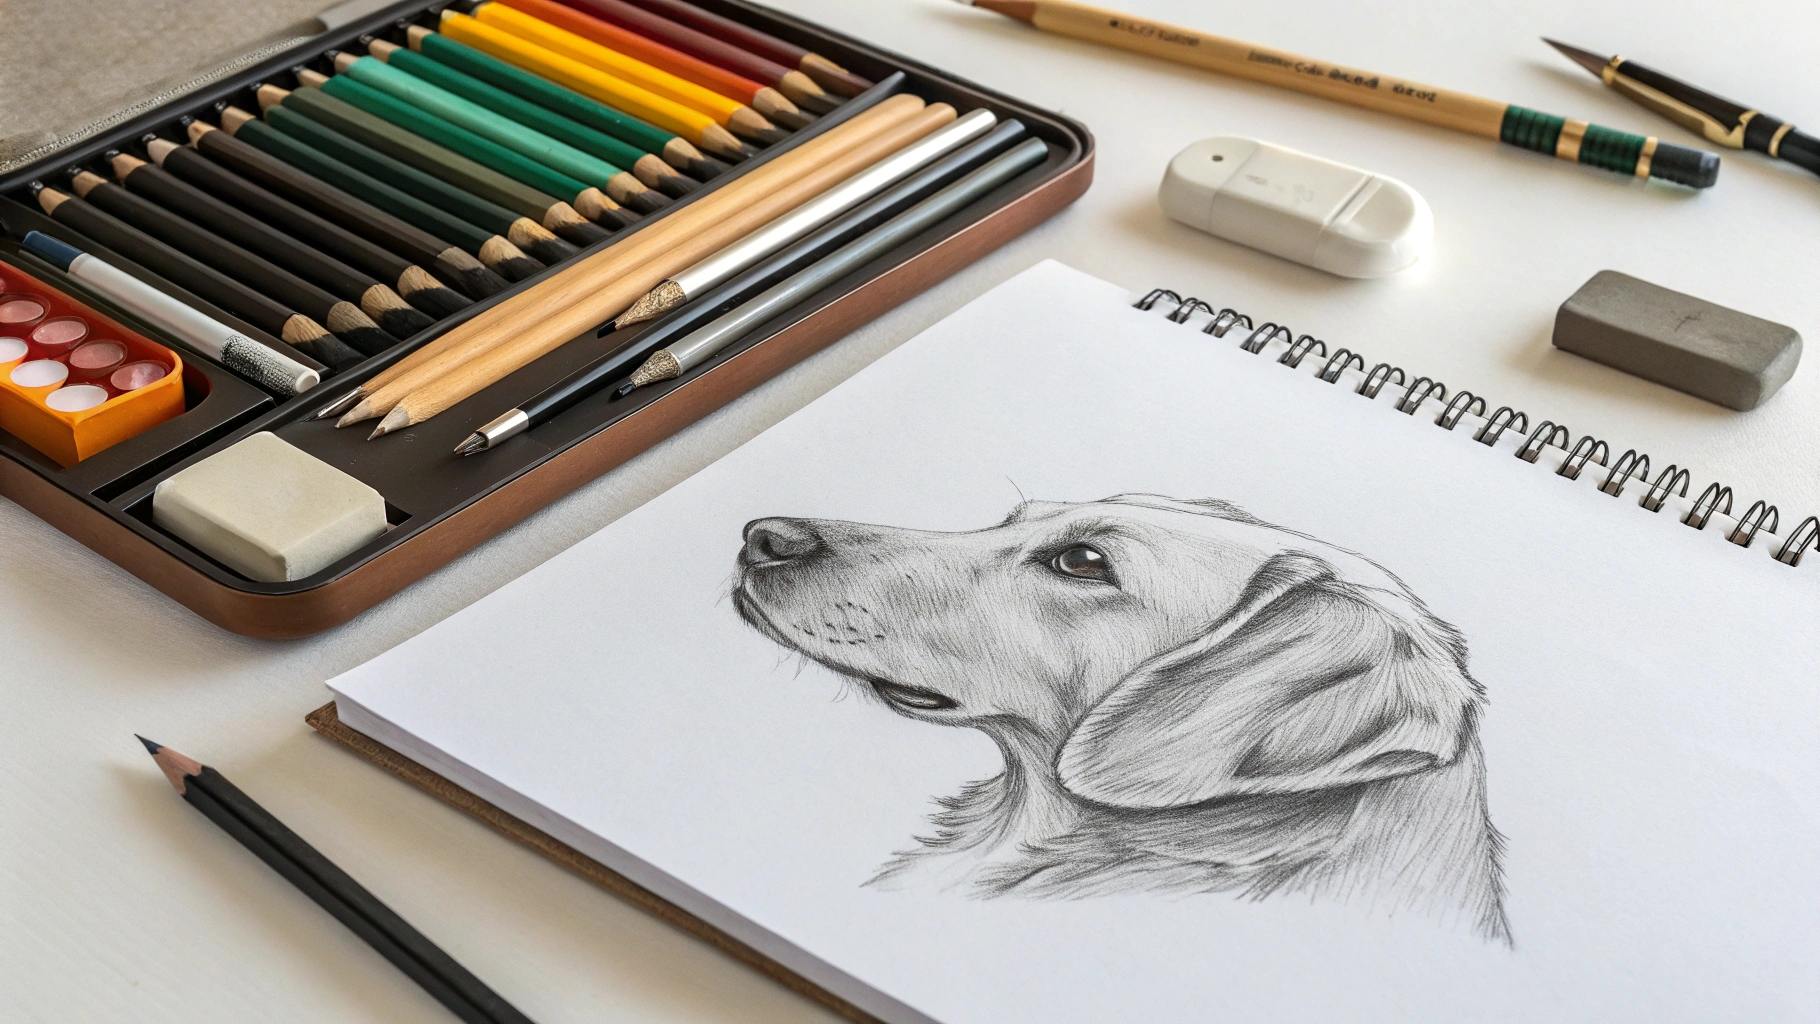
You don’t need fancy tools to draw a dog. Start with these basic supplies:
Pencil: A regular HB pencil works great for sketching. You can also use a mechanical pencil for finer lines.
Eraser: Mistakes happen, and that’s okay! A soft eraser will help you clean up your lines.
Paper: Any sketchpad or plain paper will do. Choose something with a smooth surface for easy drawing.
Sharpener: Keep your pencil sharp for precise details.
These simple items are all you need to get started. If you’re just learning how to draw, stick to these basics.
Optional Tools to Enhance Your Dog Drawing
Once you’re comfortable with the basics, you can try adding a few extra tools to improve your drawings:
Colored Pencils or Markers: Add color to bring your dog to life.
Blending Stump: Use this to create smooth shading and realistic fur textures.
Fine Liners: Outline your drawing for a polished look.
These tools aren’t necessary, but they can help you take your easy dog drawing to the next level.
Tip: Don’t feel pressured to buy everything at once. Start small and add tools as you grow more confident.
Dog Digital Painting by Numbers: A Beginner-Friendly Option
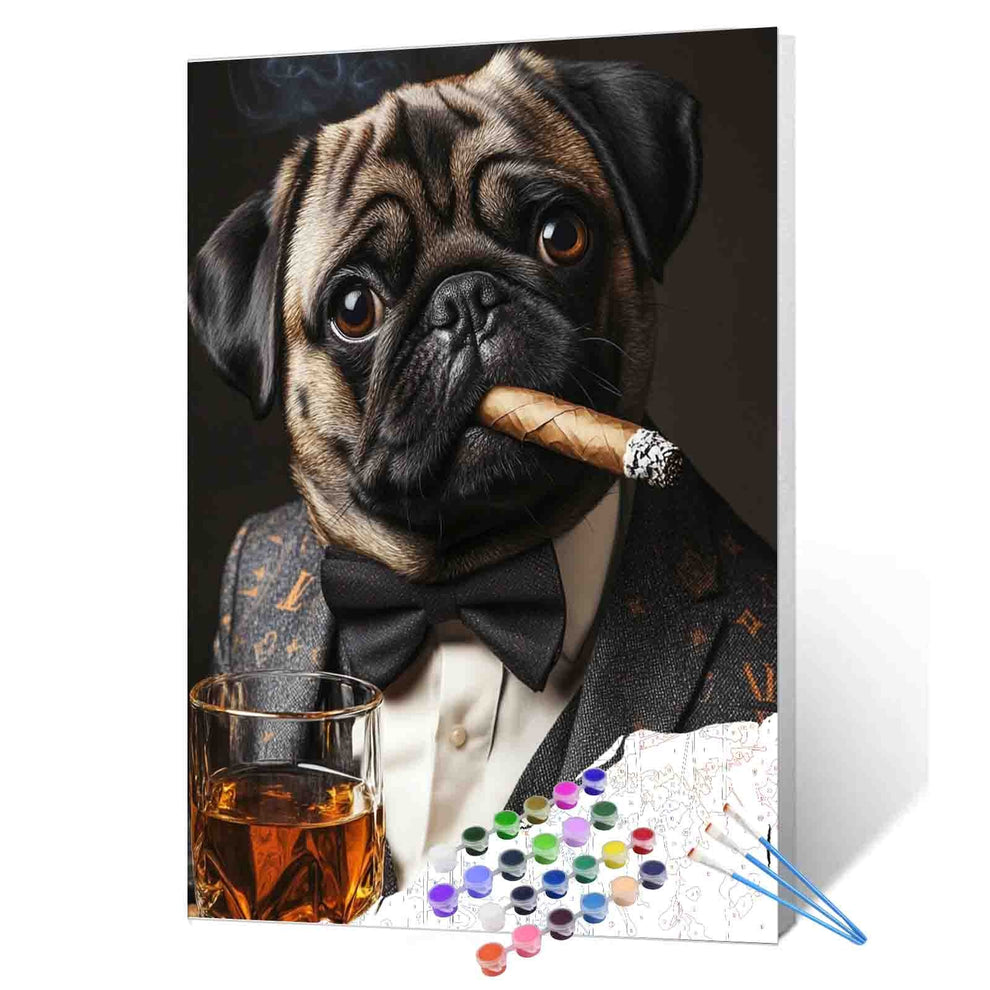
If traditional drawing feels intimidating, why not try digital painting by numbers? This beginner-friendly method lets you draw a dog digitally by following a pre-made template. You simply fill in the numbered sections with the corresponding colors. It’s a fun way to practice without worrying about proportions or details. Plus, it’s a great way to explore digital art tools.
Whether you stick to traditional supplies or experiment with digital options, the key is to enjoy the process. Drawing a dog should feel fun and relaxing, not stressful.
Dog Drawing Tutorial: Step by Step
Step 1: Sketch Basic Shapes for the Dog’s Body
Start by lightly sketching the basic shapes that make up the dog’s body. Use circles and ovals to outline the head, chest, and hips. Connect these shapes with curved lines to form the neck and spine. This step helps you map out the dog’s proportions and pose. Keep your lines light so you can adjust them later.
Tip: Don’t worry about perfection here. These shapes act as a guide for the rest of your drawing.
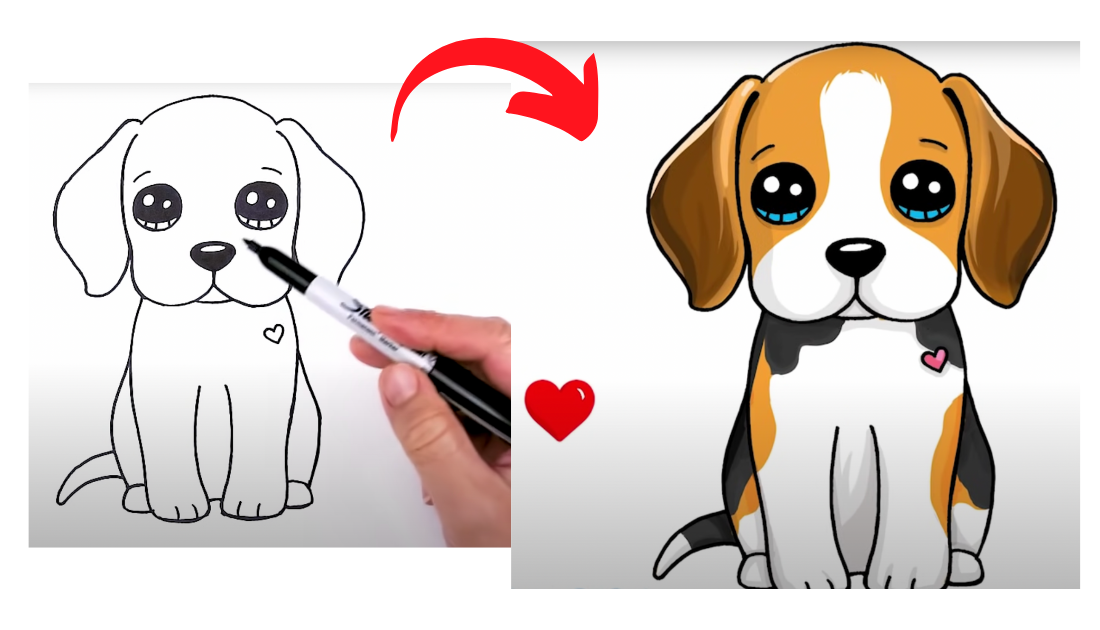
Step 2: Outline the Dog’s Head and Ears
Next, focus on the dog’s head. Draw a rounded shape for the head and add two triangles or floppy shapes for the ears, depending on the breed you’re drawing. Make sure the ears are symmetrical and positioned correctly. If you’re unsure, look at reference photos to see how the ears attach to the head.
Step 3: Add the Dog’s Facial Features
Now it’s time to give your dog some personality! Draw the eyes, nose, and mouth. Place the eyes evenly on the head and add small circles inside them for highlights. Sketch the nose as a rounded triangle and the mouth as a simple curved line. If you want your dog to look happy, curve the mouth upward slightly.
Note: Pay attention to the spacing between the features. This will make your dog look more realistic.
Step 4: Draw the Legs, Tail, and Paws
Move on to the legs, tail, and paws. Start by sketching straight or slightly curved lines for the legs, depending on the dog’s pose. Add small ovals at the bottom for the paws. For the tail, use a curved line to show its position.
Observe the proportions carefully to ensure the legs and tail look natural.
Use light strokes to outline the anatomy before adding details.
Revise your initial sketches to refine the shapes and placement.
Artists often recommend building up the details slowly. This approach helps you avoid mistakes and keeps the drawing balanced.
Step 5: Refine the Outline and Add Fur Texture
Once the basic shapes are in place, go over your sketch with darker lines to refine the outline. Add fur texture by using short, quick pencil strokes. Focus on areas like the ears, tail, and chest where fur is more prominent. This step brings your dog drawing to life and adds depth to the image.
Step 6: Erase Guidelines and Finalize the Drawing
Carefully erase the guidelines you drew earlier. This will clean up your sketch and make the final outline stand out. Be gentle with your eraser to avoid smudging the drawing. Once the guidelines are gone, check your work for any areas that need adjustment.
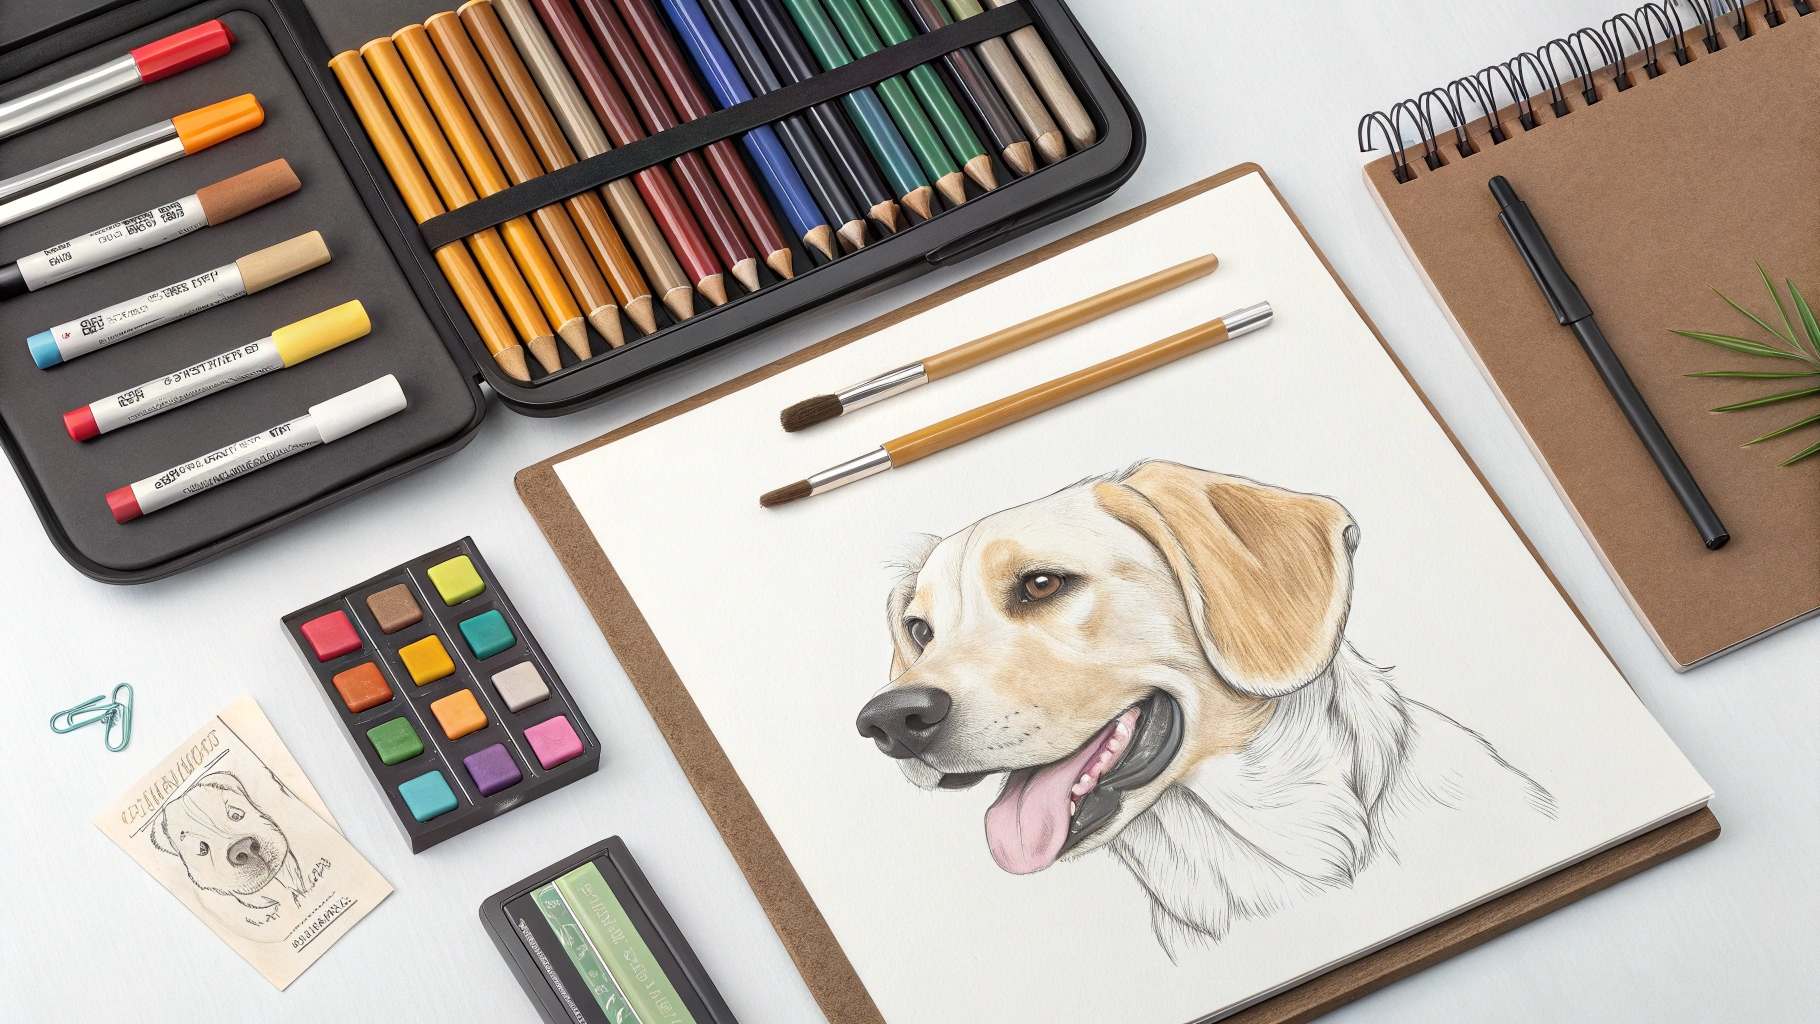
Step 7: Add Shading or Color for a Realistic Look
Finally, add shading or color to your drawing. Use a pencil to shade areas like the ears, under the chin, and around the paws to create depth. If you’re using colored pencils or markers, choose colors that match the dog’s fur. Blend the colors smoothly for a polished look.
Tip: Adding highlights to the eyes and nose can make your dog look more lifelike.
By following these steps, you’ll create a dog drawing that’s both fun and rewarding. Take your time and enjoy the process!
Tips to Improve Your Dog Drawing Skills
Start with Simple Dog Breeds
Begin with easy-to-draw dog breeds. Pick breeds like Labrador Retriever or Beagle. These dogs have simple shapes and features. Their proportions are less tricky to sketch.
Experts, like Marissa Sunny, suggest starting with simpler breeds. This helps beginners focus on basics without stress.
Simple breeds let you practice fur texture and expressions. You won’t get stuck on too many details.
Tip: Skip breeds with fancy patterns or long fur until later.
Observe Real Dogs and Reference Photos
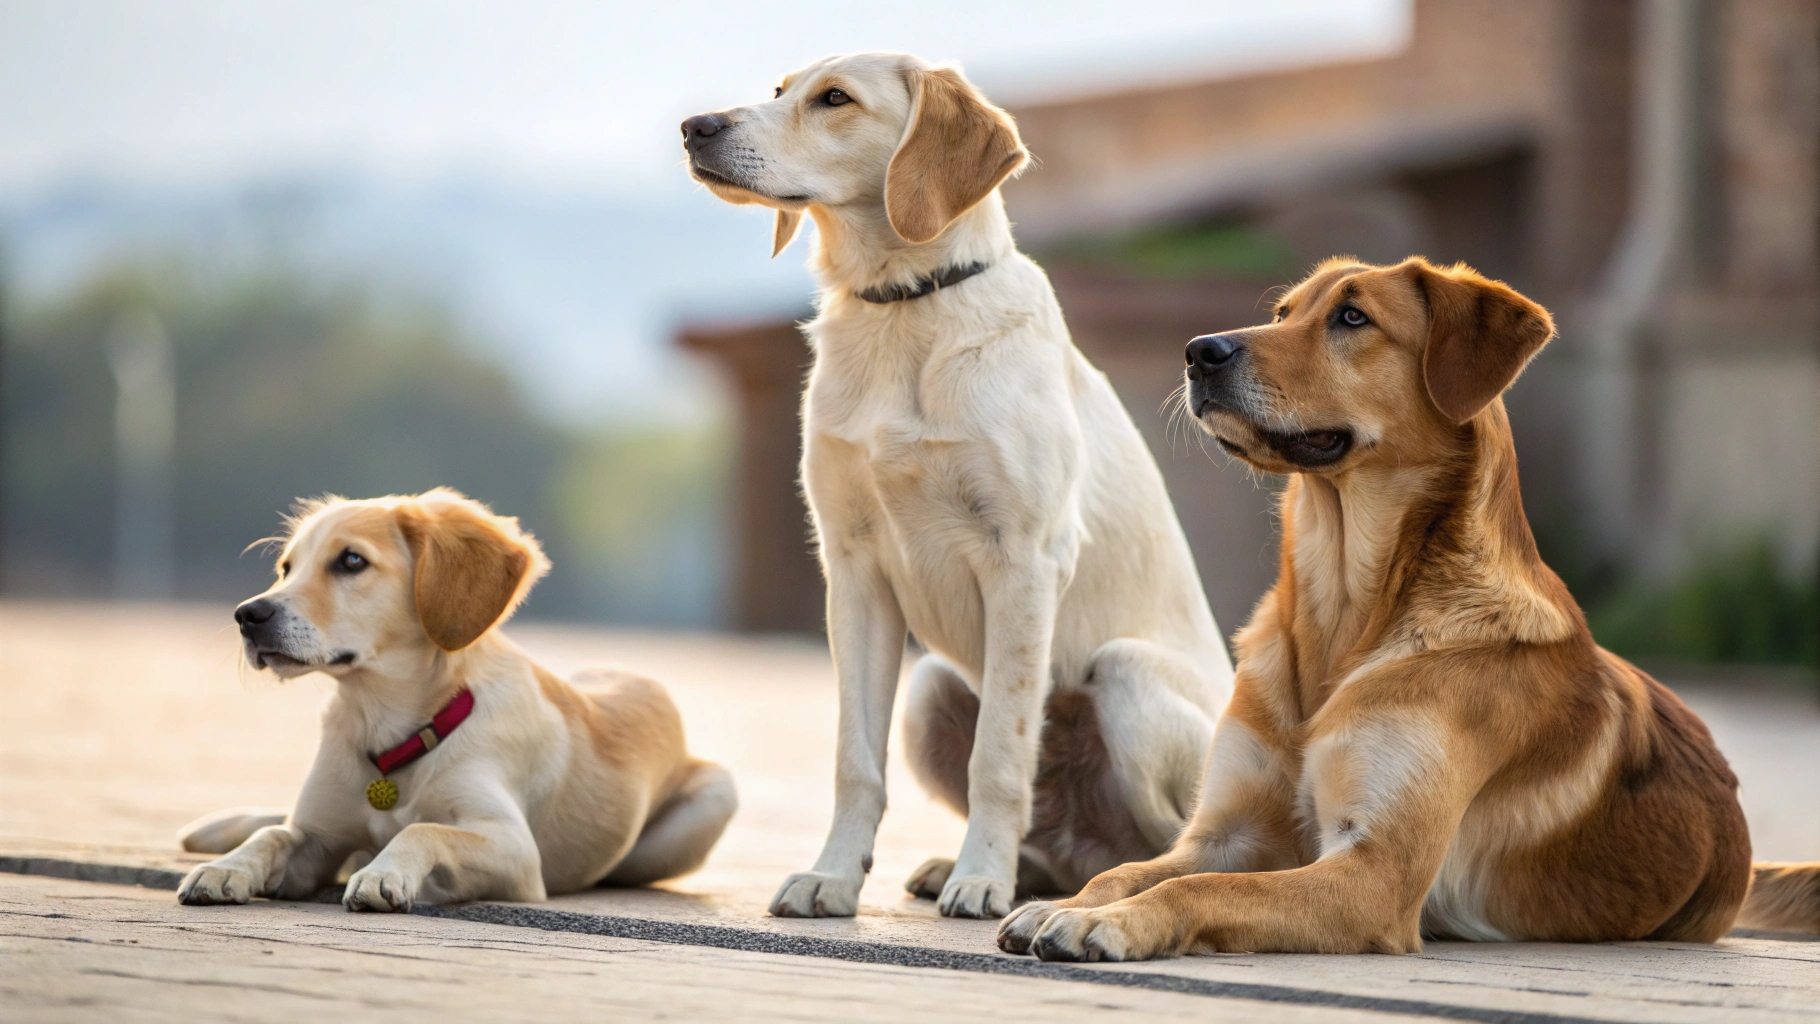
Watching real dogs is a great way to learn. Notice how they move, sit, or lie down. Study their body shapes, fur, and faces. If you can’t see a dog in person, use photos instead.
Find clear pictures showing dogs from different angles.
Observe how light and shadow appear on their fur. This adds depth to your drawing.
Pro Tip: Save your favorite dog photos in a folder for future use.
Practice with Dog Digital Painting by Numbers
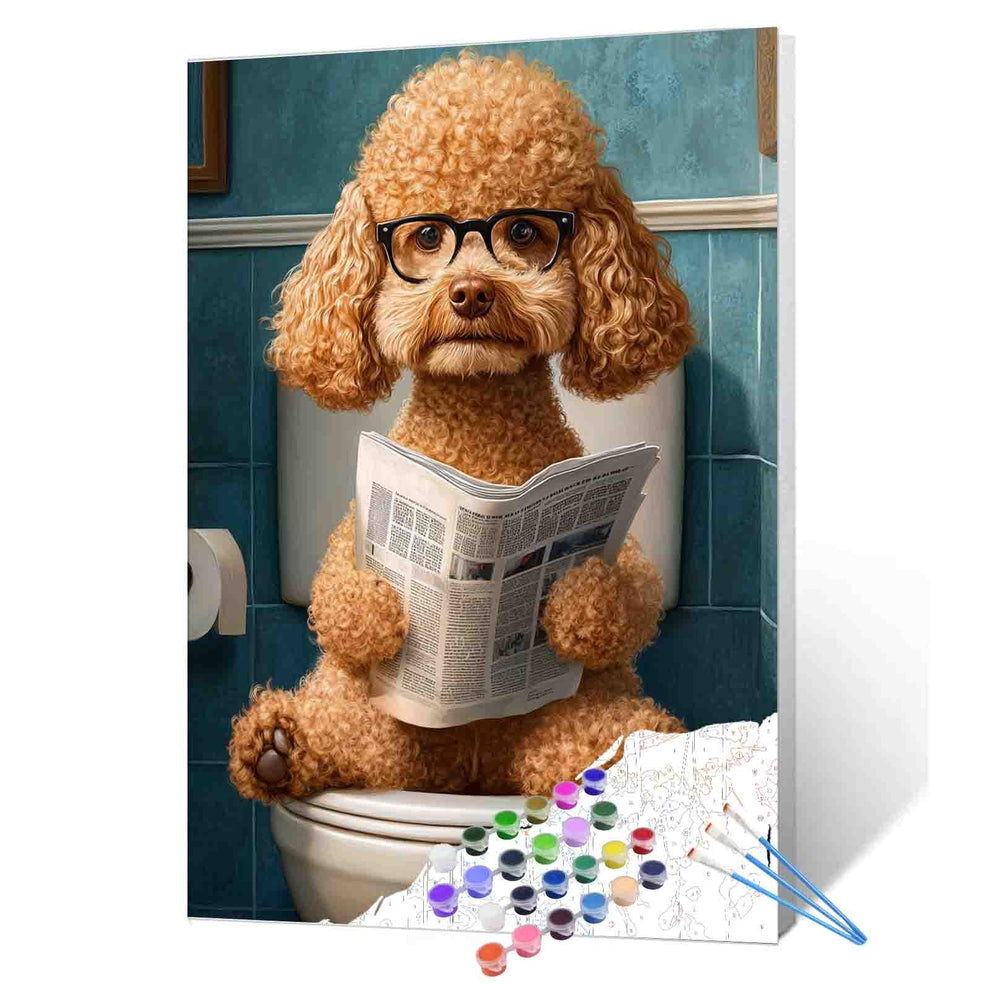
Try digital painting by numbers for fun practice. Fill numbered sections with matching colors to draw a dog. It’s an easy way to learn proportions and shading.
Digital tools let you test new styles and techniques. You can fix mistakes, try brushes, or add effects. Regular practice will grow your skills and confidence.
Reminder: Mistakes are okay! Keep practicing and experimenting to improve.
Drawing a dog step by step can be enjoyable and satisfying. Practice often, and you’ll get better at making cute sketches. Try out different methods or tools, like digital painting by numbers. Keep trying new things, and soon your dogs will look real and full of character!
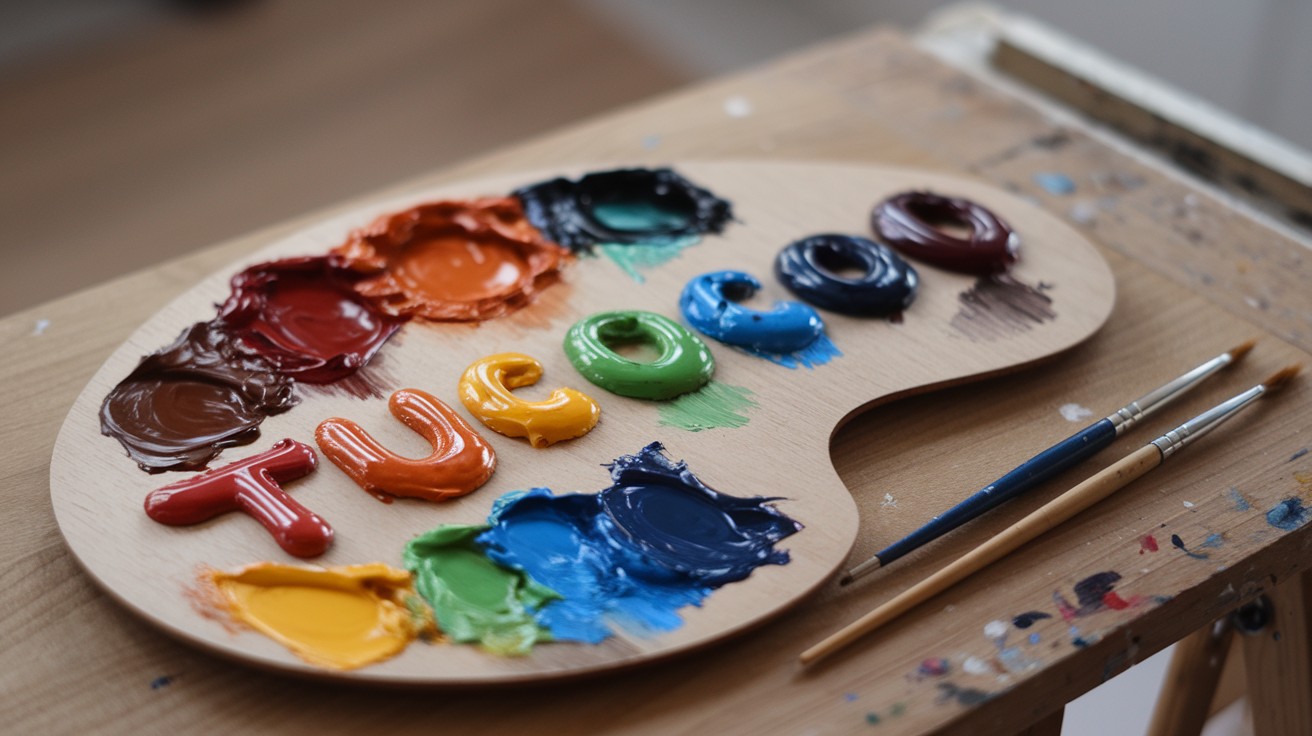
Tucocoo Paint by Numbers
FAQ
How long does it take to learn how to draw a dog?
It depends on your practice. You can create simple sketches in a few hours. With regular practice, you’ll improve quickly.
Can I draw a dog without any art experience?
Absolutely! Start with basic shapes and follow the steps. Anyone can learn with patience and practice.
What’s the best way to add realistic fur texture?
Use short, quick strokes with a pencil. Focus on areas like the ears and tail. Experiment with blending tools for smoother textures.
Tip: Don’t rush. Adding texture takes time, but it makes your drawing look amazing!