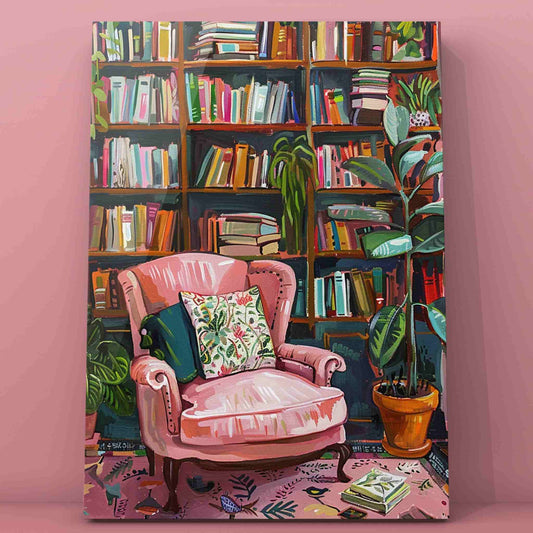
How to Create Custom Paint by Numbers from Photos
Have you ever wanted to turn your favorite memories into something you can hang on your wall? Custom paint by numbers lets you do just that! Imagine transforming your photo into a personalized painting that’s not only fun to create but also meaningful to display. It’s an easy, relaxing way to express your creativity.
Personalized art projects like these are becoming more popular every year. In fact:
The arts and crafts market is expected to grow by 5.6% annually from 2025 to 2033.
More people are looking for ways to create their own paint by numbers and other unique crafts.
The demand for custom projects like these is skyrocketing!
So, why not join the trend and start creating something special today?
Key Takeaways
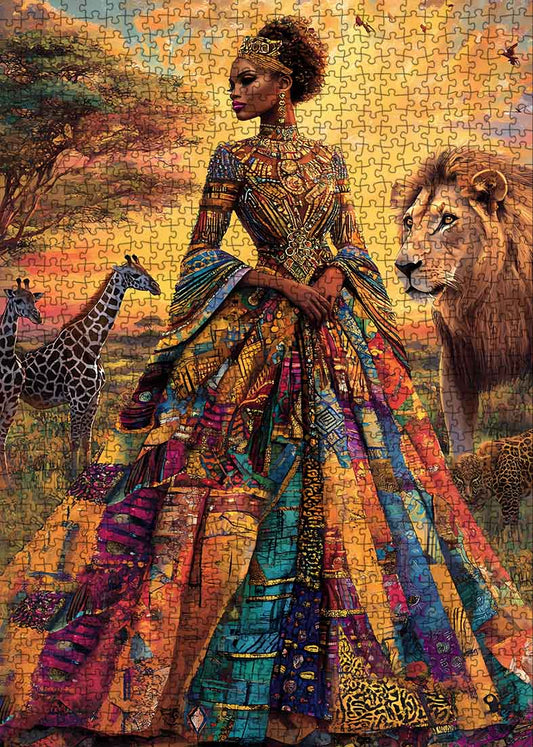
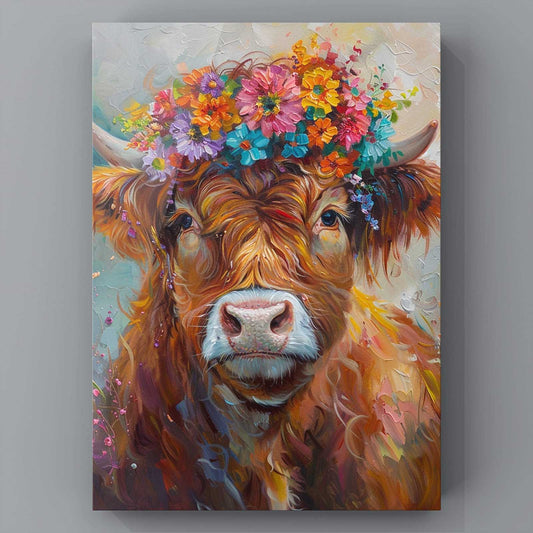
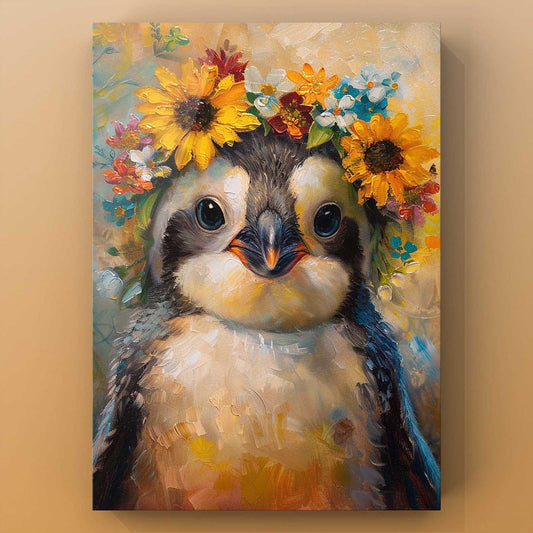
Pick clear, high-quality photos with good contrast and simple details.
Use a paint by numbers kit with numbers and matching paints.
Keep your tools neat and paint one part at a time.
Take breaks and stay patient to make your painting better.
Cover your finished painting with varnish and frame it to protect it.
Choosing the Right Photo for Custom Paint by Numbers
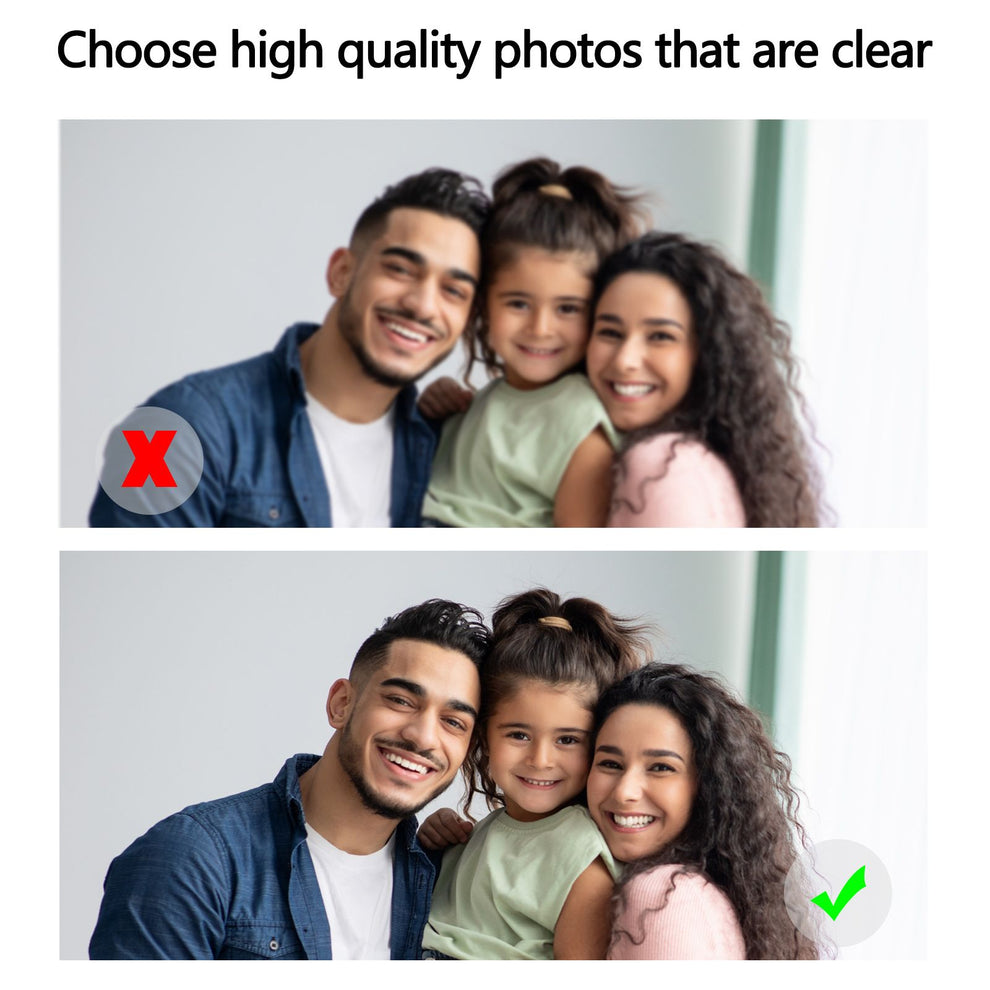
Choosing the perfect photo is the first step to creating a stunning custom paint by numbers masterpiece. Not every image works well, so here’s how to pick one that will shine on canvas.
Why High Resolution Matters
When it comes to custom paint by numbers, high-resolution images are a must. Why? Because clear, sharp photos ensure that every detail translates beautifully into your paint by numbers template. Blurry or pixelated pictures can make the final design look messy or unclear. So, always choose a photo with good quality and resolution. If you’re unsure, check if the image looks crisp when zoomed in. That’s usually a good sign it’ll work well.
The Role of Contrast and Simplicity
Contrast and simplicity play a huge role in how your paint by numbers template turns out. Photos with strong contrasts—like light and dark areas—help define shapes and make the painting process easier. Simple images with fewer elements also work best. For example, a close-up of a face or a scenic view with clear lines will look amazing. On the other hand, a photo with too many small details might feel overwhelming when you start painting.
Tip: Look for photos with bold colors and clear outlines. These make the painting process more enjoyable and less frustrating.
Avoiding Overly Detailed or Complex Images
While it’s tempting to pick a photo with lots of intricate details, it’s better to avoid overly complex images. Tiny elements, like crowded backgrounds or busy patterns, can make your paint by numbers template harder to follow. Instead, focus on photos with a clear subject and minimal distractions. This way, you’ll enjoy the process and end up with a piece of art you’re proud to display.
By keeping these tips in mind, you’ll set yourself up for success and create a custom paint by numbers project that’s both fun and rewarding.
Tools and Materials for Turning Photos into Paint by Numbers
Making your own paint by numbers art needs the right tools. Here’s what you’ll need to turn your photo into a painting.
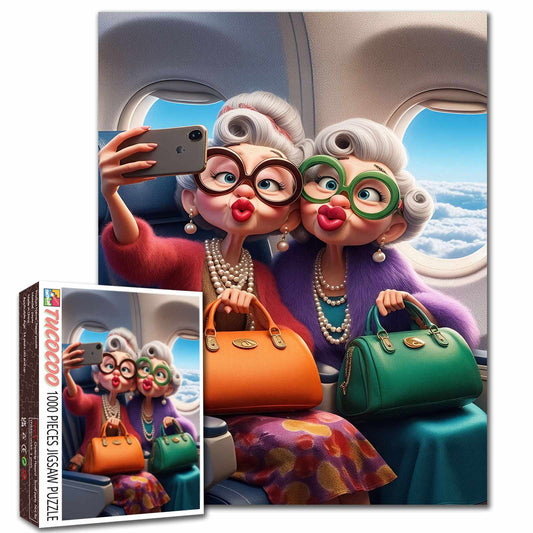
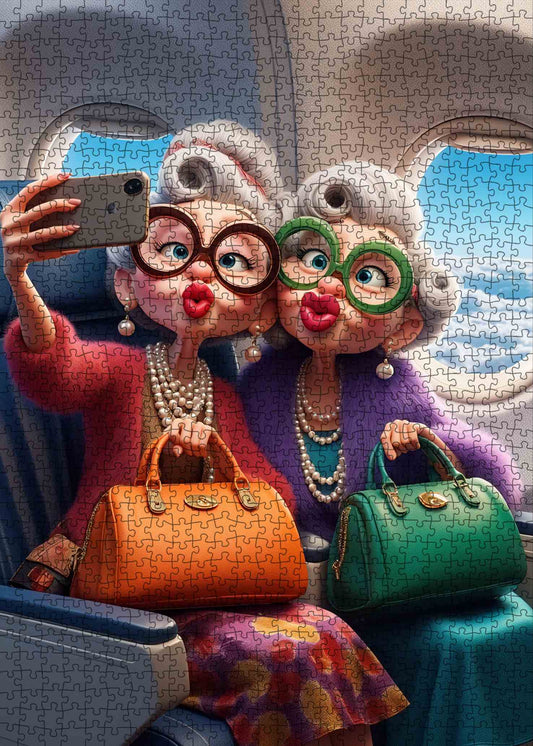
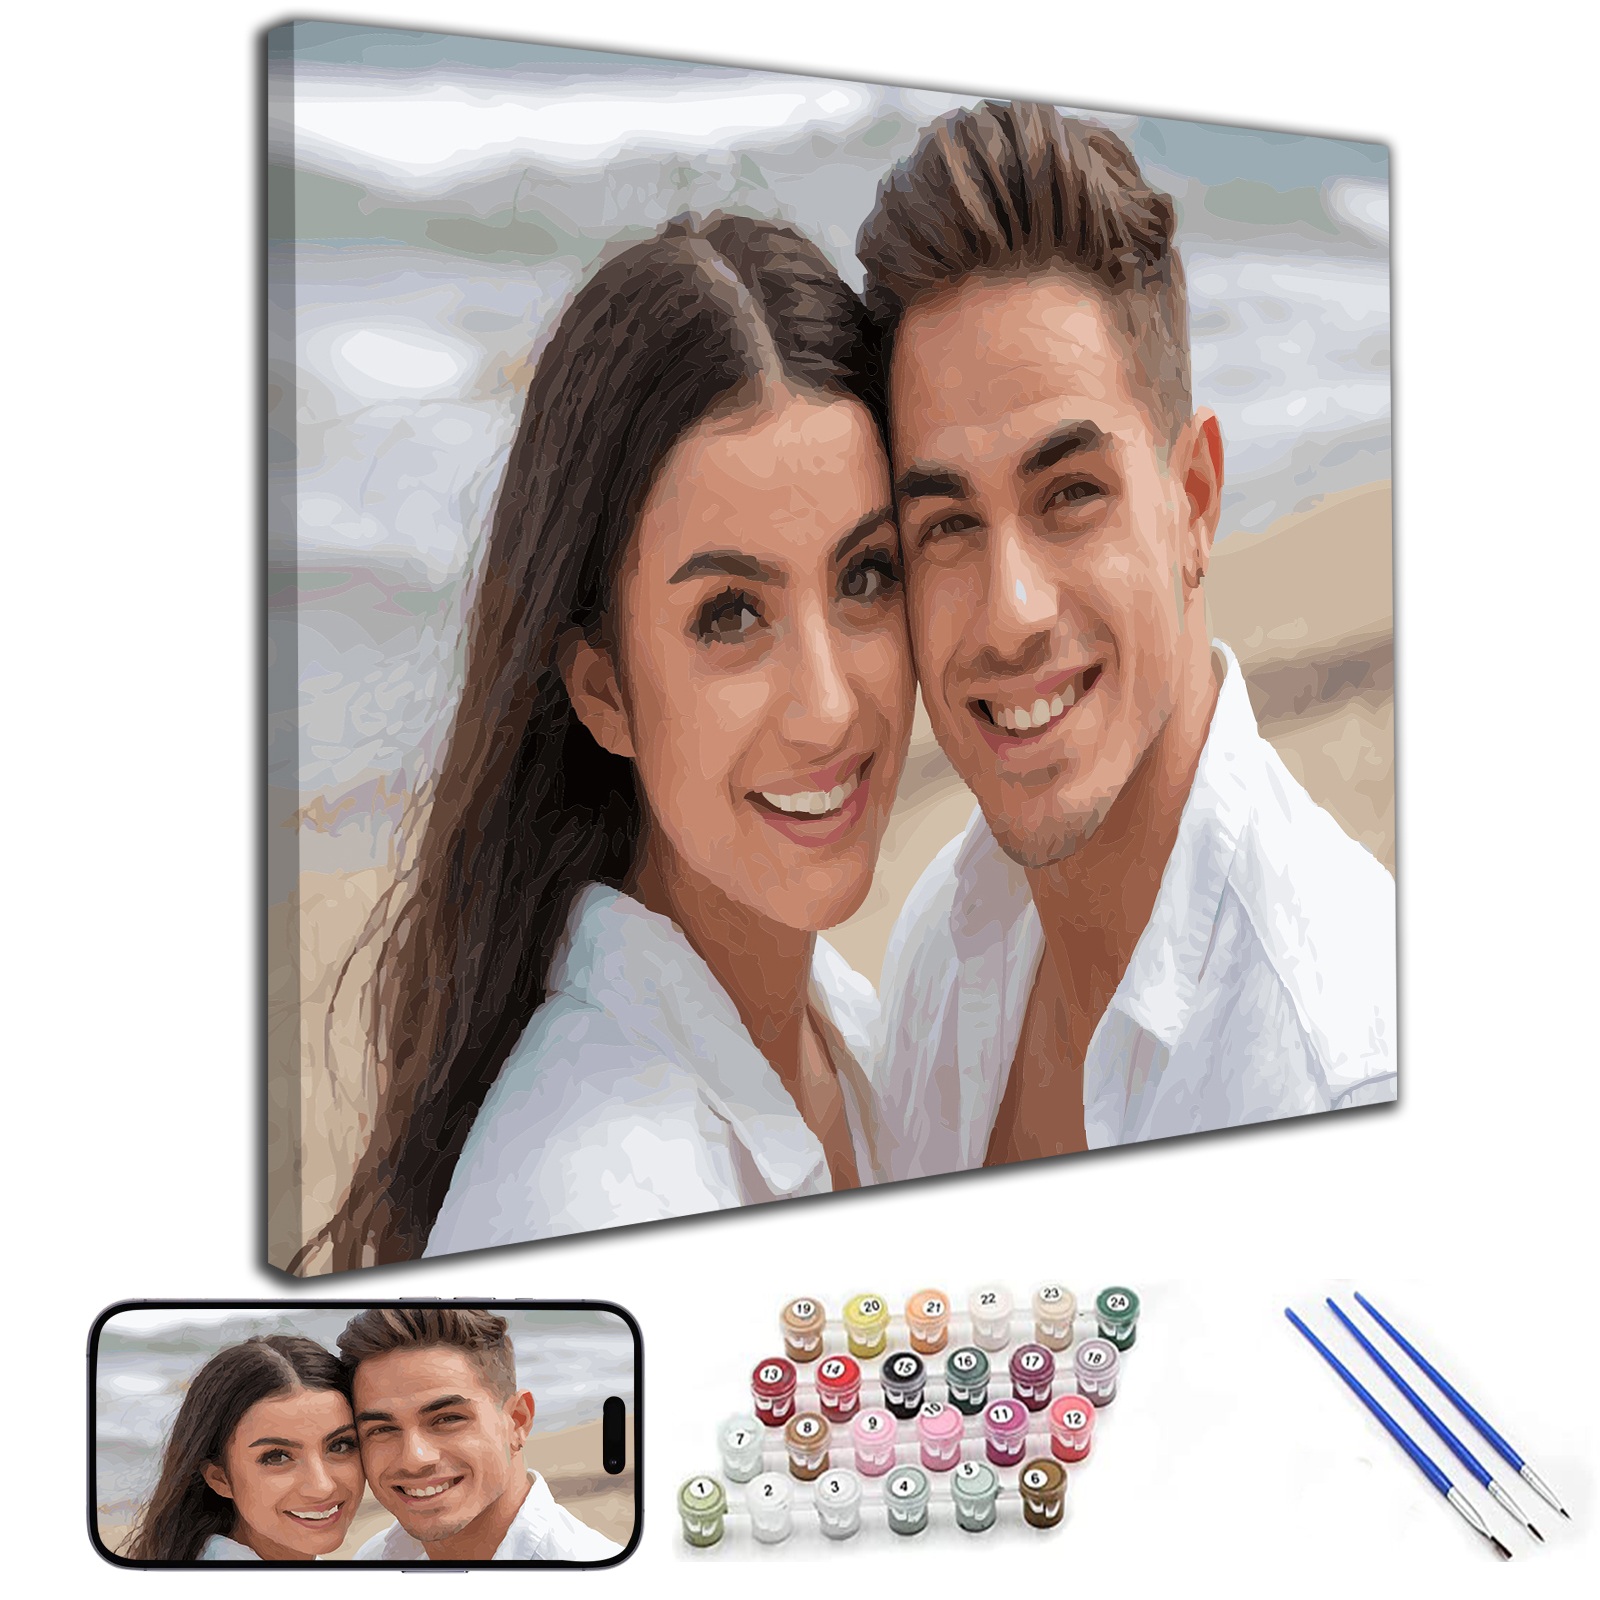
Custom Paint by Numbers Kit (e.g., from Tucocoo)
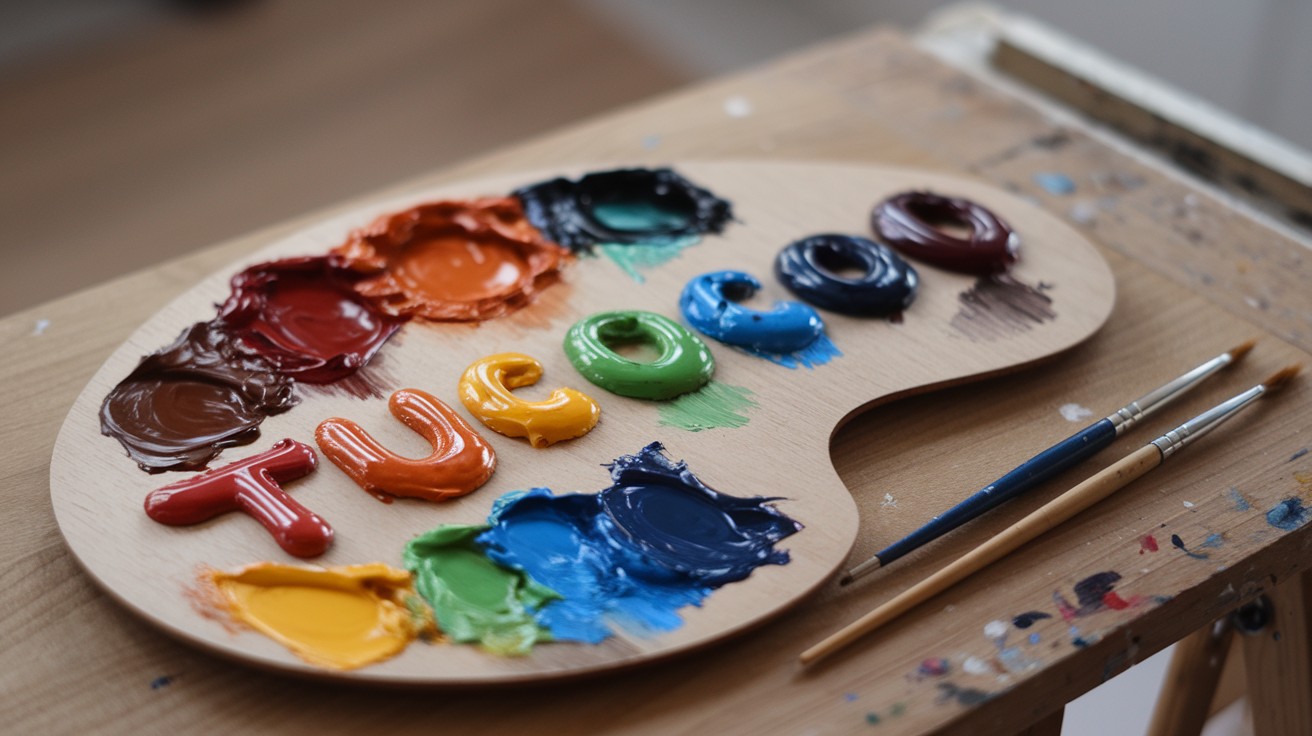
Tucocoo Custom Paint by Numbers
The kit is the most important part of your project. It includes a numbered outline of your photo and matching paints. This way, you know exactly which color to use for each section. Many people find this activity relaxing and fun. One person said painting their parents’ wedding photo made them feel happy and closer to the memory.
Brands like tucocoo make high-quality kits that people love. These kits are detailed and accurate, making it easy to create beautiful art. Whether it’s a family picture or a vacation scene, these kits turn your memories into something special.
Essential Painting Supplies: Brushes and Acrylic Paints
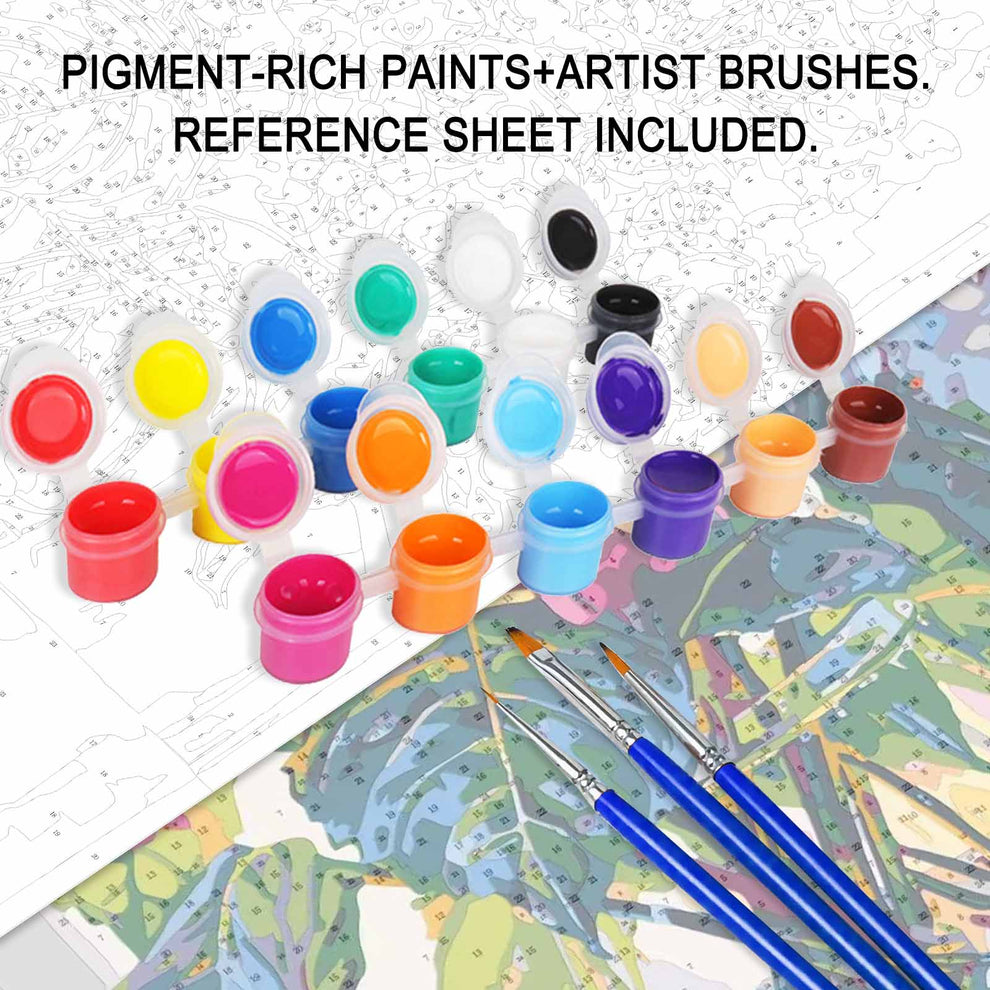
You’ll need good brushes and acrylic paints to start. Most kits include these, but having extras can be helpful. Brushes come in different sizes for big areas and small details. Acrylic paints are bright, dry quickly, and work well for all skill levels.
These supplies are very popular. The art materials market was worth $3.26 billion in 2024 and could grow to $4.78 billion by 2033. This shows how many people enjoy paint by numbers and other creative hobbies. With the right tools, painting becomes easier and more fun.
Optional Add-ons: Easel, Palette, and Varnish
Some extra tools can make painting even better. An easel helps you sit comfortably while working on bigger canvases. A palette is useful for mixing colors if you want to try new shades. Adding varnish after finishing your painting makes it look brighter and protects it for years.
These extras aren’t necessary but can improve your experience. If you want to make your artwork even better, consider getting these tools to help.
Step-by-Step Guide to Turn a Photo into Paint by Numbers

Uploading Your Photo to a Custom Paint by Numbers Service
To start, upload your photo to a trusted custom paint by numbers service. Most websites or apps make this easy to do. Pick your photo and follow the steps to upload it.
Tip: Use a clear photo with bright lighting and sharp details. This helps your painting look more like the original picture.
Many people love how their finished paintings match their photos. For example:
One person said her painting of her granddaughters was amazing and the best service she’d ever tried.
Another shared how much she loved her dog’s painting, especially the bold colors.
High-quality photos are recommended by these services. They use them to create templates that are detailed and accurate.
Selecting a Color Palette and Approving the Template
After uploading, you’ll choose a color palette and approve the design. This is where you can get creative! Services offer different color styles, from realistic shades to artistic ones.
Matching the colors to your photo is very important. Advanced tools help ensure the colors in your template look just like the original image. This makes your painting vibrant and lifelike.
You’ll get a preview of the numbered template after picking your palette. Look at it closely to check if it captures the main parts of your photo. If something seems off, ask for changes.
Note: Reviewing the template lets you make sure it’s perfect before you start painting.
Receiving Your Kit and Setting Up Your Workspace
Once you approve the design, your custom paint by numbers kit will be sent to you. The kit usually includes:
A canvas with your numbered design.
Acrylic paints that match your chosen colors.
Brushes in different sizes for small and large areas.
When your kit arrives, set up your workspace. Pick a bright spot with enough space for your materials. A sturdy table is a great choice.
Pro Tip: Keep water and a cloth nearby to clean your brushes while painting. This keeps them in good shape.
Arrange your paints and brushes before starting. Staying organized helps you focus and enjoy painting. Now, you’re ready to begin your creative adventure!
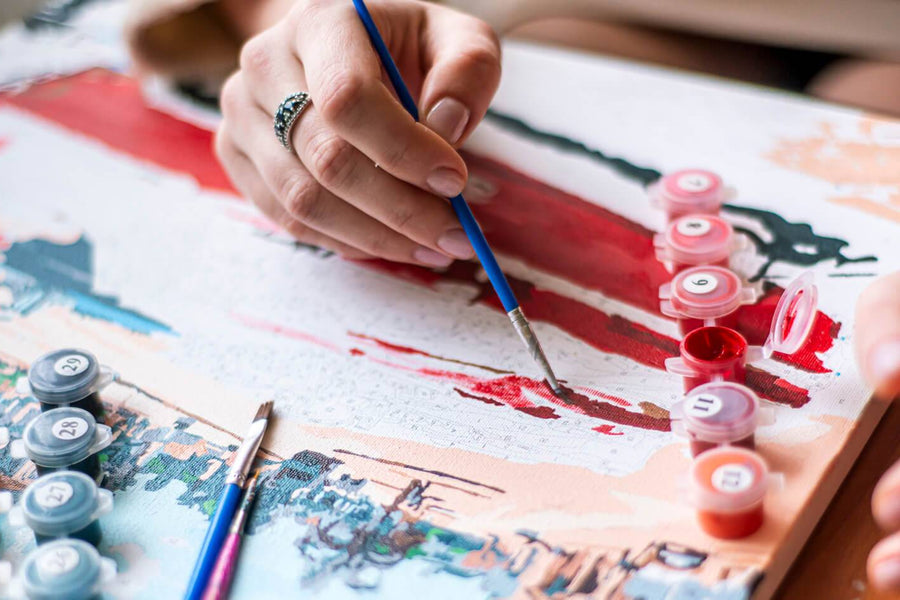
Painting by Numbers: Staying Organized and Focused
Starting a paint by numbers project is easier when you stay organized. A tidy workspace helps you focus and enjoy the process more.
Begin by arranging your paints and brushes in a way that feels right. Some people line up paints by number, while others group similar colors. Choose what works best for you. Keeping tools close saves time and keeps you focused.
Tip: Use small trays or containers to stop paints and brushes from rolling. This keeps things neat and avoids spills.
Work on one part of the canvas at a time. Finish one section before moving to the next. This helps you see progress and stay motivated. It also reduces mistakes like mixing colors or missing details.
Painting by numbers is more than a fun hobby. It helps you focus and relax. Matching colors to numbers keeps your mind busy and gives you a break from stress. This focus improves your painting and clears your thoughts.
Take your time and don’t rush. Paint by numbers teaches patience and careful work. Rushing can cause errors, so enjoy the process. Paying attention to details makes your art something you’ll be proud of.
Being organized while painting can also help you in other areas of life. Arranging tools and following the guide trains your brain to think clearly. It’s a small but helpful way to build good habits.
Adding Final Touches to Your Artwork
After filling in all the sections, it’s time for final touches. This step makes your painting look polished and unique.
Step back and look at your painting from far away. This helps you spot areas that need fixing. Maybe a color looks uneven or too light. Fixing these spots can improve the overall look.
If you want, add extra details not in the original design. For example, add a sparkle to an eye or more texture to a tree. These small changes can make your artwork stand out.
Pro Tip: Use a small brush for touch-ups and extra details. It gives you better control.
Let your painting dry completely after finishing. Acrylic paints dry fast, but wait 24 hours before handling it. Once dry, apply a varnish to protect the colors and make them shine. This keeps your painting safe from dust and fading.
Now your paint by numbers project is done! Frame it or display it proudly. You’ve turned a photo into a beautiful piece of art—something to truly admire.
Tips for Success When Creating Custom Paint by Numbers
Creating a custom paint by numbers masterpiece can be a fun and relaxing experience, but a few smart strategies can make it even better. Let’s dive into some practical tips to help you succeed and enjoy the process.
Choosing the Best Lighting for Painting
Good lighting can make or break your painting experience. Poor lighting can strain your eyes and make it hard to see the numbers or colors clearly. To avoid this, set up your workspace in a well-lit area. Natural light works best, so try painting near a window during the day. If that’s not an option, use a bright desk lamp with a daylight bulb.
Tip: Position the light source so it doesn’t cast shadows on your canvas. This ensures you can see every detail without distractions.
For those who enjoy painting in the evening, consider investing in an adjustable LED lamp. These lamps let you control the brightness and color temperature, making it easier to work on your project. With the right lighting, you’ll find it much easier to stay focused and enjoy the process.
Practicing Patience and Taking Breaks
Painting by numbers for adults is all about enjoying the journey, not rushing to the finish line. It’s easy to get caught up in the excitement and try to complete your painting in one sitting. However, this can lead to mistakes or fatigue. Instead, pace yourself and take regular breaks.
Divide your painting into sections and focus on one area at a time. After completing a section, step back, stretch, or grab a snack. This helps you recharge and return to your project with fresh eyes.
Pro Tip: Use breaks to admire your progress. Seeing how far you’ve come can boost your motivation and keep you excited about finishing your artwork.
Remember, patience is key. The more time and care you put into your painting, the more rewarding the final result will be. Treat it as a form of mindfulness, where each brushstroke helps you relax and unwind.
Testing Colors in a Small Area First
Before diving into your canvas, it’s a good idea to test your colors. Sometimes, the paint might look slightly different on the canvas than it does in the container. Testing colors in a small, inconspicuous area ensures you’re happy with how they appear.
Use a corner of the canvas or a scrap piece of paper to try out each color. This helps you see how the paint dries and whether it matches your expectations. If a color seems too light or dark, you can adjust your technique by layering or mixing paints.
Note: Testing colors also helps you get a feel for the consistency of the paint. If it’s too thick, add a drop of water to make it easier to work with.
This simple step can save you from potential frustration later on. It’s one of the best tips for DIY paint by numbers projects, especially if you’re aiming for a polished and professional-looking result.
Cleaning and Maintaining Your Brushes
Taking care of your brushes is just as important as the painting itself. Neglecting them can lead to dried paint buildup, poor performance, and even ruined artwork. But don’t worry—keeping your brushes in great shape is easier than you think. Here’s how you can do it.
Why Brush Maintenance Matters
When you clean your brushes regularly, you’re setting yourself up for success. Here’s why it’s so important:
Dried paint can mess up your colors. It sticks to the bristles and transfers unwanted shades onto your canvas.
A clean brush gives you smooth, even strokes. Dirty brushes can leave streaks or a chalky texture.
Proper care keeps your brushes flexible and ready for your next project. Stiff bristles make painting harder and less enjoyable.
By taking a few minutes to clean your brushes after each session, you’ll save yourself a lot of frustration later.
How to Clean Your Brushes the Right Way
Cleaning your brushes doesn’t have to be a chore. Follow these simple steps to keep them in top condition:
Rinse Immediately: After using a color, rinse your brush in a cup of water. Swirl it around to remove most of the paint.
Use Soap and Water: For a deeper clean, gently wash the bristles with mild soap and warm water. Avoid hot water—it can damage the glue holding the bristles.
Shape the Bristles: After rinsing, reshape the bristles with your fingers. This helps them dry in their original form.
Dry Flat: Lay your brushes flat on a towel to dry. Standing them upright can cause water to seep into the handle, which might loosen the bristles.
Tip: Keep a separate jar of clean water for rinsing. This prevents dirty water from affecting your colors.
Long-Term Brush Care
Want your brushes to last even longer? Here are a few extra tips:
Don’t let paint dry on your brushes. Even a few minutes can make cleaning harder.
Store your brushes with the bristles facing up or flat. This prevents them from bending or getting damaged.
Use a brush cleaner or conditioner occasionally. These products keep the bristles soft and extend their lifespan.
Taking care of your brushes doesn’t just improve your painting experience. It also saves you money by reducing the need to replace them frequently. With a little effort, your brushes will stay in great shape, ready to help you create your next masterpiece.
Final Steps for Your Paint by Numbers Artwork
Letting the Painting Dry Fully
After finishing your paint by numbers artwork, let it dry fully. Acrylic paints dry fast, but waiting 24 hours ensures all layers are set. Place your painting in a clean, safe spot while it dries. Don’t touch the surface to avoid smudges or marks.
Tip: To dry faster, use a fan or keep it in a breezy room. Make sure pets or kids can’t reach it!
Adding a Protective Coating
Protecting your painting with varnish is an important step. A clear acrylic sealer or varnish keeps dust and moisture away. It also makes the colors brighter and gives a polished look.
Why varnish matters:
It helps your artwork last longer.
The coating adds a shiny or smooth finish.
It makes details and edges stand out more.
Use a soft brush or spray to apply the varnish evenly. Work in a ventilated area and let it dry before touching the painting.
Pro Tip: Pick a matte, satin, or glossy finish based on your style. Each gives a different effect.
Framing and Showing Off Your Artwork
Framing your painting makes it look better and keeps it safe. Use acid-free materials to stop yellowing over time. For extra care, choose UV-protective glass or acrylic to block harmful light.
When hanging your artwork, remember:
Keep it away from sunlight and heat to protect it.
Use special mats to stop the frame from touching the painting.
Leave space between the wall and painting for airflow.
Displaying your paint by numbers piece in the right spot makes it a highlight. Whether in your home or office, it will grab attention and start conversations.
Changing photos into paint by numbers is more than art. It’s a way to save special memories while having fun. This activity is simple and helps you relax. Beginners and hobbyists love it because it’s easy and not stressful. It’s also a great way to learn painting without pressure.
Online tools make this process super simple for everyone. These tools take your photo, divide it into numbered parts, and give you a custom painting guide. Whether it’s for a gift or home decor, it’s easy and enjoyable to do.
Did you know 80% of people like brands that offer personal experiences? This shows how much we enjoy unique and custom-made things. With paint by numbers, you can make art that feels special and personal.
So, why wait? Get your kit, choose a photo you love, and start painting today. You’ll feel proud as your favorite memory turns into beautiful art!
FAQ
What types of photos work best for paint by numbers?
Choose photos with clear subjects, good lighting, and simple details. High-resolution images with strong contrast make the process easier and the final artwork more vibrant. Avoid overly busy or blurry pictures.
How long does it take to complete a paint by numbers project?
It depends on the size and complexity of the design. Smaller canvases might take a few hours, while larger ones could take several days. Take your time and enjoy the process!
Can I mix colors to create custom shades?
Yes, you can! If you want to experiment, use a palette to mix small amounts of paint. Test the new shade on a scrap piece of paper before applying it to your canvas.
Tip: Keep track of your custom mixes by noting the ratios of colors used.
Do I need artistic skills to try paint by numbers?
Not at all! Paint by numbers is beginner-friendly and designed for everyone. The numbered guide makes it easy to follow, so you can create beautiful artwork without prior experience.
How do I preserve my finished painting?
Let your painting dry completely, then apply a clear varnish for protection. This seals the colors and adds a polished finish. Frame your artwork to keep it safe and display it proudly.
Pro Tip: Use UV-protective glass in your frame to prevent fading over time.