Step by Step Guide to Drawing a Christmas Tree for Beginners
Ready to try christmas tree drawing, even if you’re a total beginner? You don’t need any experience. You’ll see how to draw a christmas tree in a fun, relaxed way. There’s an easy way to draw each part. Mistakes? No worries! Just grab your pencil and enjoy your christmas tree drawing.
Key Takeaways
Begin your Christmas tree drawing with basic shapes and soft pencil lines. This helps you fix mistakes easily and keeps your tree even. Use the paint by numbers way to add color with confidence. You will see how light and dark colors make your tree look real. Decorate your tree with simple shapes like stars, circles, and wavy lines. Add your own ideas to make your art special and fun.
Christmas Tree Drawing Tutorial
Materials Checklist
Before you start your christmas tree drawing, gather your supplies. You do not need anything fancy. Most art educators suggest starting with simple tools. Here’s a quick list to help you get ready:
White drawing paper or cardstock
Eraser (mistakes are part of learning!)
Black pen or fine line marker (for outlining)
Markers (alcohol-based markers work well for blending)
Optional: Colored pencils, watercolor paints, pastels, or gel pens for highlights
Tip: Try practicing on a scrap piece of paper first. This helps you get comfortable before you start your main christmas tree drawing.
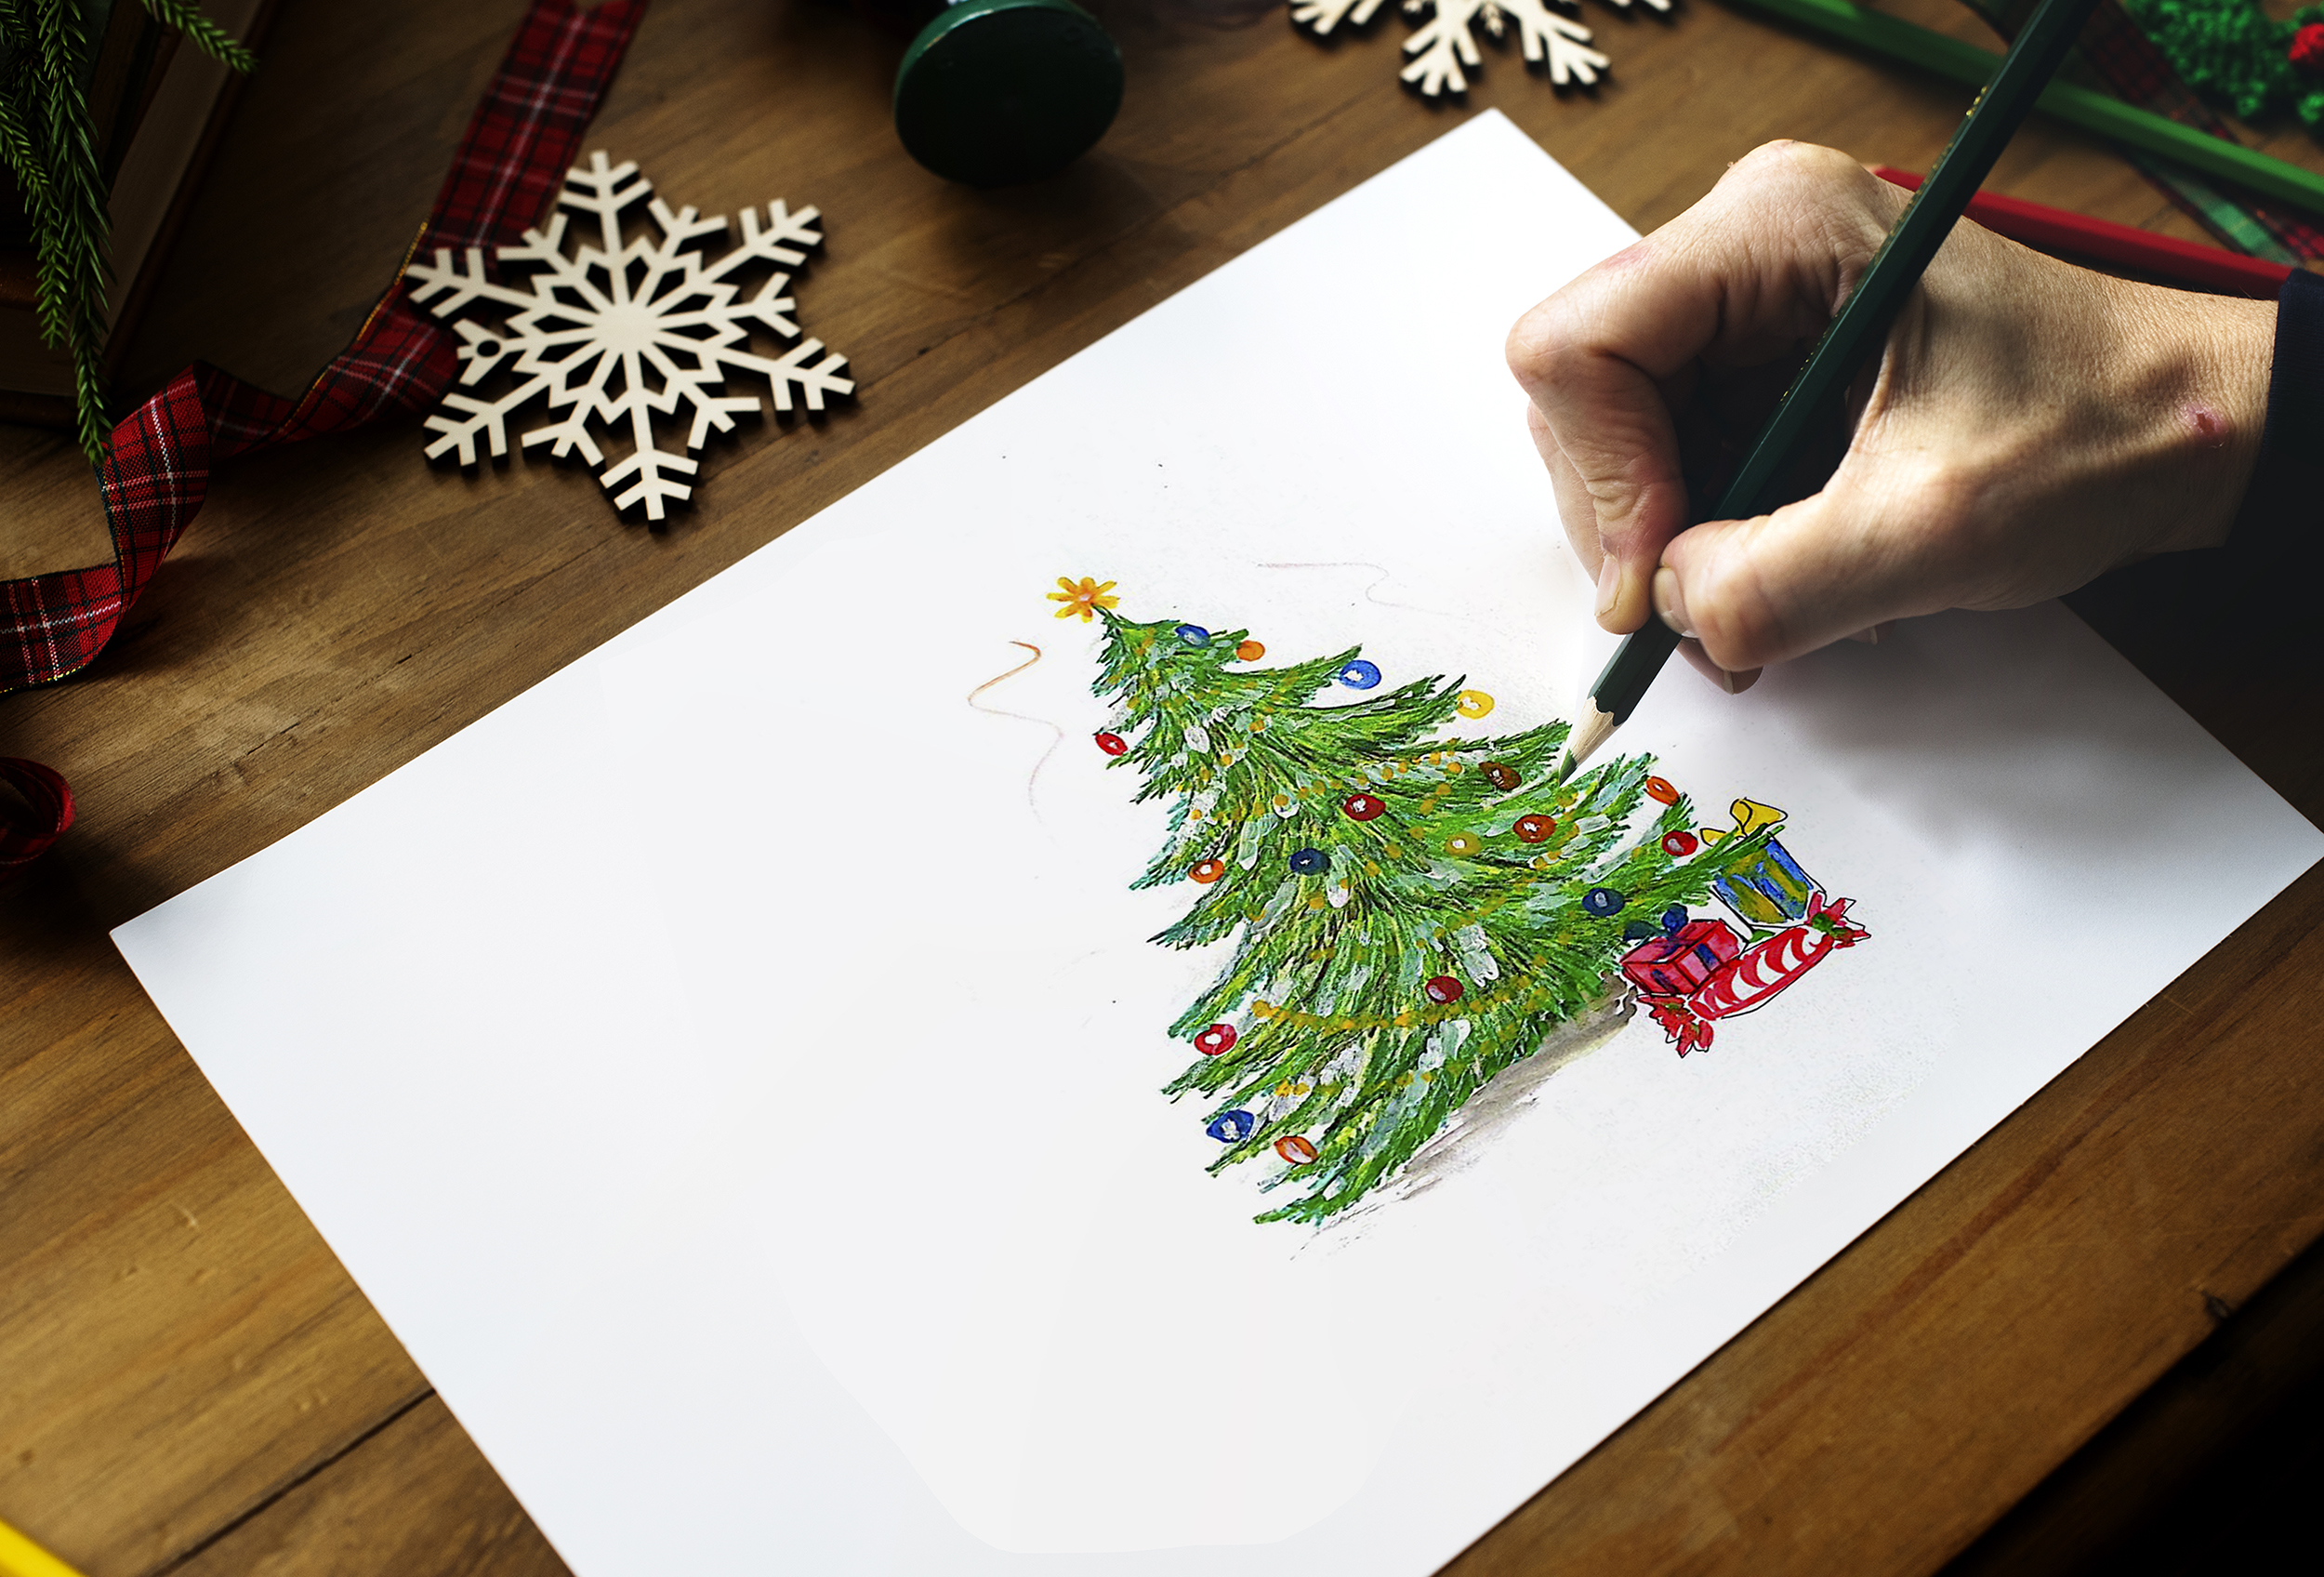
How to Draw a Christmas Tree Outline
Let’s break down the basic shape of a fir tree. You’ll use simple shapes, so don’t worry if you’re new to drawing. Follow these step by step drawing instructions:
Draw a straight center line. This will be the trunk and help you keep your tree balanced.
Sketch a large triangle over the center line. This triangle forms the outline of your tree. You can make it tall and skinny or short and wide—your choice!
Use light pencil strokes. Light lines are easy to erase or draw over later.
Mark a few horizontal lines across the triangle. These will show where your branches go. Place them closer together at the top and farther apart at the bottom.
You now have the basic outline for your christmas tree drawing tutorial.
Add the Trunk and Center Line
Now, let’s add the trunk. This step is simple but important.
Draw a small rectangle at the bottom of your triangle. This rectangle is the tree trunk.
Make sure the trunk lines up with your center line. This keeps your tree looking straight.
If you want, you can add a few roots or a snowy base for extra detail.
The center line helps you keep everything even. It’s a great guide for beginners learning how to draw a christmas tree.
Draw Branches with Zigzag Lines
Here comes the fun part—drawing the branches! You’ll use zigzag lines to make your tree look full and festive.
Start at the top of your triangle. Draw a short zigzag line from one side of the triangle to the other. This is your first layer of branches.
Move down to the next marked level. Make your zigzag lines a little longer as you go down. Each layer should get wider.
Repeat this process for each level. The bottom branches should be the longest.
Don’t worry about making perfect zigzags. Real trees have uneven branches, so your drawing will look more natural if you mix it up.
Note: Try being a “line detective.” Look around your room or outside and notice different types of lines. Practicing zigzag lines on a separate sheet can help you get the hang of drawing the branches.
Paint by Numbers Method
If you want to add color to your christmas tree drawing, the paint by numbers method makes it easy. This approach works great for beginners and helps you create a colorful, detailed tree without stress.
Divide your tree into sections. You can use the branch levels or make your own shapes.
Assign a number to each section. Each number matches a color you’ll use.
Fill in each section with the matching color. Try using at least two shades of green for the tree and brown for the trunk. This keeps your drawing from looking flat.
Use gel pens or white pencils to add highlights, like snow or shiny ornaments.
Here’s a quick look at why the paint by numbers method is so helpful:
Benefit |
Explanation |
|---|---|
Builds Confidence |
You don’t have to guess what to do next. Each step is clear, so you feel more confident as you go. |
Teaches Color Theory |
You learn how different colors work together, making your tree look lively and bright. |
Explains Light and Dark |
You see how adding light and dark colors makes your tree look more real. |
Systematic and Foolproof |
The step by step drawing process keeps you on track and helps you avoid mistakes. |
Encourages Creativity |
Once you get the hang of it, you can try your own colors or add extra decorations. |
Psychological Benefits |
Coloring by numbers is relaxing and fun, perfect for holiday art time. |
You can use markers, colored pencils, or even watercolor paints for this part. The paint by numbers method makes your christmas tree drawing tutorial easy to follow and fun to finish.
Easy Step by Step Decorating
Add a Star or Topper
You can make your Christmas tree stand out by adding a star or topper. Start with a simple star shape. Draw a small, minimalistic star right at the top of your tree. You don’t need fancy details. Just sketch a basic five-pointed star or even a small gold or bronze star. If you want, try a triangle or a simple circle for a different look. These shapes are perfect for beginners and quick to draw. Want to get creative? Add a few spiky lines or a ribbon under your star for extra flair.
Tip: Pretend you’re in Kindergarten. Keep it playful and don’t worry about making it perfect!
Draw Ornaments and Garlands
Now, let’s decorate your tree with ornaments and garlands. The easiest ornaments to draw are circles. Scatter small and large circles all over your tree. These circles look like glass bulbs or snowflakes. If you want to try something new, draw a turnip shape with a flat top and pointed bottom. Add wavy lines, stripes, or tiny stars to make each ornament unique. For garlands, draw a wavy line that loops across the branches. You can use a white marker to add dots on the garland and tree. This makes your garland pop and adds a snowy effect.
Color Your Christmas Tree Drawing
Color brings your tree to life! Use the easy step by step drawing method you learned earlier. Start with light green for the top branches and use darker green as you move down. This creates depth and makes your tree look real. Try adding extra details like red, gold, or blue for ornaments. If you want your tree to shine, add some drawing christmas lights using yellow or white dots. Don’t forget to color the trunk brown and add a little shadow under the tree.
Final Touches and Personalization
You can make your tree special by adding extra details. Try using shading and tonal value to show where the light hits your tree. Add a few presents under the tree or draw a snowy base. If you make a mistake, just draw over it. Simple decorating steps help you feel more confident and make art fun. Look at art from other artists for inspiration. Remember, every tree is unique, and your creativity makes it shine!
You can try your own tree variations or mix in other holiday drawings. Here are some popular beginner projects:
Simple Christmas trees
Santa Claus (with or without a beard)
Snowmen
Igloos
Snowflake doodles
Christmas-themed doodles
Scenes with Santa, snowmen, and reindeer
Practicing these drawings helps you get better and find your style. Easy guides make art fun and boost your confidence.
Step-by-step tutorials break things down
Coloring pages and worksheets keep you interested
You feel proud when you finish each drawing
Keep drawing and enjoy every step—your tree will always be unique!

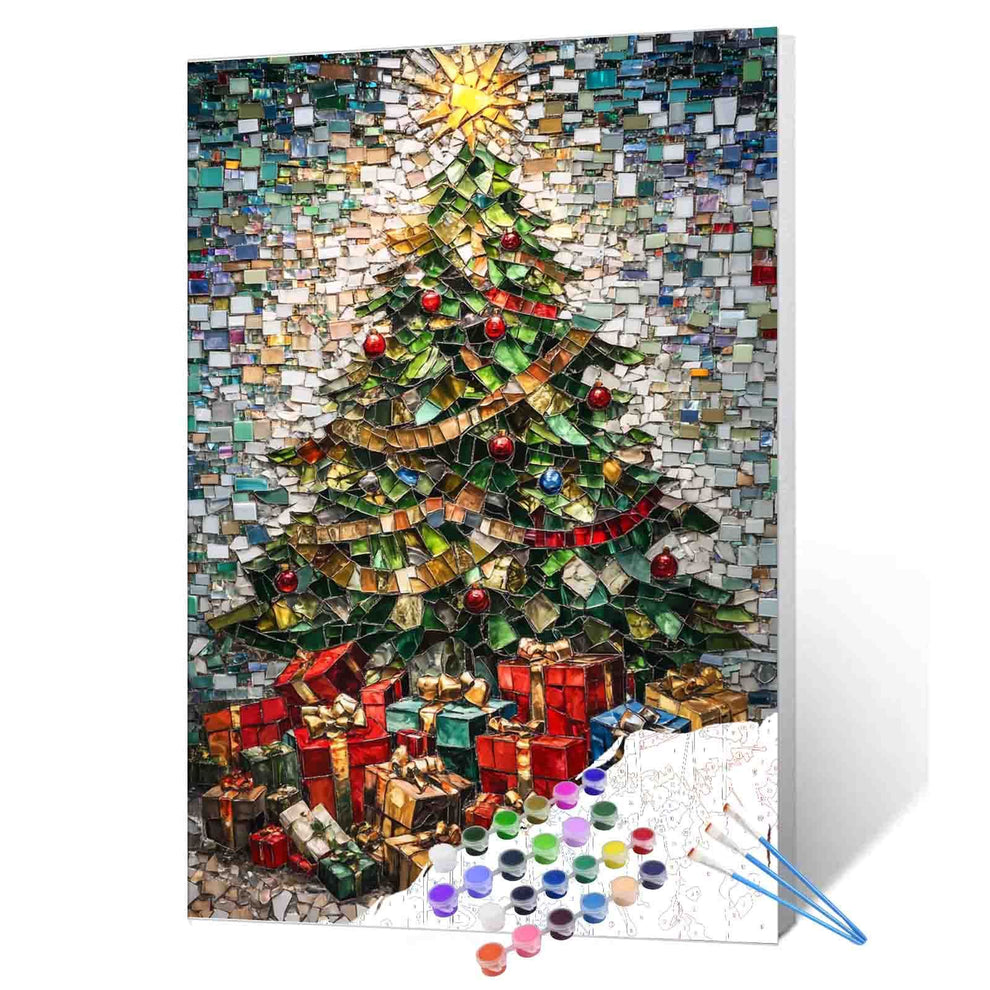
Tucocoo Paint by Numbers
FAQ
How do I fix mistakes in my drawing?
Don’t worry! Just use your eraser and try again. Light pencil lines make it easy to change things. Every artist makes mistakes. You learn as you go.
What if my tree looks different from the example?
Your tree is unique! No two trees look the same. You can add your own style. Try new shapes or decorations. Have fun and enjoy your drawing.
Can I use crayons or markers instead of colored pencils?
Absolutely! You can use crayons, markers, or even paints. Pick what you like best. Mixing different tools can make your tree look extra colorful and fun.