Best Pumpkin Painting Ideas in 2025
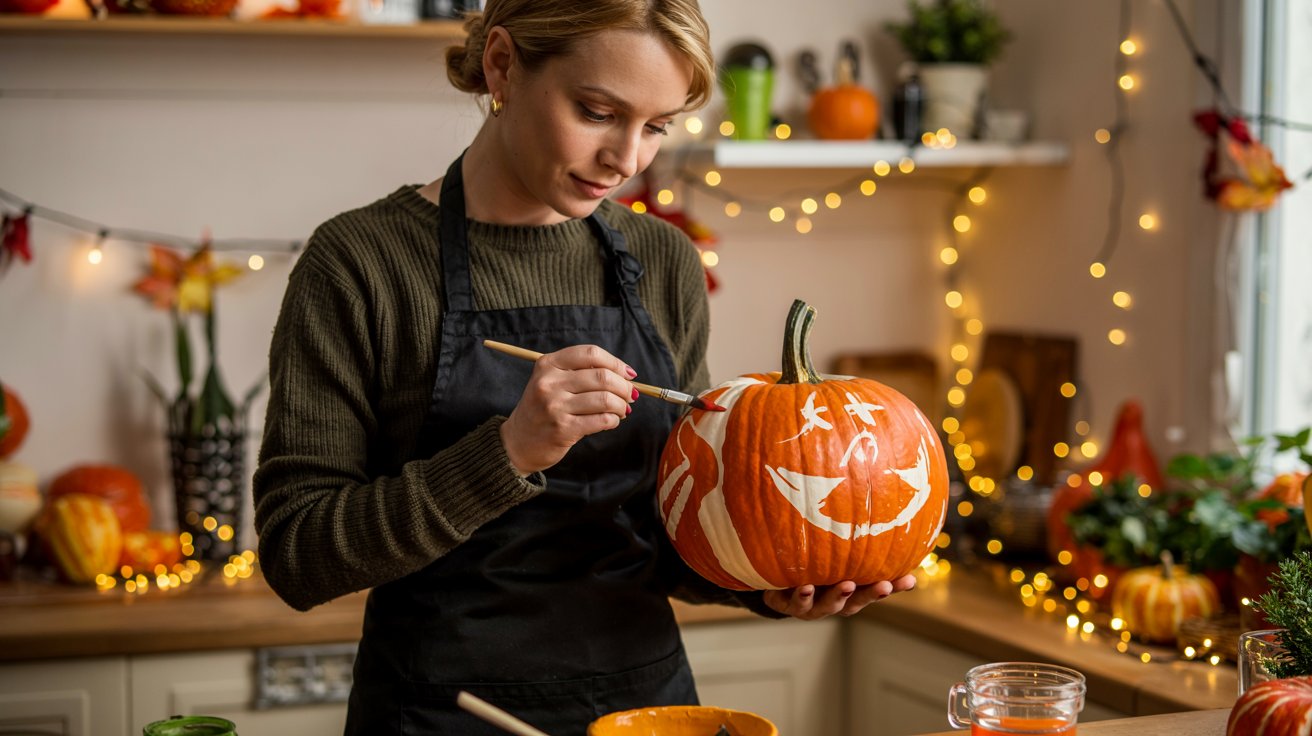
Pumpkin painting is a fun and creative activity this year, especially with all the exciting pumpkin painting ideas available! It’s perfect for both skilled artists and beginners. You can turn a plain pumpkin into something amazing. Make it bold and colorful or simple and neat. There are so many ideas to try. Plus, it’s cleaner than carving pumpkins. So, get your brushes, use your creativity, and start painting pumpkins today!
Key Takeaways
Painting pumpkins is a fun and easy activity for everyone. It lets you be creative without the mess of carving.
Try different styles like flowers, simple designs, or fun patterns. Each style helps you make your pumpkins unique for any event.
Use glow-in-the-dark paint to make them shine at night. This makes your Halloween decorations cool and safer than using candles.
Add custom letters or initials to your pumpkins. This makes them special and helps them stand out.
Keep your painted pumpkins fresh by sealing them. Store them in a cool, dry spot to make them last all season.
Creative Pumpkin Painting Ideas
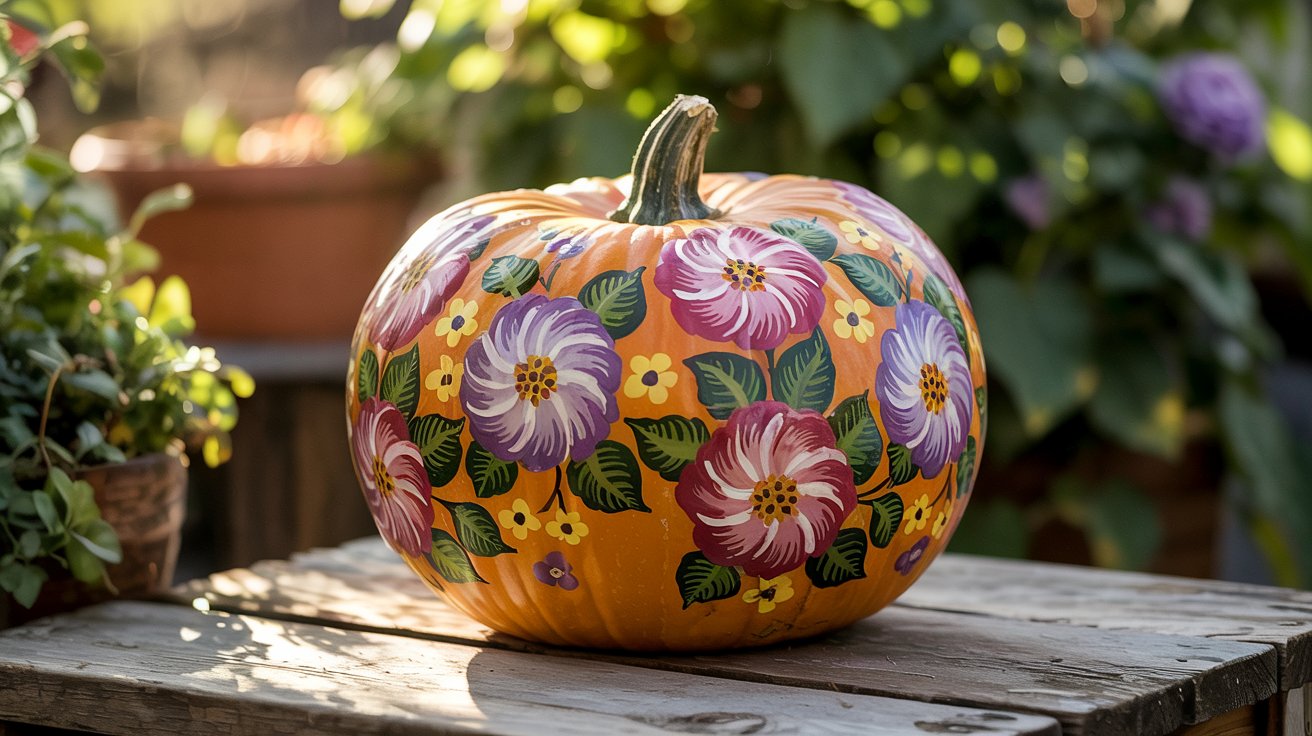
Floral and Botanical Pumpkin Painting Ideas
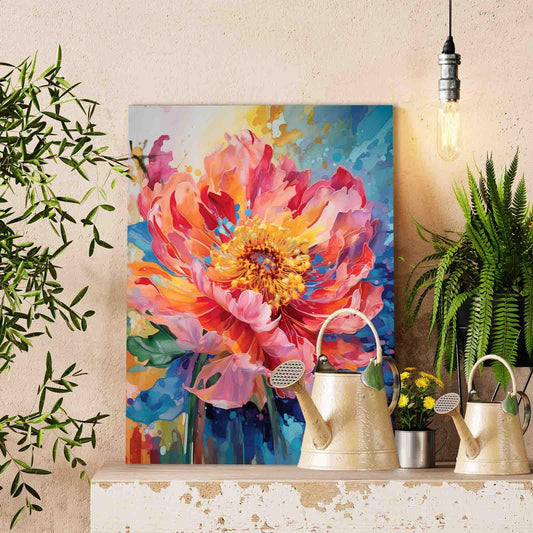
Turn your pumpkin into a beautiful flower design! This idea brings nature’s charm to your fall decorations. Use soft pastel colors for gentle flowers or bright colors with paint pens for bold designs. For a simple look, draw basic flower outlines. It’s easy but still looks amazing.
Here’s a cool tip: draw vines and leaves curling around your pumpkin. Add small flowers to make it magical. If you like writing, mix fancy lettering with flower patterns. Write your name or a fun quote to make your pumpkin special.
Flower and plant designs are loved by many art fans. They’re fresh, trendy, and great if you want something different from spooky Halloween styles. Grab your paintbrushes and let your pumpkin bloom with beauty!
Minimalist Pumpkin Painting Ideas
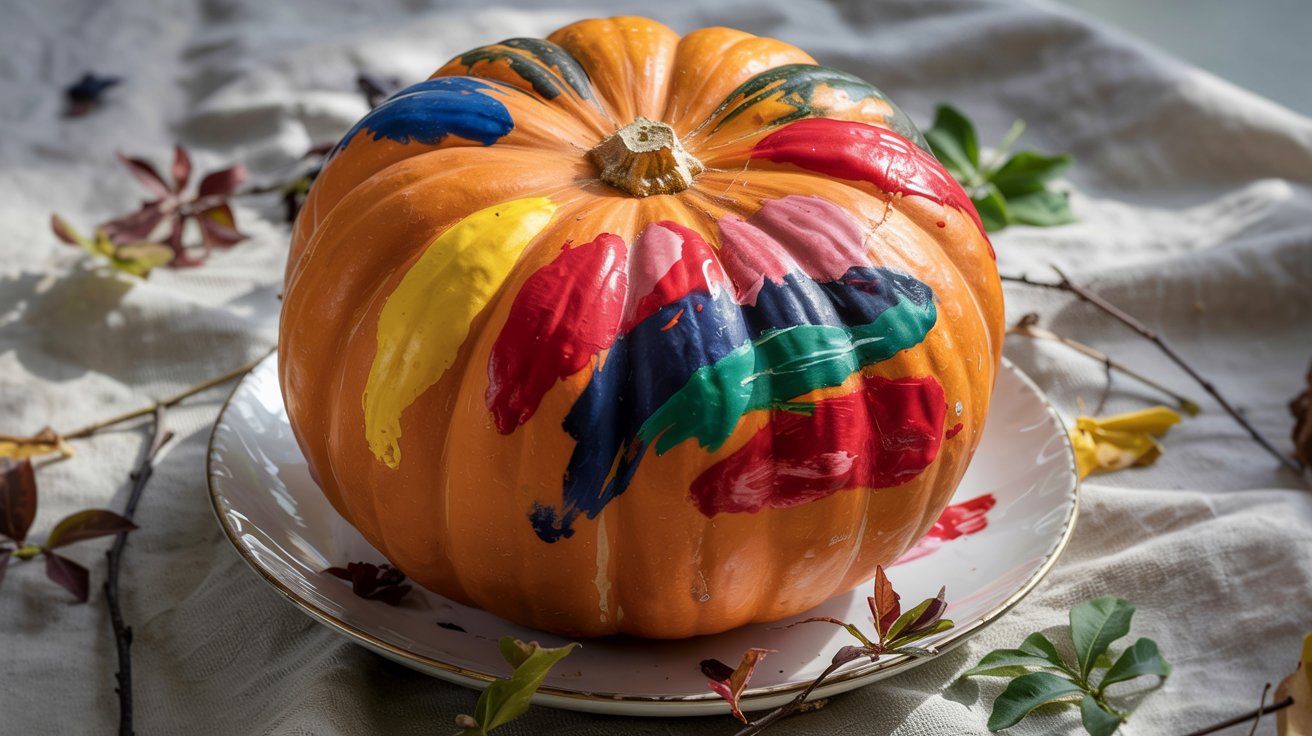
Simple designs can be just as cool! Minimalist pumpkin painting is all about clean and easy styles. It’s great for beginners or anyone who likes a neat look. Use soft colors like pastels or neutral shades for a calm vibe.
Try painting shapes like triangles or stripes for a modern touch. You can also use one color for a sleek design. A single flower or a few leaves with thin lines can make your pumpkin look fancy and stylish.
Minimalist pumpkin ideas are simple but super creative. They’re perfect for showing your style without doing too much.
Whimsical Pumpkin Painting Ideas for Kids
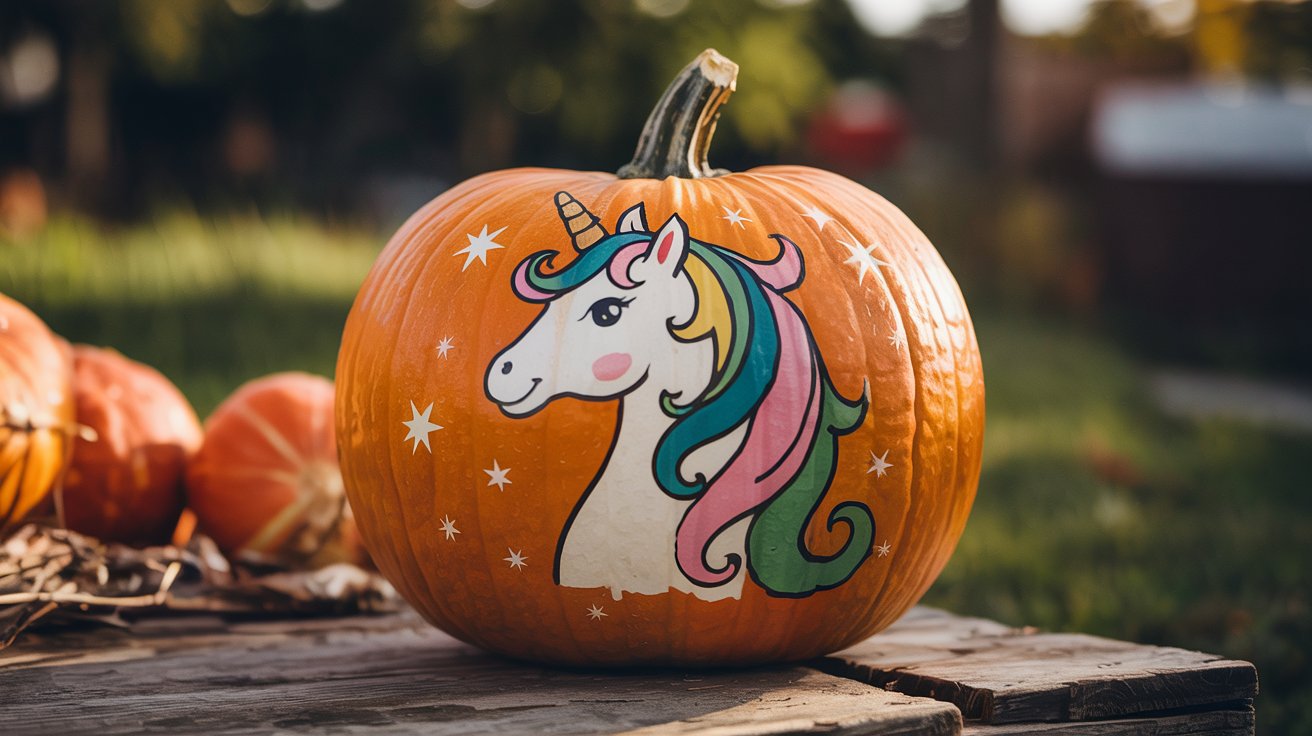
Kids love fun projects, and whimsical pumpkin painting is perfect for them! Let them use bright colors, funny faces, and silly patterns. Glow-in-the-dark paint can make their pumpkins light up at night.
You can also turn pumpkins into fun characters. Paint one to look like a unicorn, superhero, or favorite cartoon. Add googly eyes, glitter, or stickers for extra fun.
Whimsical designs are great for family craft time. They’re easy, fun, and a wonderful way to spend time together. Plus, kids will be proud to show off their unique pumpkins!
Halloween Pumpkin Painting Ideas with a Twist
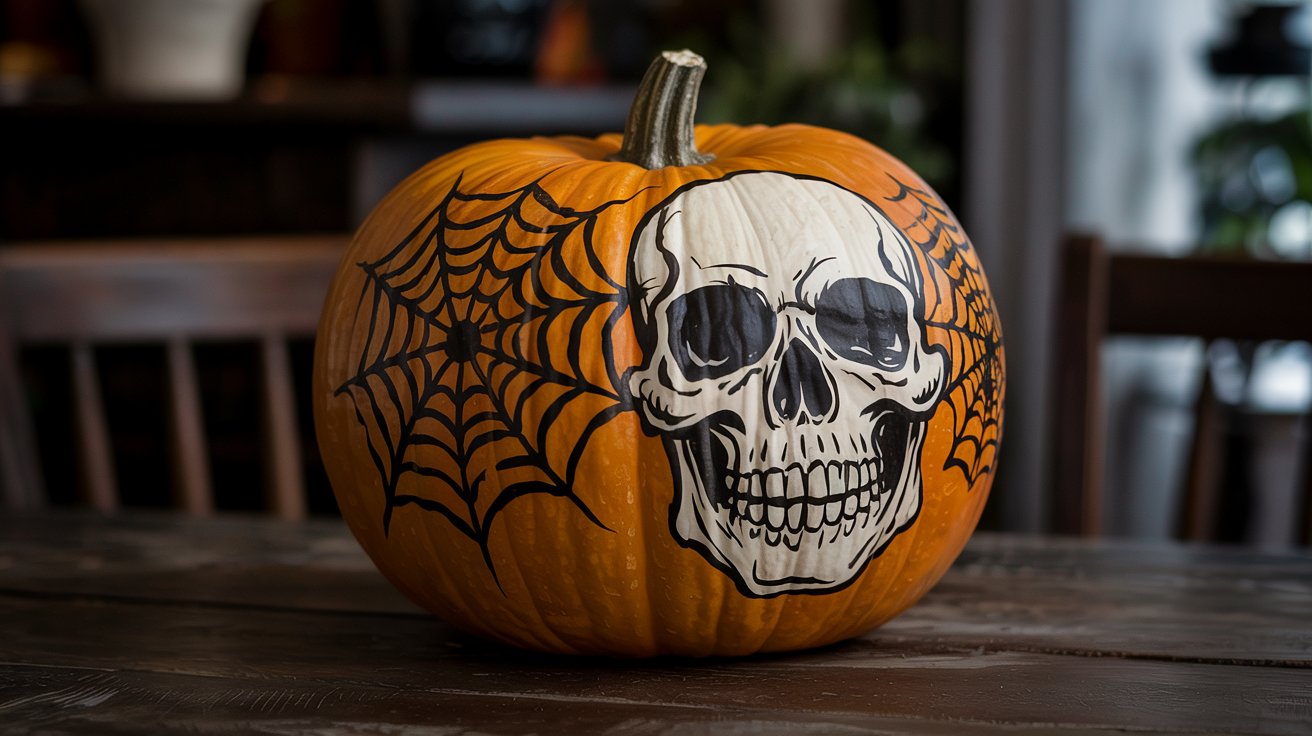
Halloween doesn’t always need to be scary or spooky. This year, try new and fun pumpkin painting ideas. Be creative and surprise everyone with your unique designs!
Glamorous Gothic: Skip orange and black. Use shiny gold, silver, or bronze. Add lace patterns or spiderwebs for a fancy gothic style.
Pop Culture Pumpkins: Paint pumpkins as your favorite movie characters or memes. Imagine a pumpkin looking like Spider-Man or Baby Yoda!
Day of the Dead Style: Use bright colors and flowers inspired by Día de los Muertos. Add sugar skull designs for a festive and spooky look.
These cool styles make painted pumpkins great for decorations. Painted pumpkins last longer than carved ones, so they’re perfect for the whole season. Plus, they’re eco-friendly and let you show off your creativity.
Glow-in-the-Dark Pumpkin Painting Ideas ✨
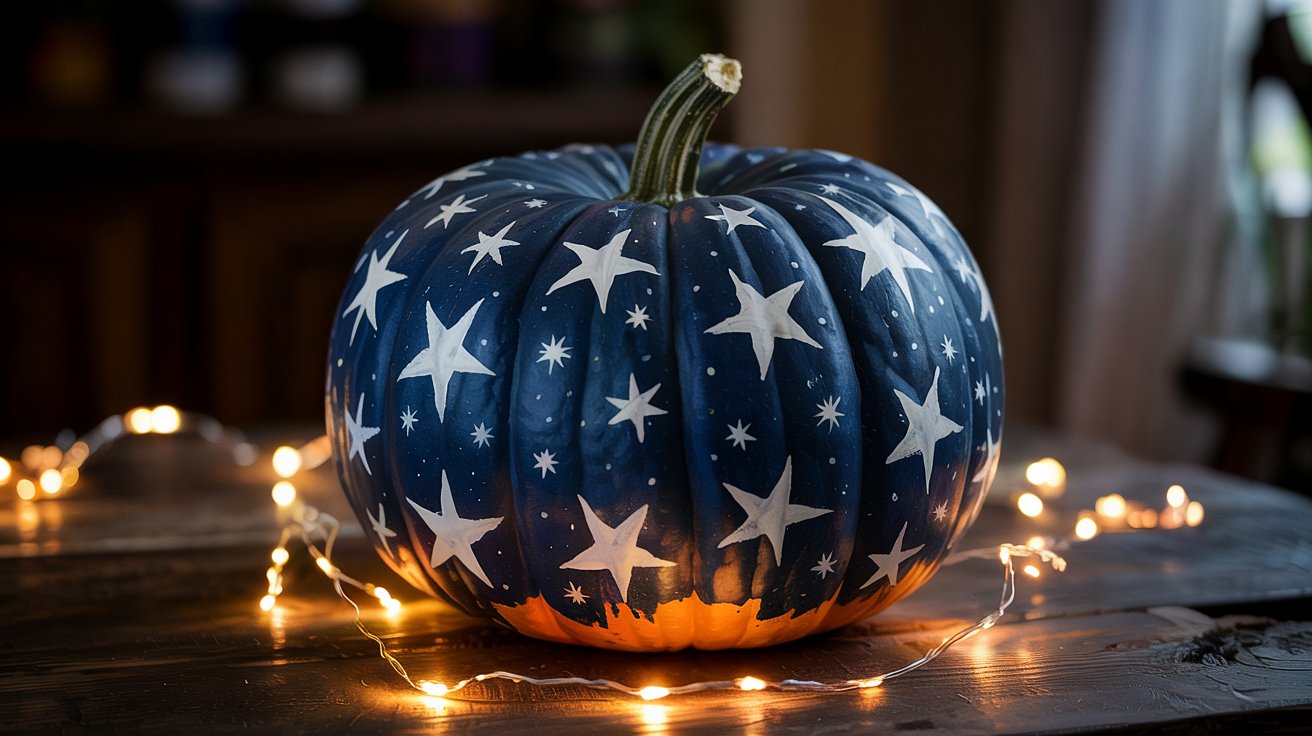
Make your Halloween nights magical with glowing pumpkins! They’re fun to make and look amazing in the dark.
Here’s how to do it:
Paint the pumpkin black or dark for a bold base.
Use glow-in-the-dark paint for stars, moons, or spooky faces.
Sprinkle glow-in-the-dark glitter on wet paint for extra sparkle.
These glowing pumpkins are great for parties or outdoor displays. Kids will love the glow, and adults will admire the creativity. They’re also safer than using candles in carved pumpkins.
Personalized Pumpkin Painting Ideas with Lettering 🖌️
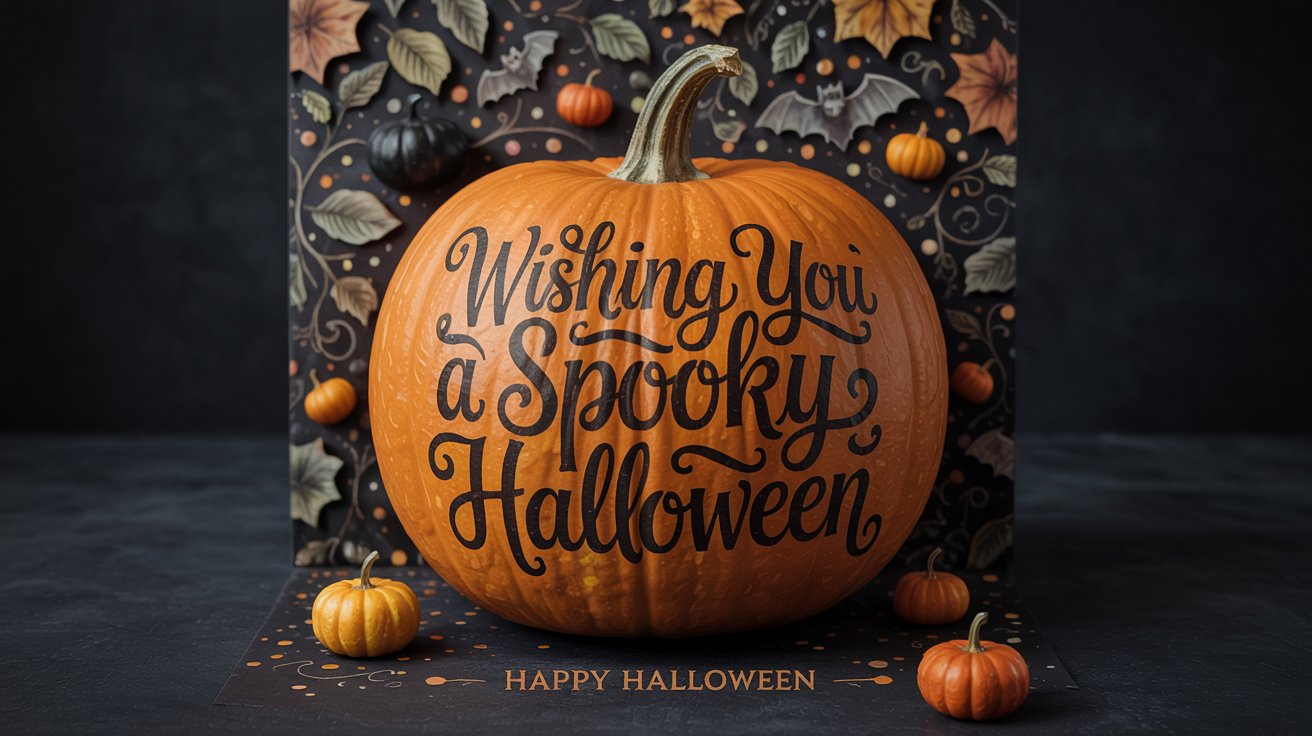
Make your pumpkins special with custom lettering. Write your family name, a quote, or a fun greeting to make them unique.
Chalkboard Style: Use chalkboard paint and chalk markers to write messages. Change the words anytime!
Elegant Calligraphy: Use white or metallic pens to write in fancy letters. Add small designs like stars or leaves around the words.
Monogram Magic: Paint a big letter in the middle of your pumpkin. Surround it with flowers or patterns.
Personalized pumpkins are great for gifts or porch displays. They combine creativity with a personal touch, making your pumpkins stand out!
Abstract Pumpkin Painting Ideas
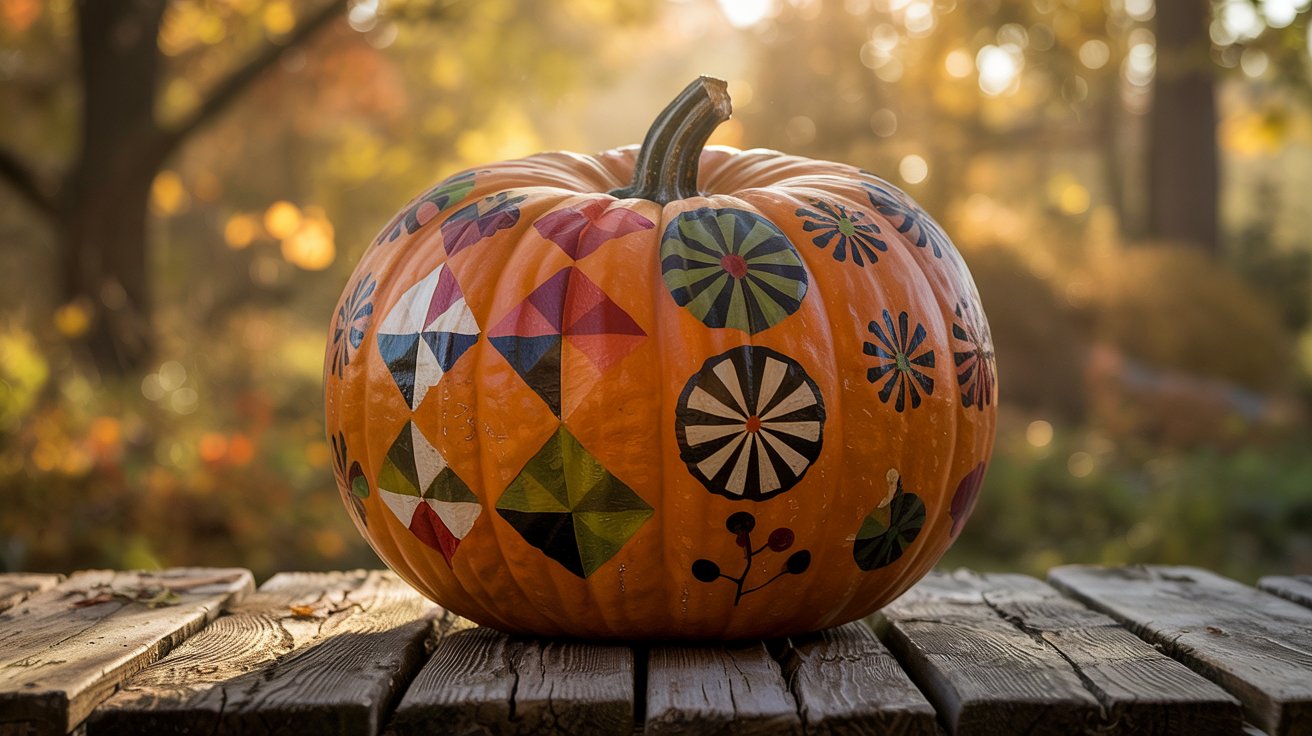
Abstract pumpkin painting lets you unleash your inner artist. Forget the rules and let your imagination run wild! This style is all about bold colors, unique patterns, and creative freedom.
Here are some fun ideas to try:
Splatter Art: Dip your brush in paint and flick it onto the pumpkin. Use multiple colors for a vibrant, chaotic look.
Geometric Shapes: Paint triangles, circles, or zigzags in contrasting colors. Overlap them for a layered effect.
Color Blocking: Divide your pumpkin into sections and paint each one a different color. Use tape for clean lines.
Pro Tip: Metallic paints like gold or silver add a touch of glam to abstract designs.
Abstract pumpkins are perfect for modern decor. They’re bold, eye-catching, and totally unique. Plus, there’s no right or wrong way to do it. Just grab your paints and let your creativity flow!
Seasonal Pumpkin Painting Ideas for Holidays 🎉
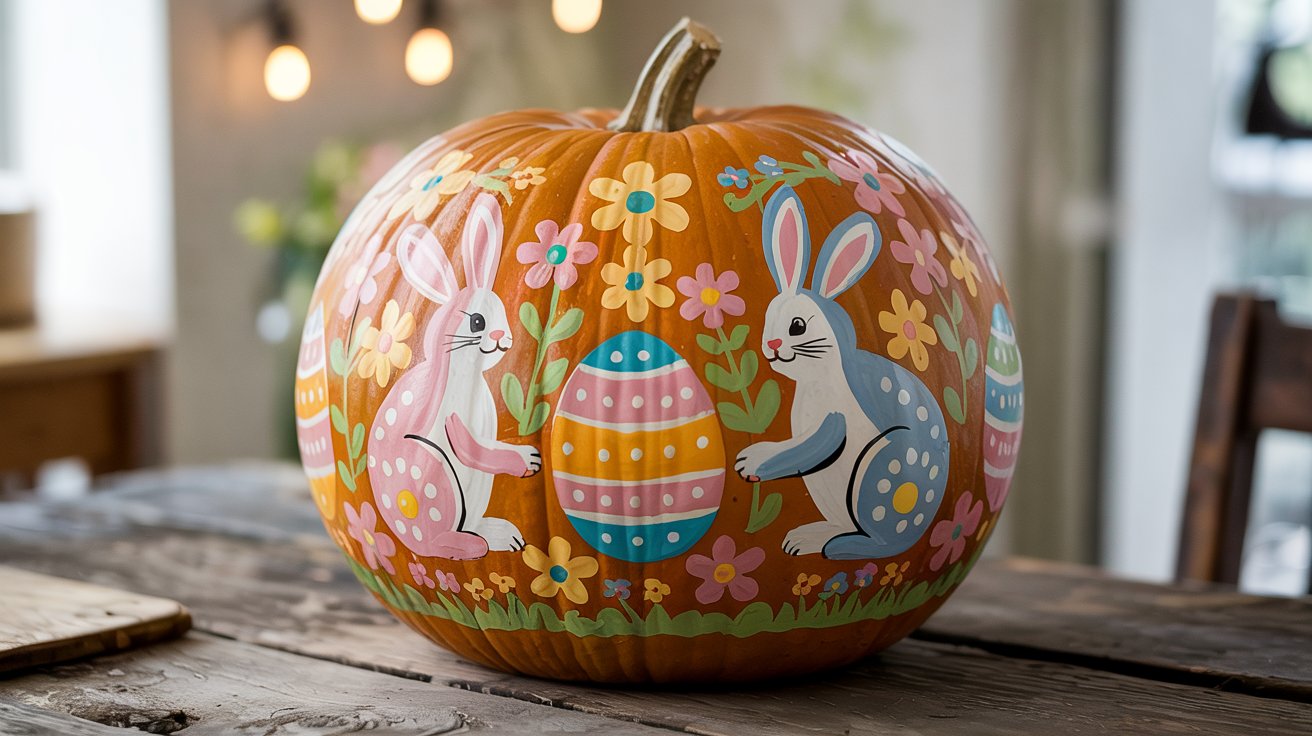
Pumpkins aren’t just for Halloween. You can paint them to match any holiday or season. This makes them a versatile decoration for your home.
Thanksgiving: Paint your pumpkin in warm tones like orange, red, and brown. Add words like “Grateful” or “Blessed” for a festive touch.
Christmas: Turn your pumpkin into a snowman! Use white paint for the body and add a scarf or buttons. Or, paint it green and decorate it like a Christmas tree.
Easter: Use pastel colors and add polka dots, stripes, or bunny faces. These make adorable springtime decorations.
Fun Idea: Create a pumpkin centerpiece for your holiday table. Add glitter or small ornaments for extra flair.
Seasonal pumpkin painting keeps your decor fresh all year. It’s a fun way to celebrate every holiday with a personal touch!
Step-by-Step Pumpkin Painting Guides
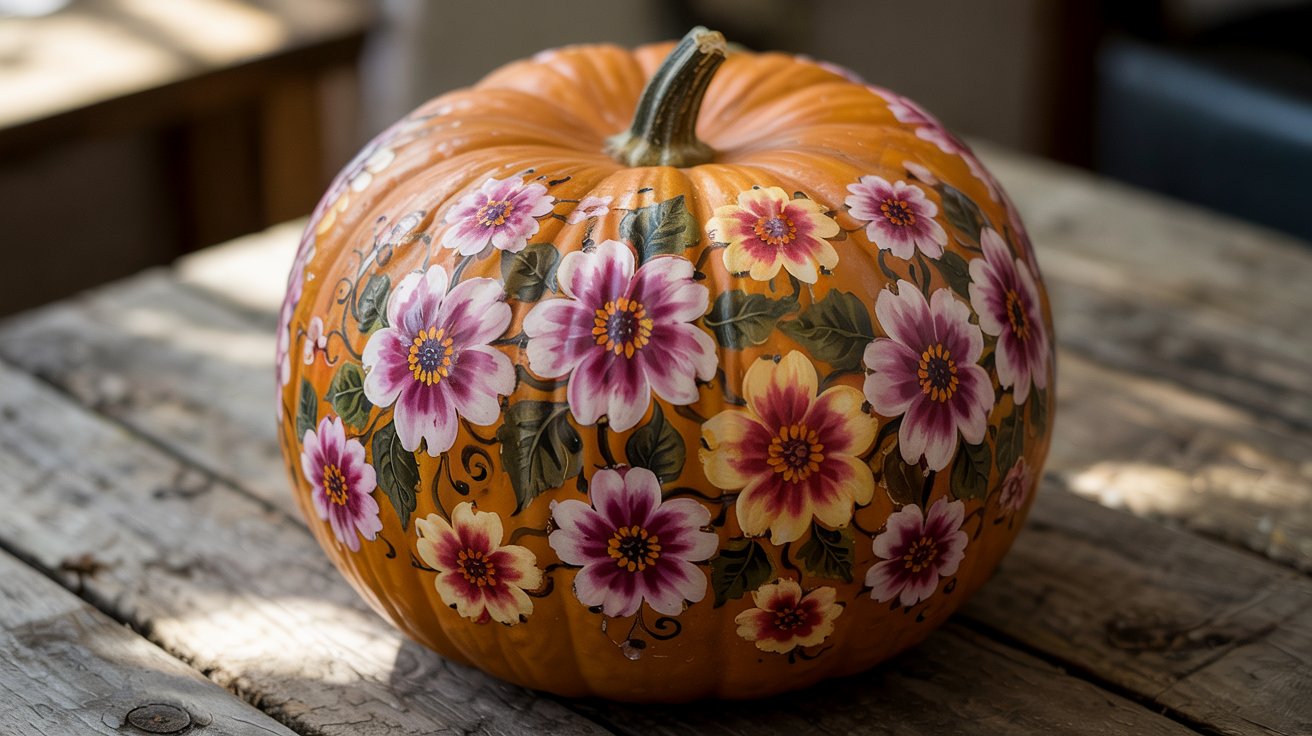
How to Paint a Floral Pumpkin
Ready to make your pumpkin bloom? Floral designs are easier than you think! Follow these steps to create a masterpiece that looks like it came straight from a garden.
Prep Your Pumpkin: Wipe it clean and apply a base coat. White or pastel colors work best for a floral theme. Let it dry completely.
Sketch Your Flowers: Use a pencil to lightly draw flowers, leaves, or vines. Don’t worry about perfection—nature isn’t perfect either!
Start Painting: Use small brushes for details. Paint the petals first, then add leaves and stems. Bright colors like pink, yellow, and green will make your design pop.
Add Details: Use a fine brush or paint pen to outline petals or add tiny dots for texture. This step brings your flowers to life.
Seal It: Once dry, apply a clear sealant to protect your artwork.
Pro Tip: Mix metallic paint into your flowers for a magical shimmer.
Step-by-Step Minimalist Pumpkin Design
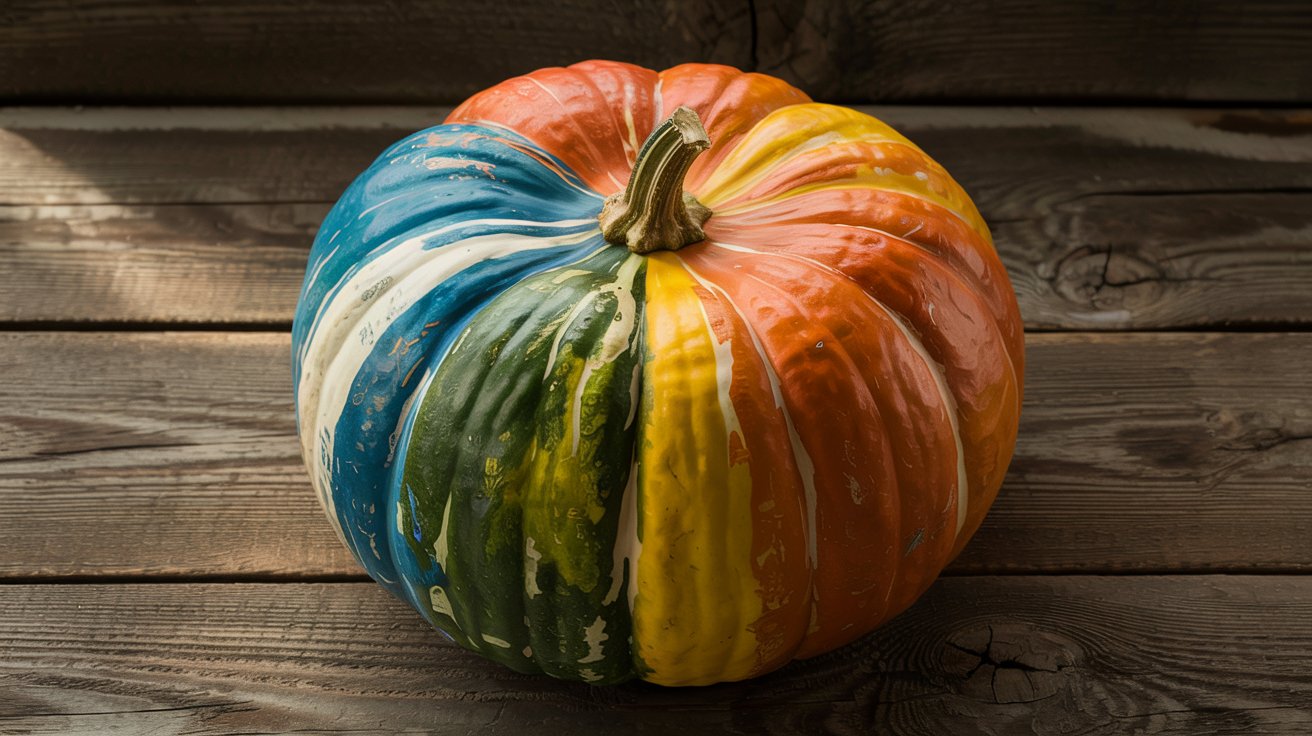
Less is more! Minimalist pumpkins are chic and modern. Here’s how you can create one in no time.
Choose Your Colors: Pick one or two neutral shades like white, gray, or beige. These give your pumpkin a clean, stylish look.
Plan Your Design: Simple shapes like stripes, dots, or triangles work best. Use painter’s tape to keep lines straight.
Paint Away: Apply your chosen colors. For a bold touch, use black or gold accents.
Let It Dry: Patience is key! Wait for the paint to dry before removing any tape.
Optional Touches: Add a small monogram or a single leaf for a personal touch.
Minimalist pumpkins are perfect for modern decor. They’re simple yet stunning!
Painting a Glow-in-the-Dark Pumpkin
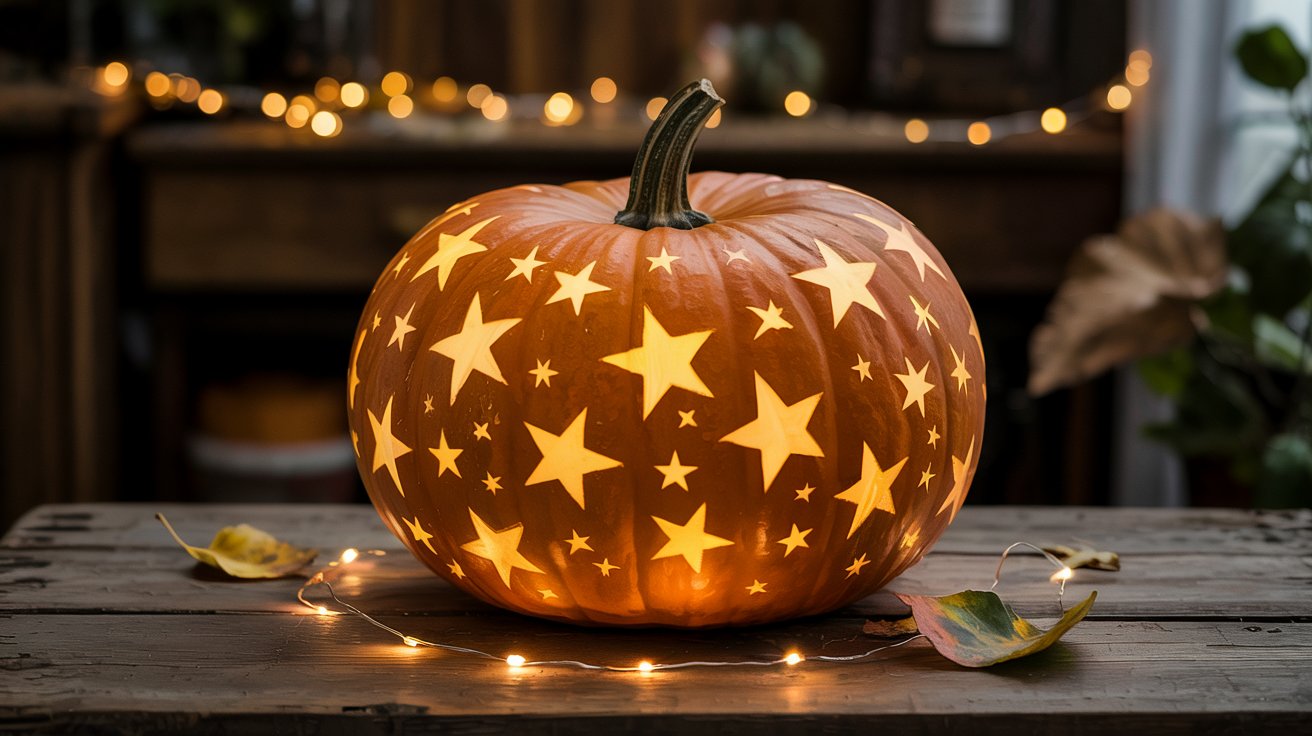
Want your pumpkin to steal the show at night? Glow-in-the-dark designs are both fun and spooky. Here’s how to make one:
Pick a Base Color: Black or dark blue works best. Paint the entire pumpkin and let it dry.
Create Your Design: Use glow-in-the-dark paint to draw stars, ghosts, or even a full moon. You can also use stencils for precise shapes.
Layer It Up: Apply multiple coats of glow paint for a brighter effect. Let each layer dry before adding the next.
Add Glitter (Optional): Sprinkle glow-in-the-dark glitter while the paint is still wet. This adds extra sparkle.
Charge It Up: Place your pumpkin under a bright light for a few minutes. Then, turn off the lights and watch it glow!
Glow-in-the-dark pumpkins are perfect for Halloween parties or outdoor displays. They’re sure to wow your guests!
Monogrammed Pumpkin Painting Guide
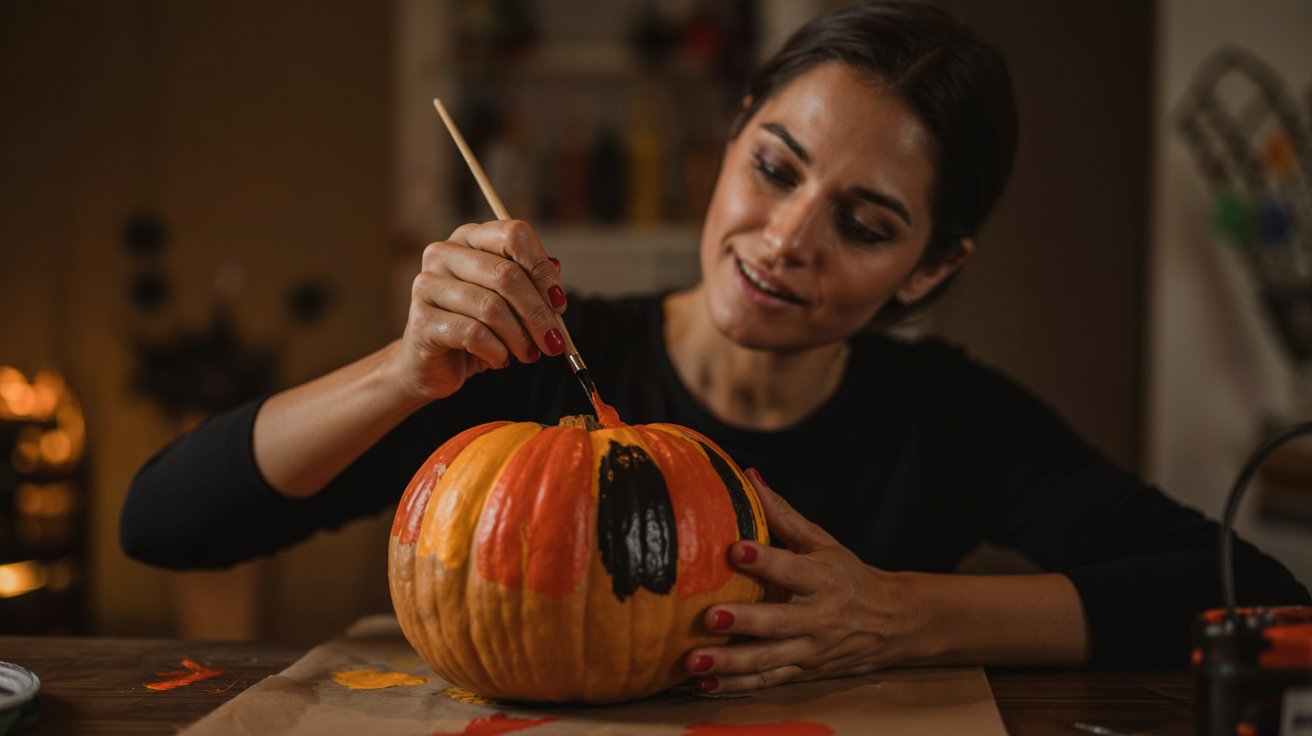
Want to add a personal touch to your pumpkin? Monogrammed pumpkins are classy, creative, and surprisingly easy to make. Whether you’re decorating for a party or sprucing up your porch, this design will wow your guests. Let’s get started!
Prep Your Pumpkin: Clean the surface and apply a base coat. White, black, or metallic colors work great for a monogrammed look. Let it dry completely.
Choose Your Letter: Pick a letter stencil or freehand your monogram. If you’re feeling fancy, go for a script font.
Paint the Monogram: Use a small brush to carefully fill in the letter. Metallic paints like gold or silver add a touch of elegance.
Add Details: Surround the letter with simple patterns like dots, vines, or tiny flowers. These extras make your pumpkin pop.
Seal the Deal: Once everything dries, apply a clear sealant to protect your masterpiece.
Pro Tip: Use painter’s tape to create clean edges around your monogram. It’s a game-changer for beginners!
Monogrammed pumpkins are perfect for weddings, family gatherings, or just showing off your initials. They’re stylish, personal, and oh-so-easy to create.
Easy Halloween Pumpkin Painting Tutorial
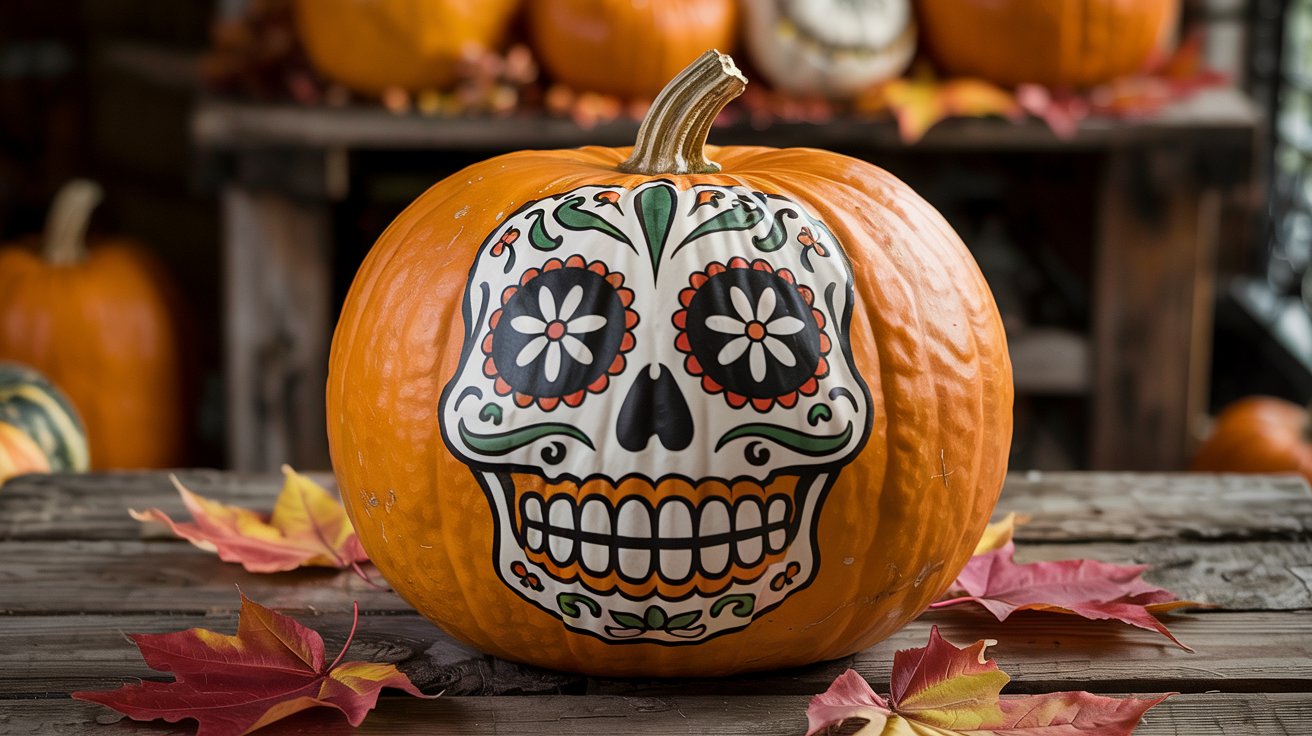
Ready to make a Halloween pumpkin that’s both spooky and simple? This tutorial is perfect for beginners or anyone short on time. You’ll have a festive pumpkin in no time!
Pick a Theme: Decide on a fun Halloween design. Ghosts, bats, or jack-o’-lantern faces are always a hit.
Base Coat: Paint the pumpkin in a solid color. Black, orange, or white works best for Halloween vibes. Let it dry.
Sketch Your Design: Lightly draw your spooky shapes with a pencil. Don’t stress about perfection—imperfections add charm!
Start Painting: Use small brushes for details. Bright colors like yellow or red make your design stand out.
Add Final Touches: Outline your shapes with a black paint pen for a polished look.
Fun Idea: Add glow-in-the-dark paint to your design. Your pumpkin will light up the night and impress trick-or-treaters!
This easy tutorial makes Halloween decorating a breeze. You’ll have a festive pumpkin that’s ready to shine on your porch or at your party.
Tools and Materials for Pumpkin Painting
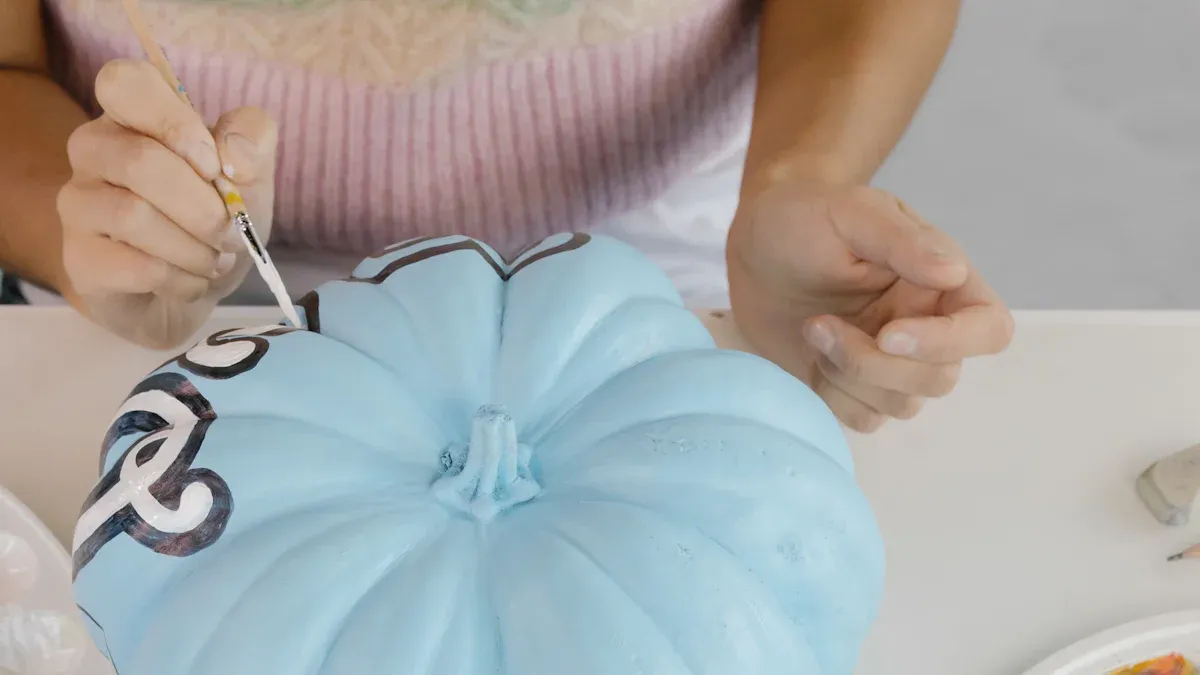
Essential Pumpkin Painting Supplies
Before you dive into pumpkin painting, gather the right tools. Having the essentials makes the process smooth and fun. Here’s what you’ll need:
Pumpkins: Real or faux, pick one with a smooth surface for easier painting.
Acrylic Paints: These work best because they dry quickly and stick well to pumpkin surfaces.
Paintbrushes: Use a variety of sizes. Small brushes are great for details, while larger ones cover more area.
Painter’s Tape: Perfect for creating clean lines or blocking off sections.
Palette or Plate: Mix your colors like a pro!
Paper Towels: Keep these handy for quick cleanups.
Pro Tip: Don’t forget a drop cloth or old newspaper to protect your workspace. Pumpkin painting can get messy!
Best Paints and Brushes for Pumpkin Painting
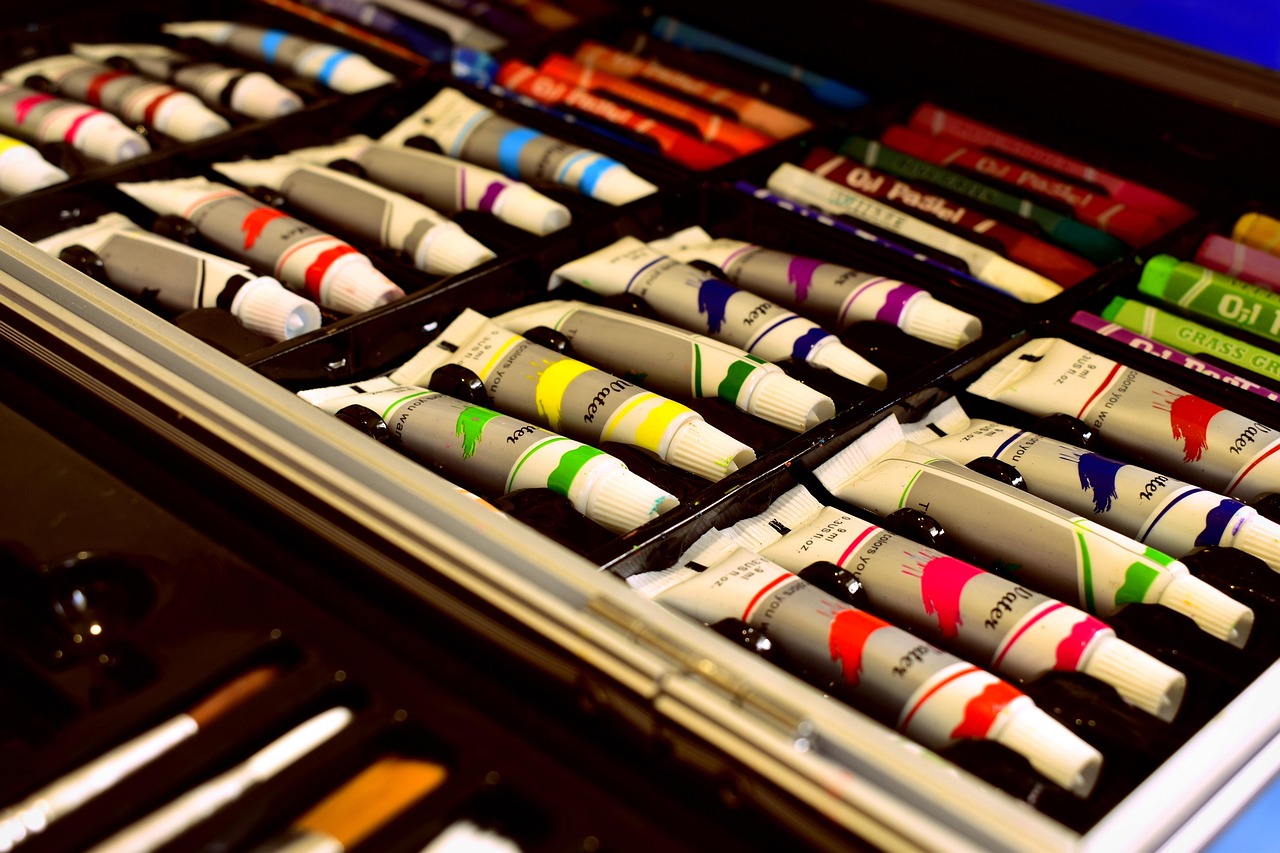
Not all paints and brushes are created equal. Choosing the right ones can make your pumpkin masterpiece shine.
Acrylic Paints: These are your best bet. They’re vibrant, long-lasting, and easy to layer. Metallic acrylics add a touch of glam, while matte finishes give a modern vibe.
Paint Pens: These are lifesavers for intricate details like lettering or tiny patterns.
Brushes: A flat brush works wonders for base coats. Round brushes are ideal for curves and swirls. For fine details, grab a liner brush.
Fun Fact: Synthetic brushes are better for acrylic paints. They hold their shape and don’t shed bristles.
Creative Add-Ons for Pumpkin Painting (e.g., glitter, stencils)
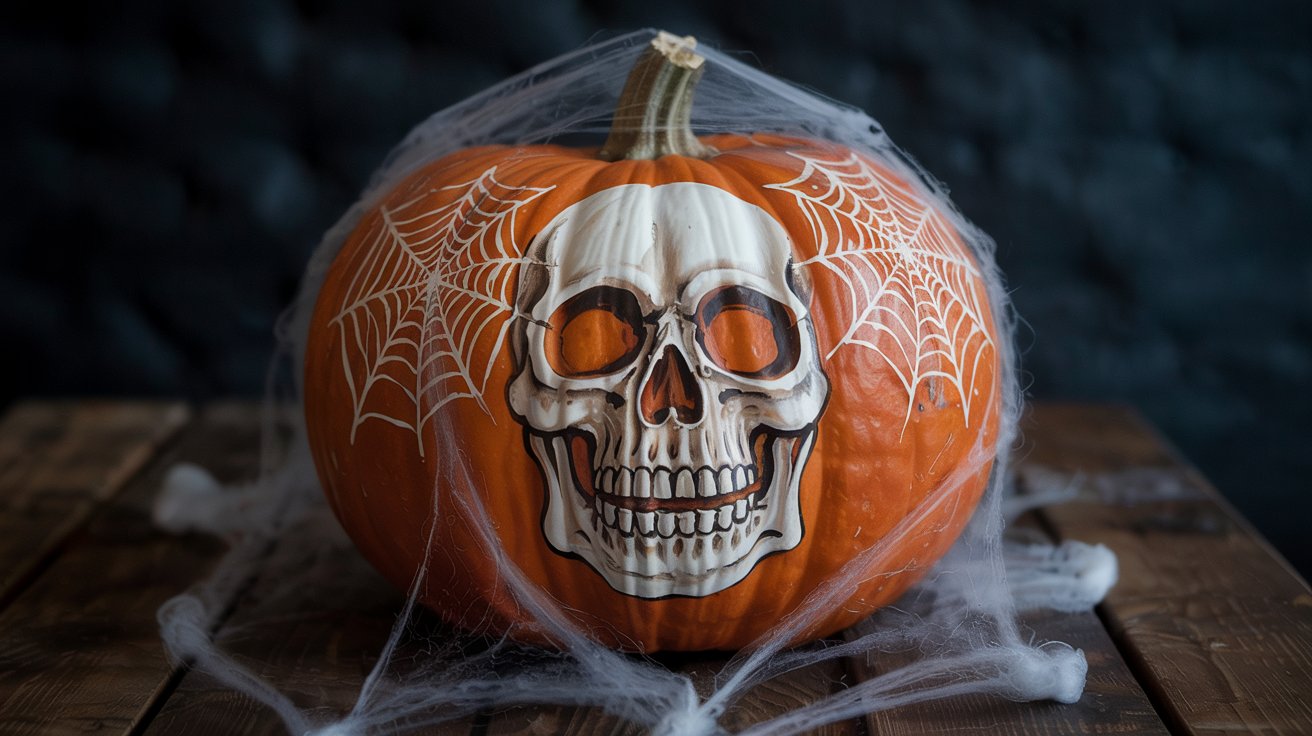
Want to take your pumpkin painting to the next level? Add some flair with creative extras!
Glitter: Sprinkle it on wet paint for instant sparkle. It’s perfect for magical or whimsical designs.
Stencils: These make intricate patterns a breeze. From spooky bats to elegant florals, stencils help you achieve professional-looking designs.
Googly Eyes: Add these for a playful touch, especially on kid-friendly pumpkins.
Ribbons and Bows: Wrap them around the pumpkin stem for a polished finish.
Creative add-ons make pumpkin painting quick and easy. Stencils help you nail tricky designs, while glitter adds that extra wow factor.
With these tools and materials, you’re all set to create pumpkins that are as unique as you are. Let your imagination run wild!
Where to Find Affordable Pumpkin Painting Materials
Finding affordable pumpkin painting supplies doesn’t have to be a scavenger hunt. You can snag great deals if you know where to look. Let’s dive into some budget-friendly options that’ll keep your wallet happy and your creativity flowing!
1. Dollar Stores 🛒
Dollar stores are a treasure trove for budget-friendly art supplies. You’ll find acrylic paints, brushes, and even small pumpkins at unbeatable prices. Check out seasonal aisles for themed stencils or glitter. Pro tip: stock up early because these items fly off the shelves faster than a witch on a broomstick!
2. Craft Stores with Coupons ✂️
Big-name craft stores like Michaels, Hobby Lobby, and Joann often have weekly coupons or sales. Download their apps or sign up for newsletters to score discounts. Look for “buy one, get one free” deals on paints or brushes. Clearance sections are also goldmines for hidden gems.
3. Online Marketplaces 🌐
Websites like Amazon, Etsy, and eBay offer affordable bundles of painting supplies. Search for starter kits that include paints, brushes, and even stencils. Keep an eye out for free shipping deals or discounts on bulk purchases.
Tip: Check reviews before buying online to ensure you’re getting quality materials.
4. Thrift Stores and Garage Sales 🏷️
Thrift stores and garage sales are perfect for finding unique and cheap supplies. You might stumble upon unused paints, brushes, or even faux pumpkins. It’s like a mini treasure hunt, and you never know what you’ll find!
5. DIY with Household Items 🏡
Get creative with what you already have at home. Use leftover wall paint, makeup brushes, or even sponges for unique textures. Old nail polish can add a glossy finish to your pumpkin designs.
Fun Idea: Turn cereal boxes into DIY stencils. Cut out shapes like stars or bats for a custom touch.
With these tips, you’ll have everything you need without breaking the bank. Now, go grab those supplies and let your pumpkin masterpieces come to life! 🎃✨
Tips for Pumpkin Painting Success
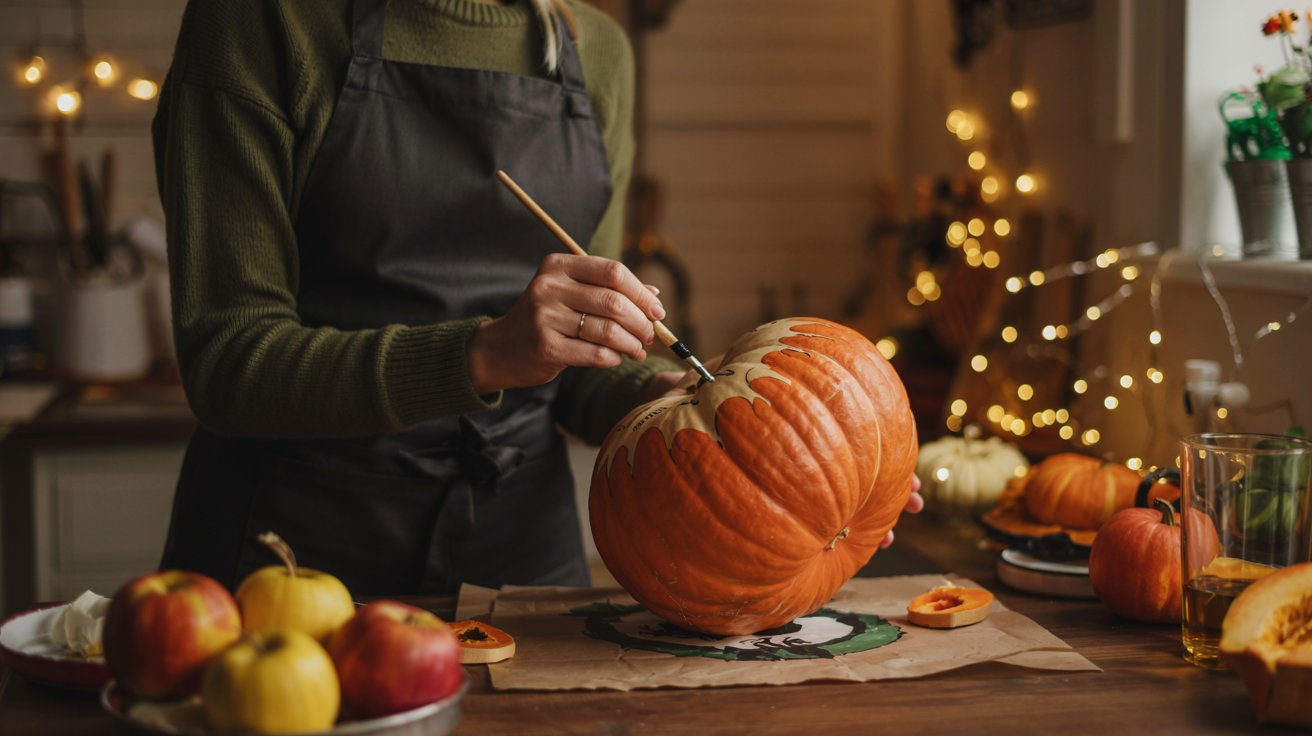
Beginner Tips for Pumpkin Painting
Starting your pumpkin painting journey? Don’t worry—it’s easier than you think! Follow these tips to create painted pumpkins that look amazing, even if you’re a newbie.
Pick the Right Pumpkin: Choose one with a smooth surface. Bumpy pumpkins can make painting tricky.
Prep It Properly: Wipe your pumpkin clean. A dry, dirt-free surface helps the paint stick better.
Start Simple: Stick to basic designs like polka dots or stripes. These are easy to paint and still look great.
Use the Right Tools: Acrylic paints and small brushes work best for beginners. They’re easy to handle and give great results.
Practice First: Test your design on paper before painting the pumpkin. This helps you avoid mistakes.
Pro Tip: If you mess up, don’t panic! Let the paint dry, then paint over it.
Advanced Pumpkin Painting Techniques
Ready to level up your pumpkin painting game? Try these advanced techniques to create show-stopping designs.
Layering Colors: Blend two or more colors for a gradient effect. Use a sponge for smooth transitions.
Stenciling: Create intricate patterns with stencils. Tape them down to keep them steady while you paint.
Detail Work: Use fine-tipped brushes or paint pens for tiny details like lettering or delicate patterns.
Mixed Media: Combine paint with other materials like glitter, fabric, or even rhinestones for a 3D effect.
Advanced techniques take practice, but they’re worth it. Your painted pumpkins will look like they belong in an art gallery!
Fixing Common Pumpkin Painting Mistakes
Mistakes happen, but they don’t have to ruin your masterpiece. Here’s how to fix common issues:
Paint Smudges: Let the paint dry completely before adding another layer. If smudging happens, wipe it off quickly with a damp cloth.
Uneven Lines: Use painter’s tape to create clean edges. If a line looks wobbly, go over it with a fine brush.
Peeling Paint: This happens when the pumpkin isn’t prepped properly. Sand the area lightly and repaint.
Color Bleeding: Avoid using too much water with your paint. Stick to thicker acrylics for better control.
Remember, every mistake is a chance to get creative. Turn a smudge into a shadow or a drip into a new design!
How to Preserve Your Painted Pumpkin
You’ve spent hours creating your masterpiece, and now you want it to last. Preserving your painted pumpkins is easier than you think. Follow these simple steps to keep your artwork looking fresh and fabulous for weeks!
Start with a Clean Pumpkin
Before you even pick up a brush, clean your pumpkin. Wipe it down with a damp cloth to remove dirt and dust. A clean surface helps the paint stick better and last longer.Seal the Deal
After your paint dries, apply a clear sealant. Use a spray sealant for even coverage or a brush-on sealant for more control. This step protects your design from scratches and fading. Look for a sealant labeled as waterproof if you plan to display your pumpkin outdoors.Keep It Cool
Painted pumpkins don’t like heat. Store them in a cool, dry place away from direct sunlight. Heat can cause the paint to crack or the pumpkin to rot faster.Avoid Moisture
Water is the enemy of your painted pumpkins. If you’re displaying them outside, place them under a covered area to shield them from rain or dew.Extend the Life of Real Pumpkins
If you used a real pumpkin, spray it with a mixture of water and a few drops of bleach. This prevents mold and keeps your pumpkin looking fresh. Faux pumpkins, on the other hand, require no extra care—just enjoy them year after year!
Pro Tip: Handle your pumpkin gently. Even the best sealant won’t protect it from rough treatment. Treat it like the work of art it is!
By following these steps, your painted pumpkins will stay vibrant and beautiful for the entire season. Whether you’re showcasing them on your porch or as a centerpiece, they’ll remain the star of your fall decor.
You’ve seen awesome pumpkin painting ideas for 2025. From glowing designs to simple, stylish ones, there’s an idea for everyone. Now it’s your chance! Get your brushes, choose a pumpkin, and start creating. Add your own style to make something special.
We’d love to see what you make! Show your painted pumpkins to friends or post them online. Got more ideas? Try other fun DIY projects and stay creative. Your next amazing design is just one pumpkin away!
Tucocoo Halloween Paint by Numbers


