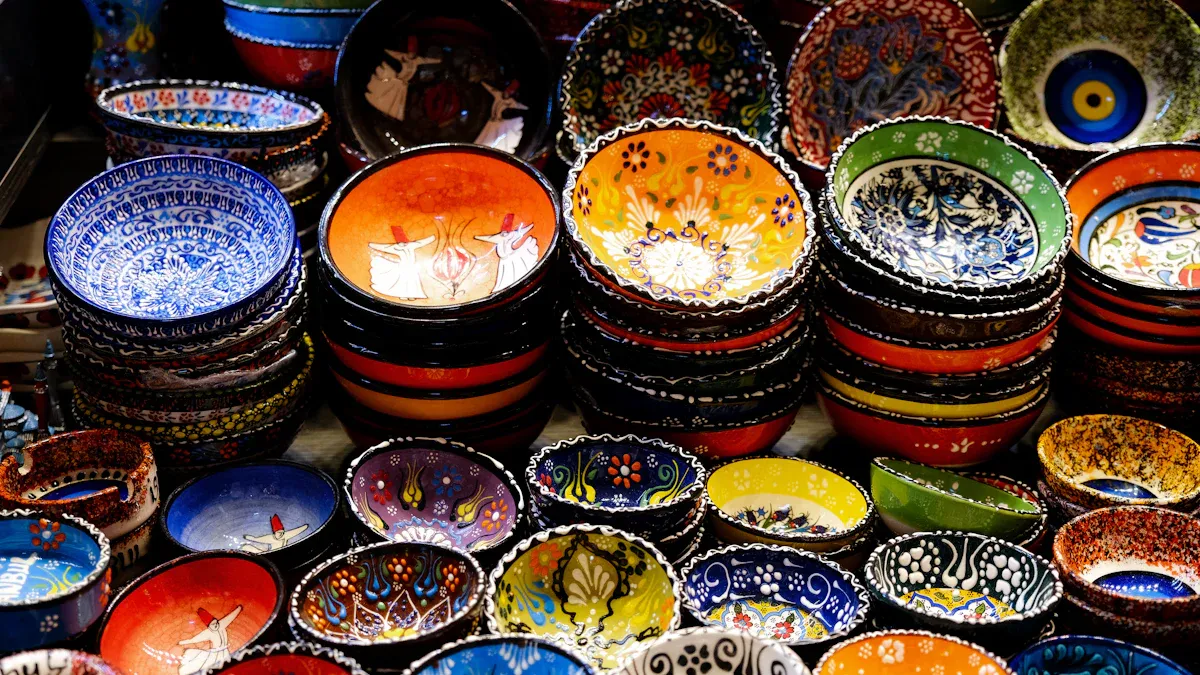
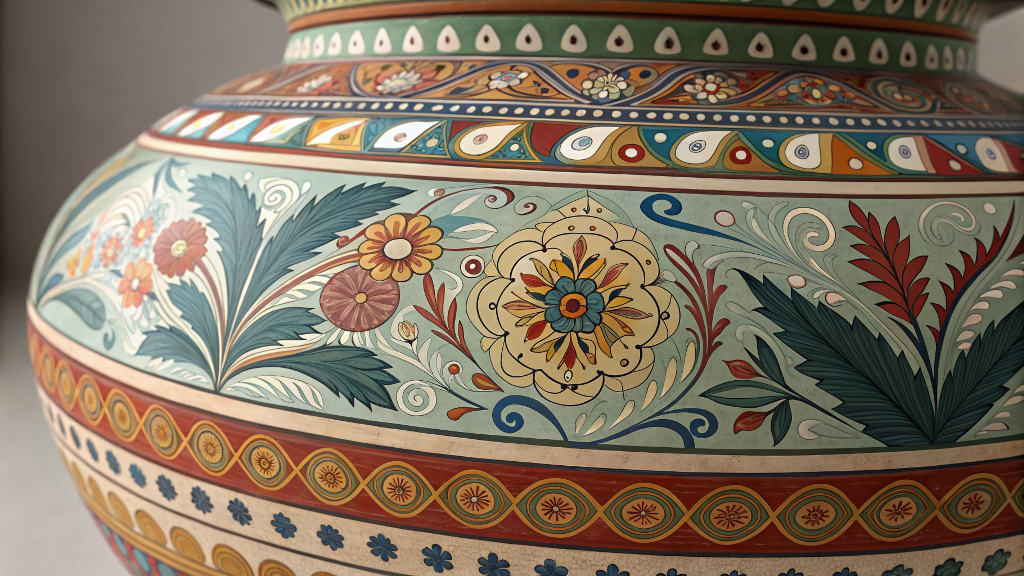
Beginner's Guide to Painting Pottery
Pottery painting is a fun way to unwind and express yourself. You don’t need to be an artist to enjoy it. Just grab some brushes, pick your favorite colors, and let your imagination lead the way. It’s simple, creative, and perfect for beginners who want to explore their artistic side.
Tools and Materials for Painting Pottery
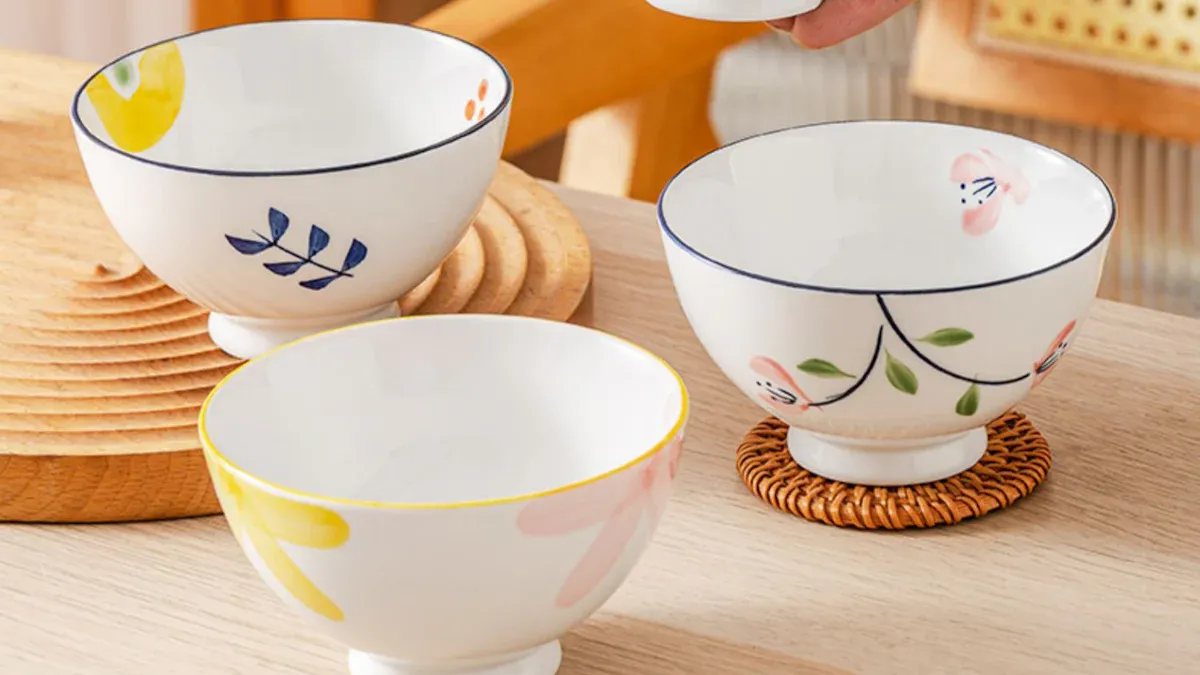
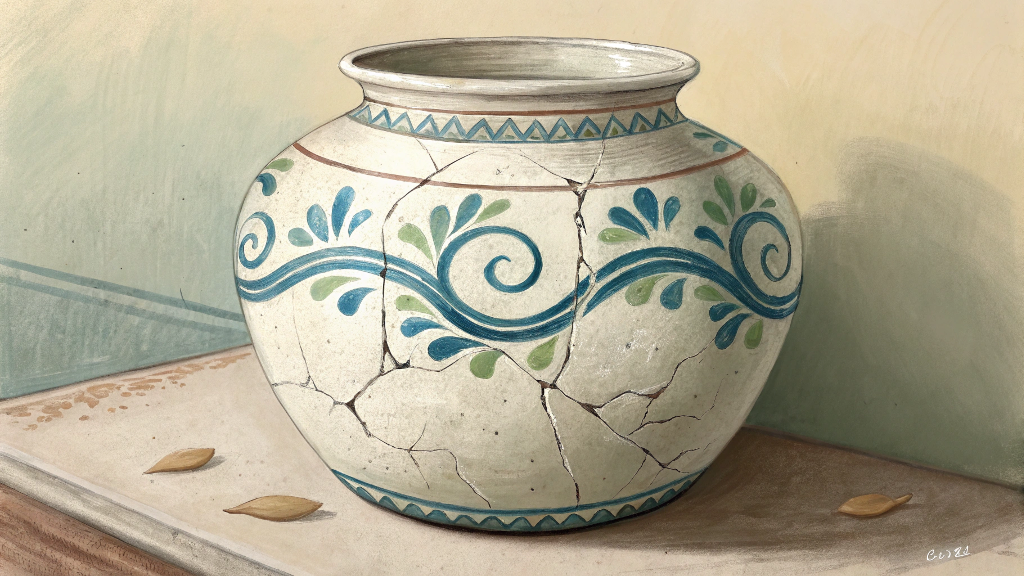
1.Picking the right pottery (bisque vs. glazed)
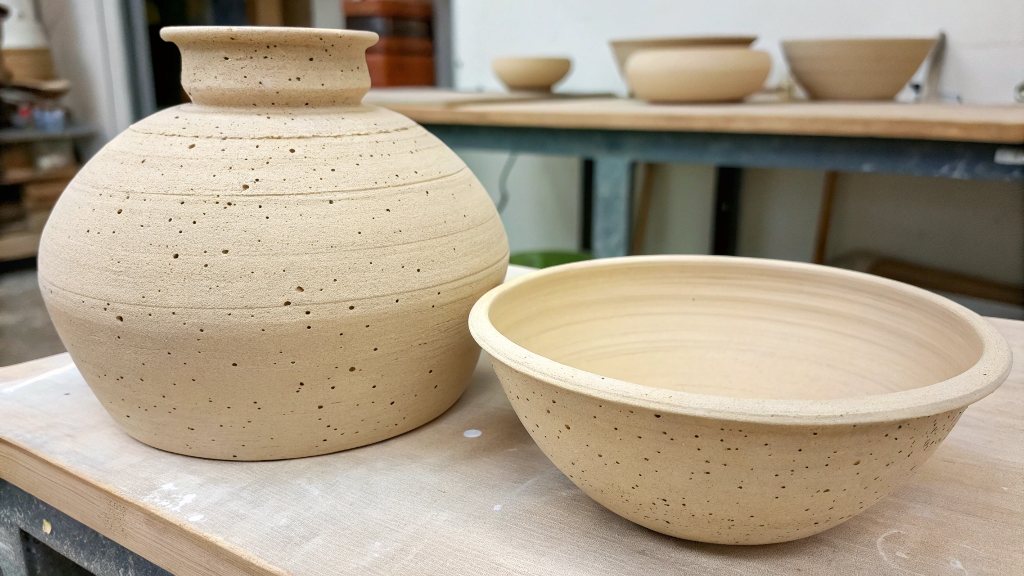
When starting, choose the right type of pottery. There are two main types: bisque and glazed pottery. Bisque pottery is unglazed and absorbs paint well. It’s great for beginners because it’s easy to use and forgiving of mistakes. Glazed pottery has a shiny, smooth surface. For this, you’ll need special paints or glazing to make designs stick. Beginners might find bisque pottery easier to work with for their first project.
2.Important paints and brushes for pottery painting
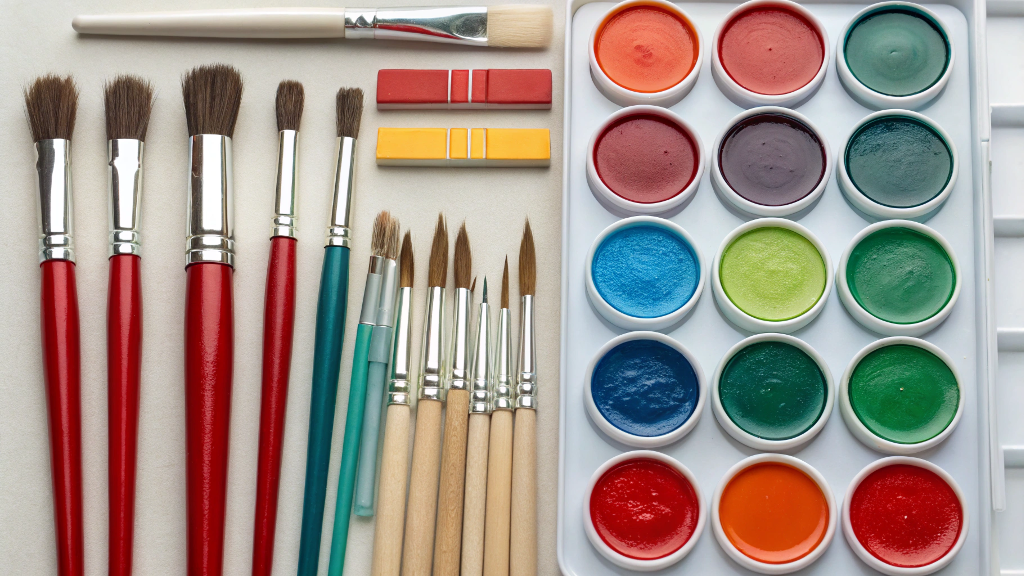
Using the right paints and brushes is important. Acrylic paints are bright, easy to use, and very popular. You’ll need different brushes too. Small brushes are good for details, while big brushes cover large areas. A basic brush set is fine for beginners. Good tools help you paint smoothly and evenly.
3.Extra tools to improve your designs
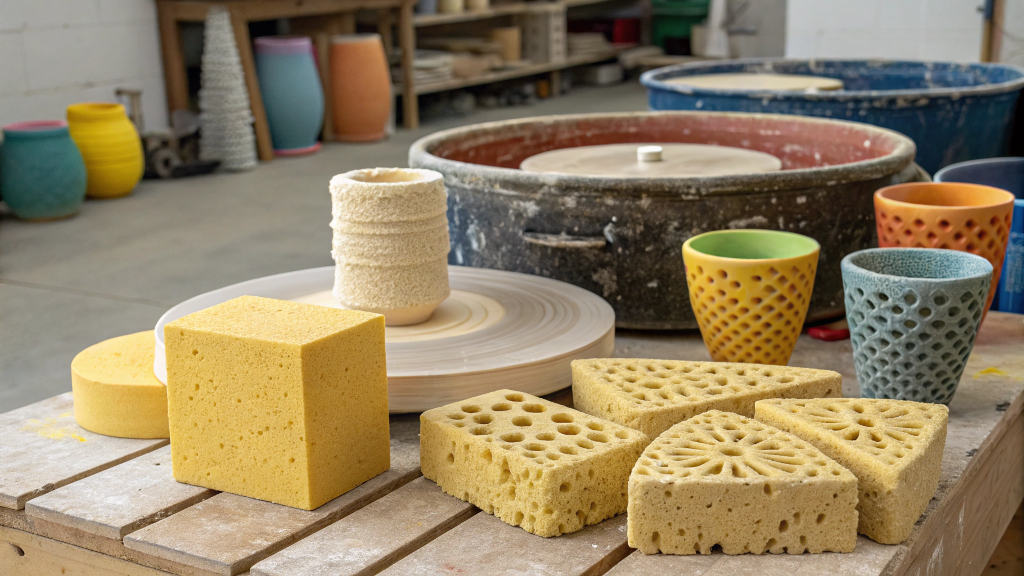
To make your designs better, add some extra tools. Stencils and stamps help create cool patterns easily. Sponges can blend colors or add texture. Sculpting tools are useful if you’re shaping clay. These extras make painting more fun and let you try new styles and techniques.
Methods for Painting Pottery
1.Getting your pottery ready to paint
Before painting, you need to prepare your pottery. A clean surface helps the paint stick better. Follow these simple steps:
Clean the pottery with a damp cloth to remove dust.
Use a microfiber towel to spread a prep solution evenly.
Make sure every part is covered to avoid peeling paint.
Let the pottery dry completely before starting to paint.
These steps help your paint stay on and look smooth. Don’t skip them! Preparing your pottery makes a big difference in the final result.
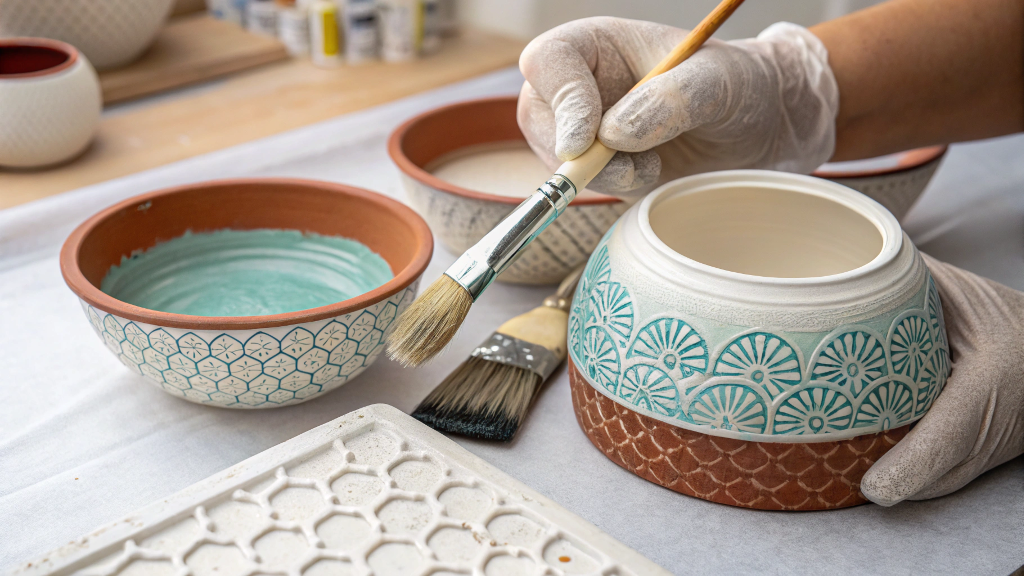
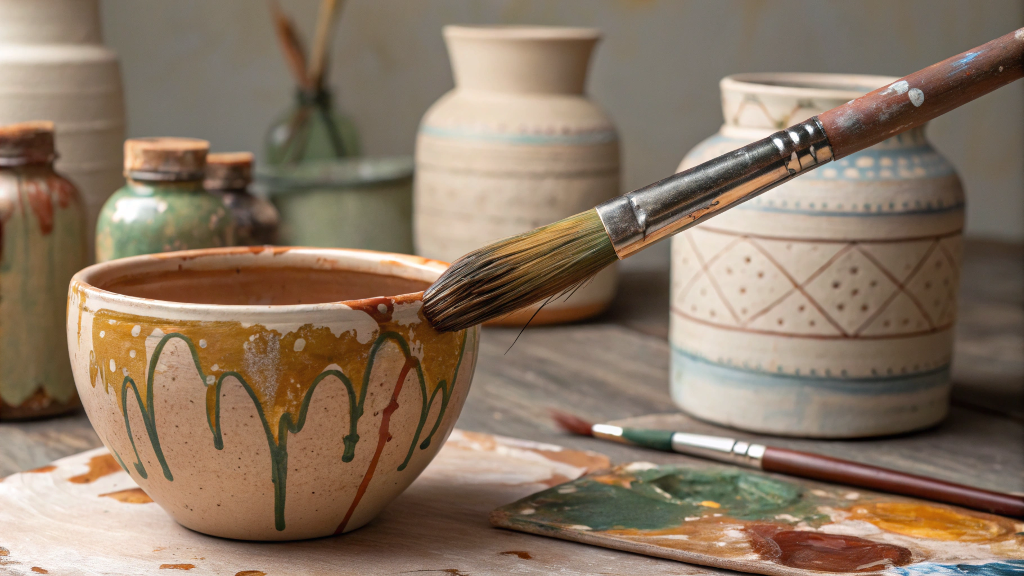
2.Ways to apply paint (brush strokes, sponging, layering)
There are different ways to paint pottery, and each gives a special look. Here are some easy methods:
Brush strokes: Use long strokes for smooth areas. Small brushes are for details, and big brushes cover large spaces.
Sponging: Lightly dab a sponge to add texture or mix colors. This is great for making your designs more interesting.
Layering: Paint in thin layers, letting each one dry first. This makes colors brighter and stops smudging.
Experts suggest using underglazes or stains for strong, detailed designs. Acrylic paints are fine for non-functional pieces but may peel if wet.
3.Adding fun details with stencils, stamps, and freehand designs
After learning the basics, try adding creative touches! Stencils and stamps are easy for beginners. Place the stencil, paint over it, and lift it to see your design.
For a personal style, try freehand painting. Use a small brush to make lines, dots, or patterns. You can also mix methods—like sponging a background and stamping details—to create something unique.
Try different tools and techniques to find what you like best. There are so many options, so enjoy the process and be creative!
Step-by-Step Guide to Painting Pottery
Step 1: Select and clean your pottery piece
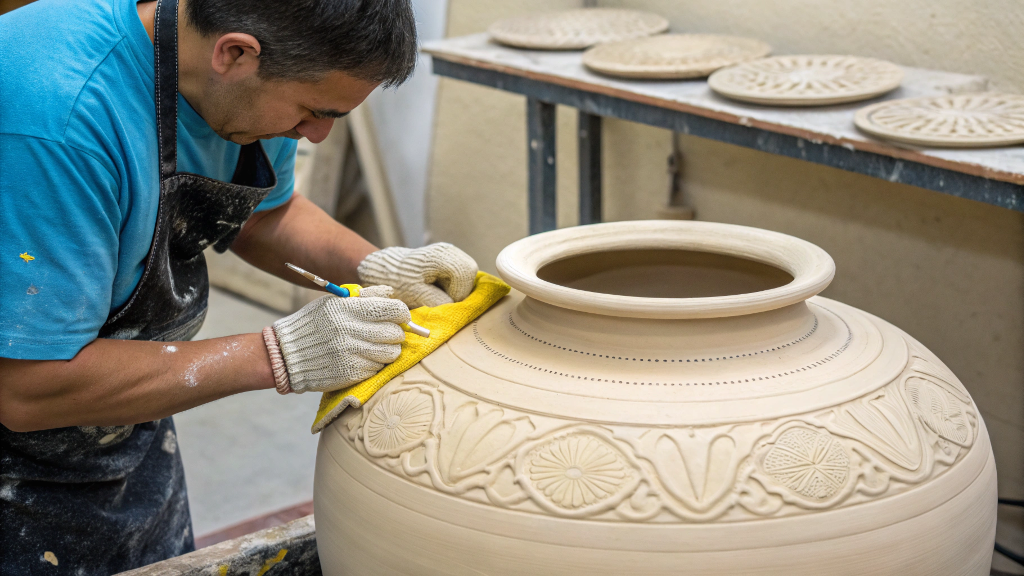
Start by picking a pottery piece that inspires you. Whether it’s a mug, plate, or figurine, make sure it’s clean before you begin. Use a damp cloth to wipe away dust or debris. For a smoother surface, apply a prep solution with a microfiber towel. Let it dry completely. A clean base ensures your paint sticks well and looks flawless.
Step 2: Plan your design and gather materials
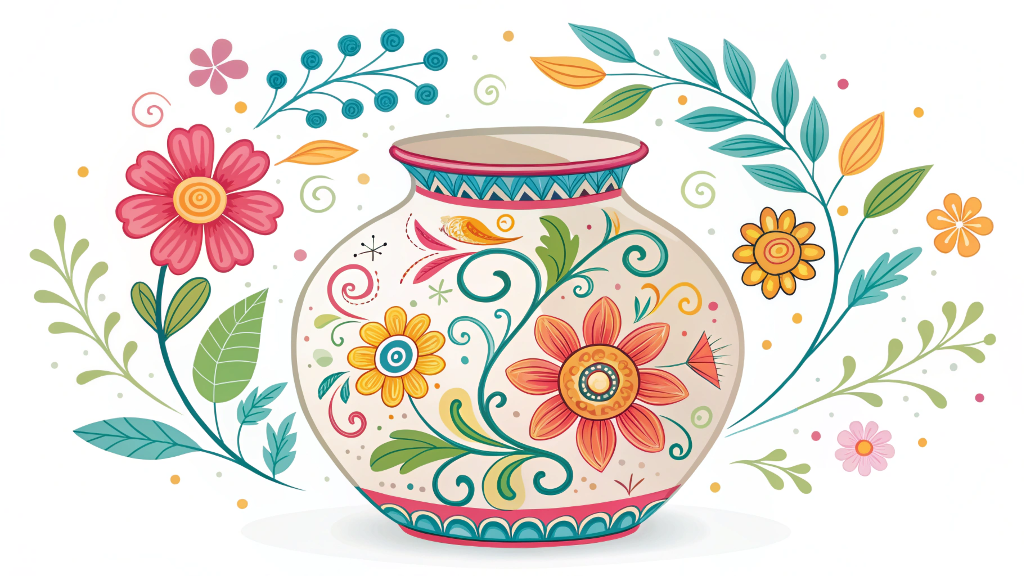
Think about the design you want to create. Do you want bold patterns, soft textures, or something abstract? Sketch your ideas on paper first. Once you’re ready, gather your materials—paints, brushes, sponges, and any extras like stencils or stamps. Having everything within reach makes the process smoother and more enjoyable.
Step 3: Apply a base coat and let it dry
A base coat sets the stage for your design. Use a large brush to cover the surface with a thin, even layer of paint. Let it dry completely before adding more layers.
Pro Tip:
Applying multiple thin layers instead of one thick coat ensures better adhesion and durability. Proper drying between layers prevents smudging and enhances the final look. Keep your workspace at a comfortable temperature to help the paint cure properly.
Step 4: Add layers, details, and finishing touches
Now it’s time to bring your design to life! Use small brushes for details and sponges to apply colorful effects like blending or textures. You can also layer colors to make them pop. For intricate patterns, stencils and stamps are great tools.
Technique |
Benefits |
|---|---|
Layering |
Makes colors vibrant and prevents smudging. |
Freehand |
Adds a personal, creative touch. |
Stamping |
Creates consistent patterns easily. |
Experiment with different techniques to make your pottery painting unique. Don’t rush—take your time to perfect each detail.
Step 5: Seal or fire your pottery for durability
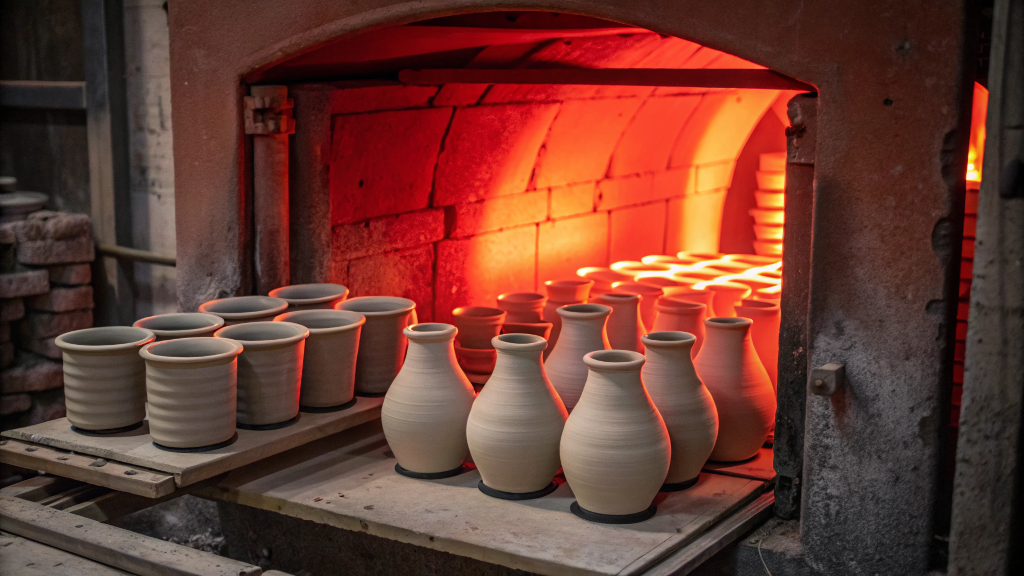
To make your piece last, you’ll need to seal or fire it. Firing involves heating the pottery in a kiln, which hardens the material and makes it non-porous. This step is essential for functional items like mugs or plates. If you’re not firing, use a clear sealant to protect your design. Without this step, your pottery may absorb moisture and lose its charm over time.
Tips for Successful Pottery Painting
Begin with easy designs and practice basic skills
When starting, keep your designs simple. Pick basic shapes or single colors. This helps you focus on learning brush control and applying paint well.
Hancock says beginners should try single-color designs first. This helps them build skills before trying harder patterns.
By practicing these basics, you'll get better over time. Soon, you'll feel ready to try more detailed designs. Remember, every expert started as a beginner!
Use good tools for smooth painting and no streaks
The tools you use are very important. Good brushes and sponges help spread paint evenly. They also stop streaks and rough spots, making your pottery look neat.
Tool/Technique Description |
Benefit |
|---|---|
Spreads paint evenly |
Stops streaks and uneven colors. |
Breaks down paint particles |
Makes the finish smooth and bright. |
Keeps colors vibrant |
Reduces the need for touch-ups. |
Buying good tools may seem costly, but it’s worth it. They save time and make painting more fun!
Be patient and let each layer dry fully
Patience is very important when painting pottery. Let each paint layer dry before adding another. This stops peeling and cracking.
Wet paint can cause bubbles or rough spots.
Thin layers dry faster and stick better than thick ones.
Let paint cure for a few hours for better durability.
It’s tempting to rush, but waiting gives better results. Relax, take your time, and let the paint dry before moving to the next step.
Common Mistakes and How to Avoid Them
Using too much paint at once
Putting too much paint on your brush can cause problems. It may create drips, uneven spots, or cracks as it dries. Instead, use thin layers of paint. Let each layer dry fully before adding more. This keeps your colors smooth, bright, and neat.
Did you know?
Thick glaze layers can ruin your design. They might crack or peel off, which is called "shivering." Thin layers help your pottery look better and last longer.
Skipping the preparation of your pottery
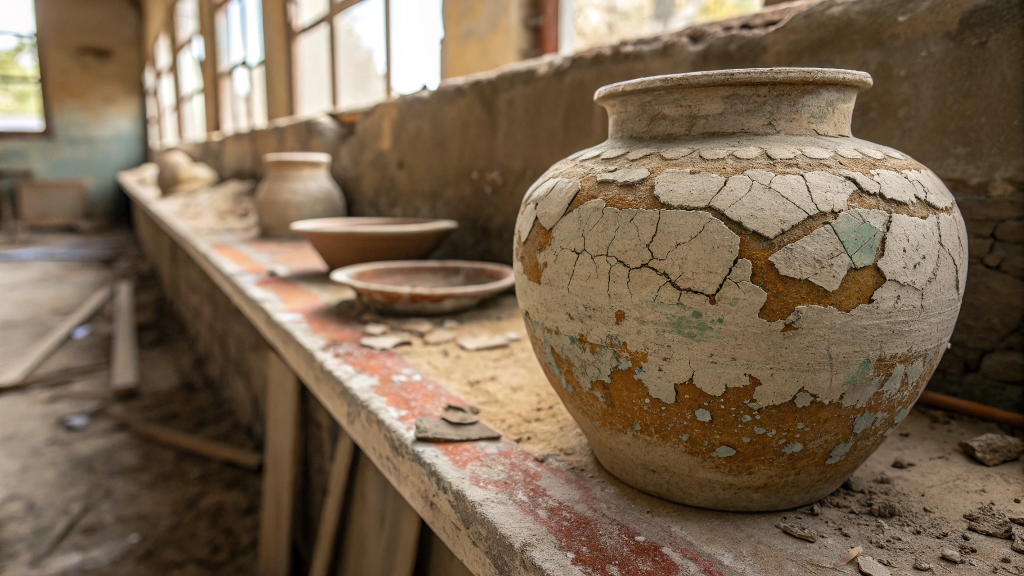
Not preparing your pottery is a common beginner mistake. A dirty surface can make paint peel or not stick well. Always clean your pottery with a damp cloth and let it dry. For glazed pottery, lightly roughen the surface to help the paint stay.
Method |
How It Helps Paint Stick Better |
|---|---|
Sandblasting |
|
Manual Polishing |
Strengthens the bond using sandpaper. |
Preparing your pottery makes your design stay in place and look great.
Rushing to dry or painting wet clay
Patience is very important when painting pottery. If you rush drying, bubbles or cracks can appear. Always let each layer dry before adding another. If using clay, make sure it’s fully dry before firing.
Important Reminder:
Wet clay or not-dried pieces can crack or even break in the kiln. Always work with "bone dry" pottery to avoid problems.
Taking your time and following these tips will help you make amazing pottery without mistakes.
Painting pottery is a great way to relax and be creative. You don’t need to be perfect—just enjoy the process and have fun.
Pro Tip: Try mixing colors or using new techniques. Mistakes can turn into awesome designs!
🎨 Pick up your brushes and make something wonderful today!
Tucocoo Paint by Numbers