How to Draw a Turtle Step by Step for Beginners

Drawing a turtle might seem tricky, but it doesn’t have to be! This step-by-step guide will show you exactly how to draw a turtle without any stress. You’ll only need a few basic tools to create a fun and easy turtle drawing. So, grab your pencil, and let’s get started!
Key Takeaways
Get simple tools like a pencil, eraser, and paper to begin drawing a turtle.
Use the step-by-step guide to sketch the shell, head, legs, and details. Change things if needed.
Try shading and coloring to make your turtle look lively and detailed.
Materials for Turtle Drawing
Before you start your turtle masterpiece, it’s important to gather the right materials. Don’t worry—you won’t need anything fancy. Let’s go over the basics and a few extras that can take your drawing to the next level.
Essential Tools for Beginners
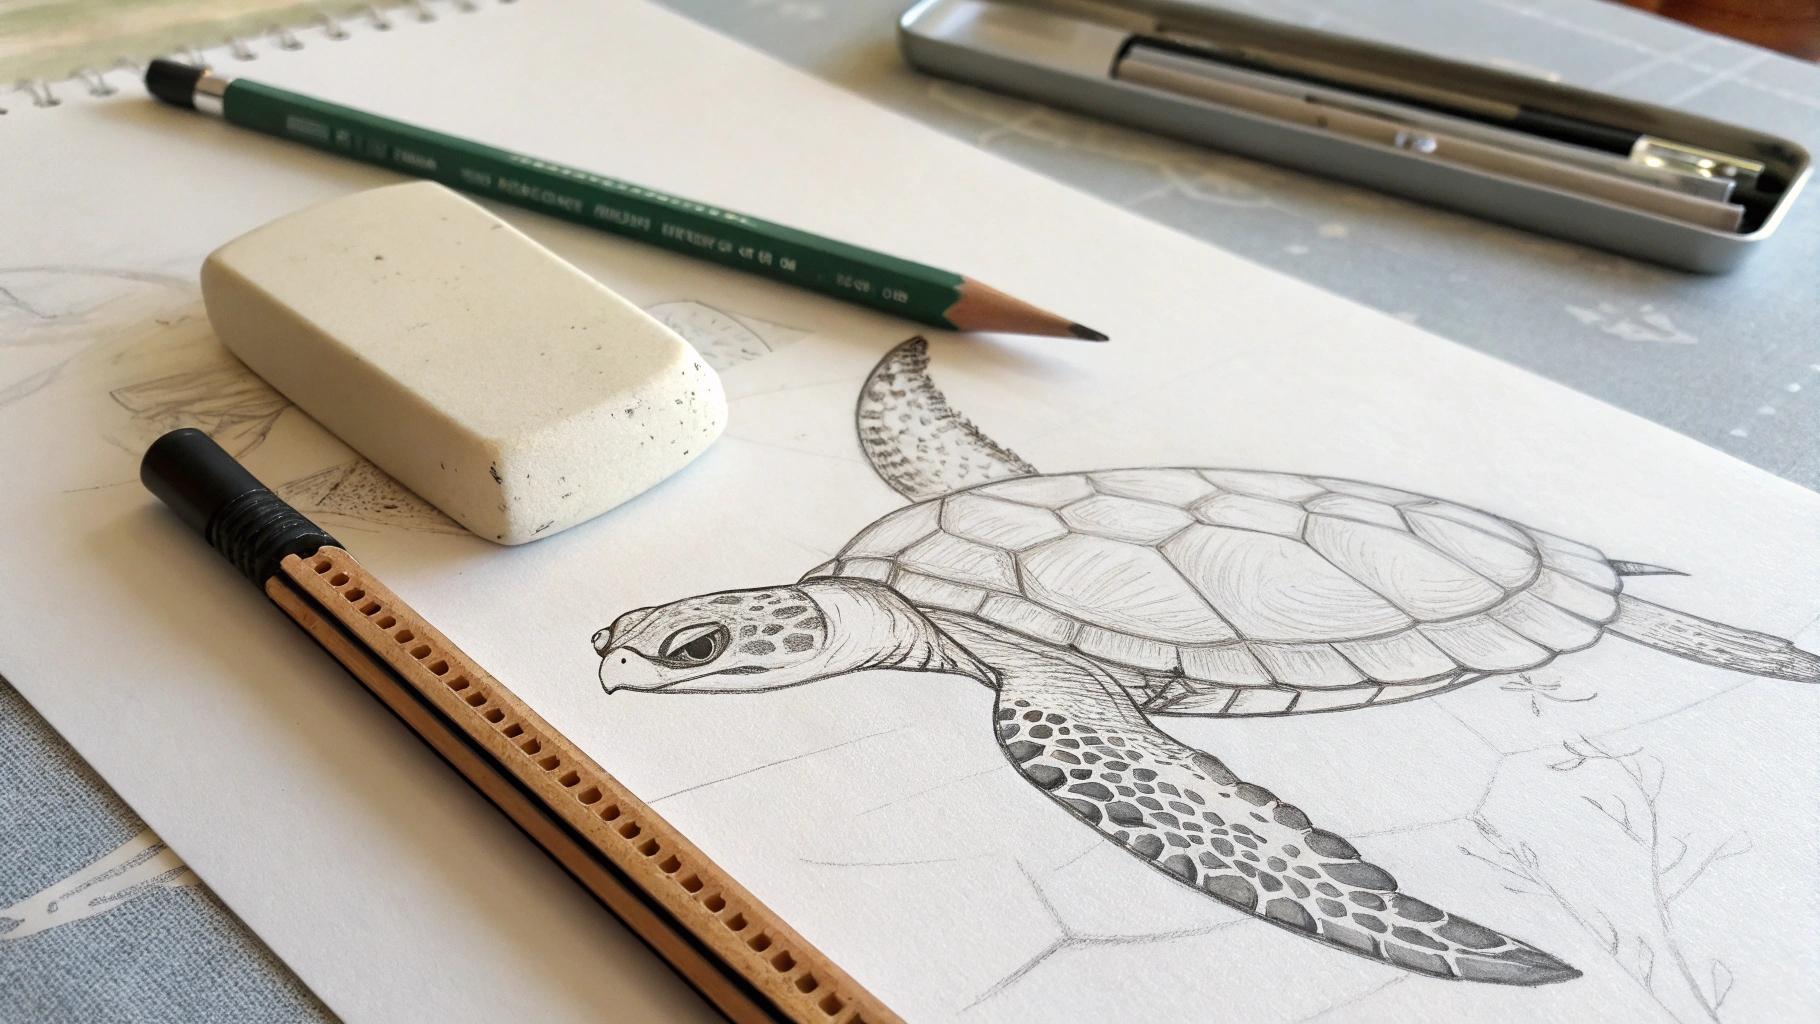
To follow this easy step by step guide, you’ll only need a few simple tools:
Pencil: A regular HB pencil works great for sketching. It’s easy to erase if you make a mistake.
Eraser: A soft eraser is perfect for cleaning up lines or fixing small errors.
Paper: Any type of paper will do, but a smooth surface like printer paper makes drawing easier.
That’s it! These basic tools are all you need to get started.
Tip: Keep your pencil sharp for cleaner lines. A dull pencil can make your drawing look messy.
Optional Tools for Shading and Coloring
If you want to add more detail or bring your turtle to life with color, consider these optional tools:
Colored Pencils or Markers: Use these to add vibrant colors to your turtle.
Blending Tools: A blending stump or even a cotton swab can help you create smooth shading.
Fine-tip Pen: Outlining your drawing with a pen can make it stand out.
These extras aren’t necessary, but they can make your turtle drawing look more polished and professional.
Note: Experiment with these tools to see what works best for you. There’s no right or wrong way to create art!
Easy Step-by-Step Guide to Drawing a Turtle
Ready to start your turtle drawing? Follow this easy step-by-step art lesson, and you’ll have a cute turtle sketch in no time. Let’s dive in!
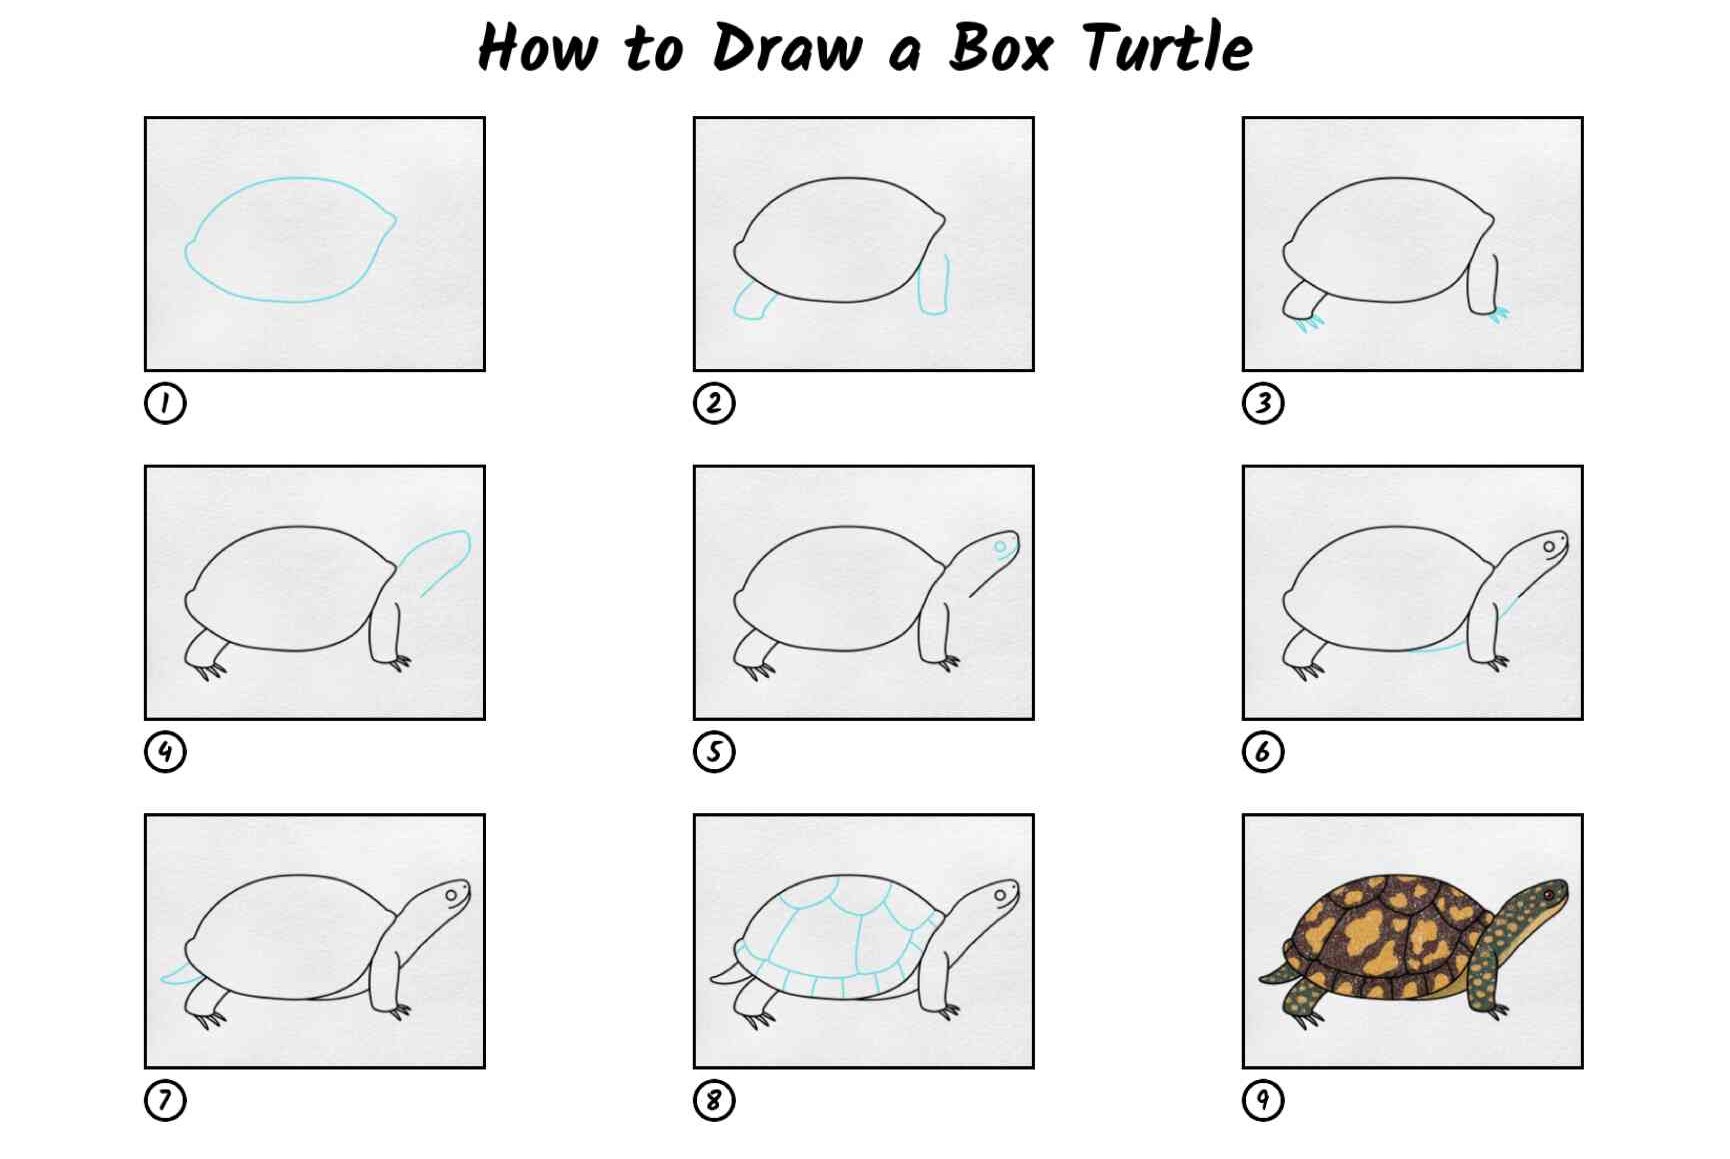
Step 1: Start with the Turtle’s Shell
Begin by drawing the turtle’s shell. This is the most prominent part of the turtle, so it’s a great place to start. Draw an oval shape in the center of your paper. Don’t worry about making it perfect—nature isn’t perfect either!
Why start with the shell?
It simplifies the process by focusing on the turtle’s key feature.
The oval shape is easy to draw and helps you manage the overall structure.
Starting with the shell keeps you engaged and makes the drawing feel less overwhelming.
Pro Tip: Lightly sketch the oval so you can adjust it later if needed.
Step 2: Add the Head and Neck
Next, draw the turtle’s head and neck. Sketch a small circle for the head, slightly overlapping the top of the shell. Then, connect the head to the shell with two curved lines to form the neck.
Make sure the neck is slightly curved—it gives your turtle a more natural look. You can adjust the size of the head depending on the type of turtle you’re drawing. For example, a sea turtle tutorial might have a smaller head compared to its shell.
Step 3: Draw the Legs and Tail
Now, it’s time to give your turtle some legs and a tail. Draw two front legs near the bottom of the shell, curving outward. Add two back legs slightly smaller than the front ones. Finally, sketch a tiny triangle at the back of the shell for the tail.
Fun Fact: Sea turtles have flipper-like legs, while land turtles have more rounded, stumpy legs. You can customize your turtle drawing based on the type of turtle you want to create!
Step 4: Add Details to the Shell and Body
Here’s where your turtle drawing starts to come to life. Add patterns to the shell by sketching hexagonal or circular shapes inside the oval. These patterns mimic the natural texture of a turtle’s shell.
For the body, draw small lines on the legs to represent scales. You can also add tiny dots or lines on the neck for extra detail.
Tip: Don’t rush this step. Adding details is what makes your turtle unique!
Step 5: Outline Your Turtle Drawing
Once you’re happy with your sketch, go over the lines with a fine-tip pen or a darker pencil. This step helps your turtle stand out and prepares it for shading or coloring.
Description |
|
|---|---|
Preparation for Main Projects |
Outlining helps you finalize your sketch before adding details. |
Idea Discernment |
It allows you to see which parts of your drawing work best. |
Composition Arrangement |
Outlining helps you arrange the elements of your drawing effectively. |
Pro Tip: Erase any unnecessary pencil marks after outlining to keep your drawing clean.
Step 6: Add Shading and Texture
Shading adds depth and makes your turtle look more realistic. Use a blending tool or a cotton swab to create smooth transitions between light and dark areas. Focus on the shell, legs, and neck to highlight their textures.
Note: Shading is optional, but it can take your turtle drawing to the next level. Experiment with different techniques to find what works best for you.
Step 7: Color Your Turtle Drawing
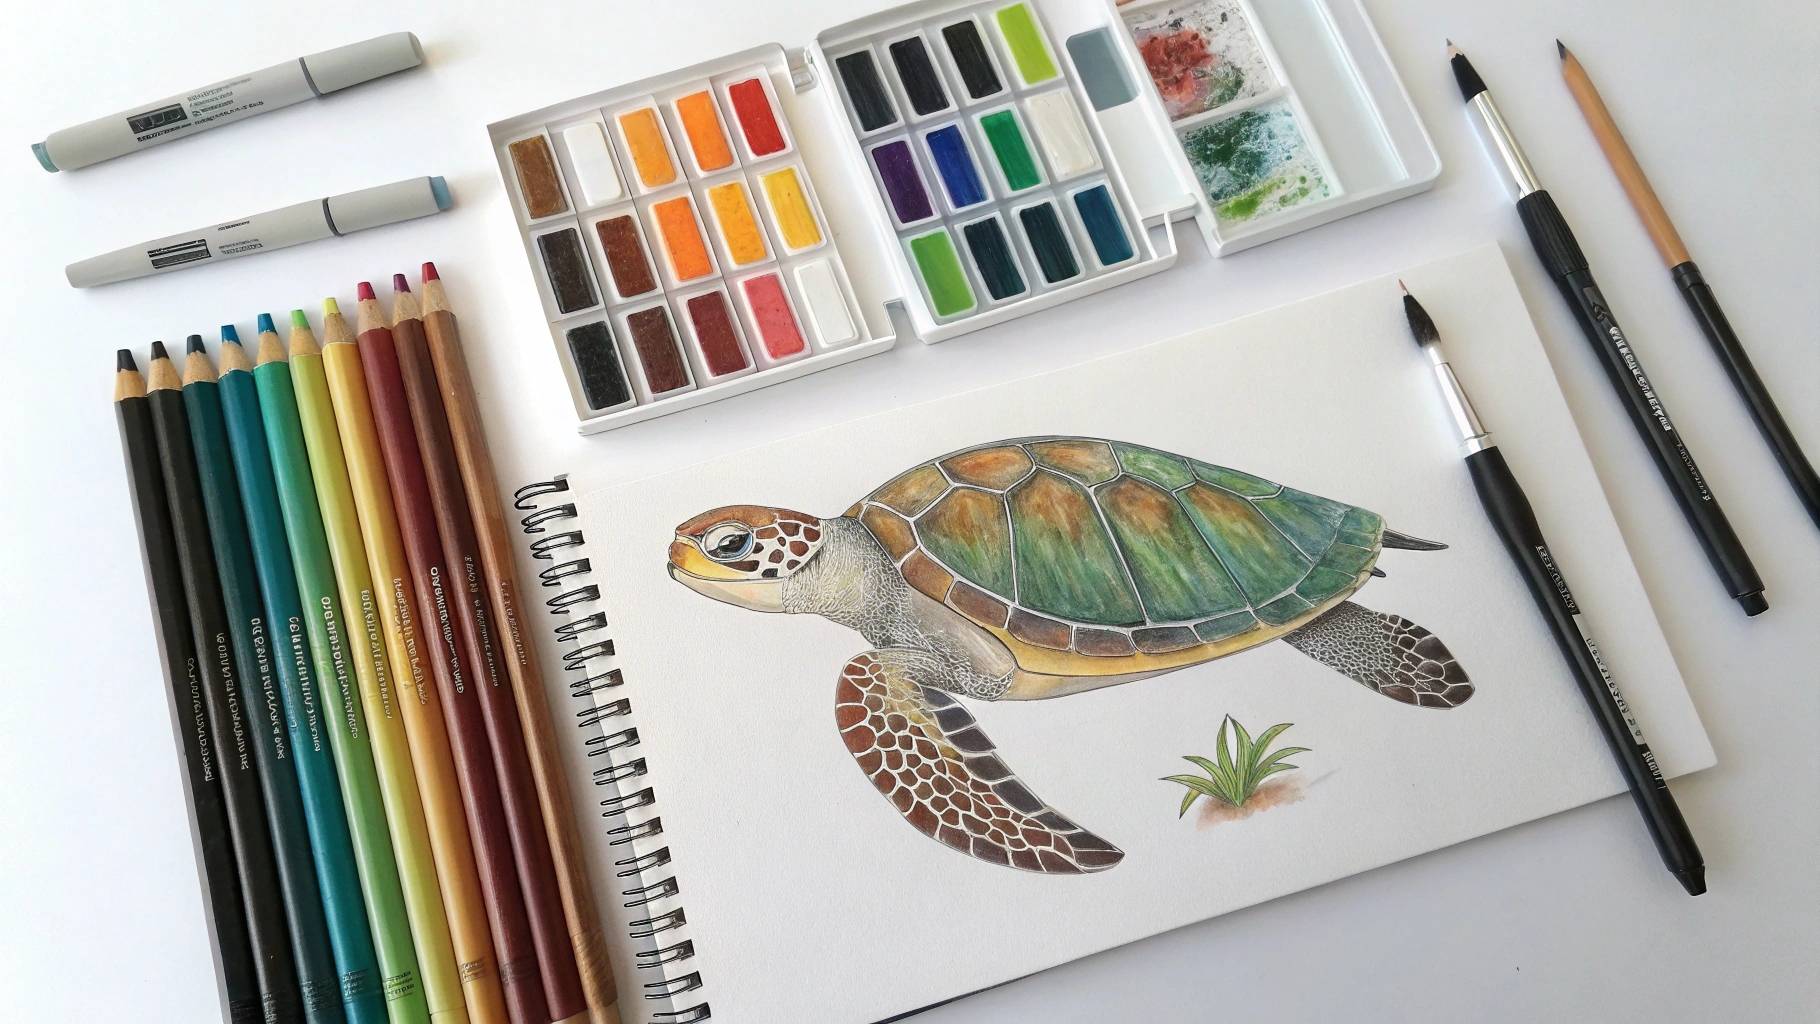
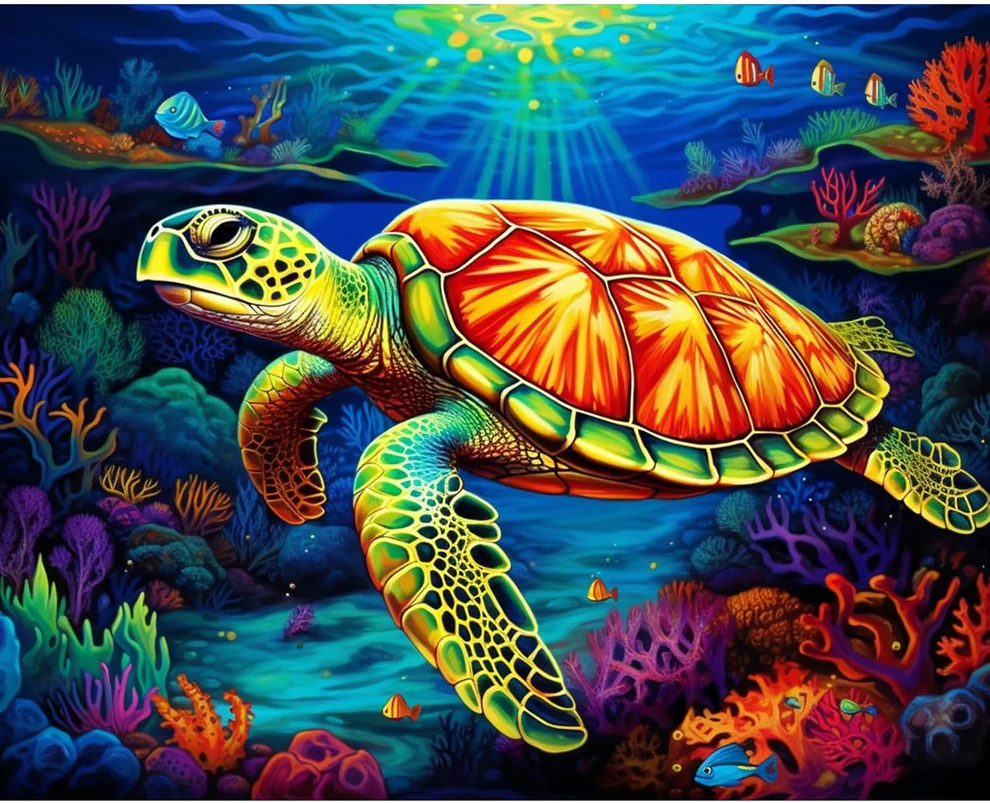
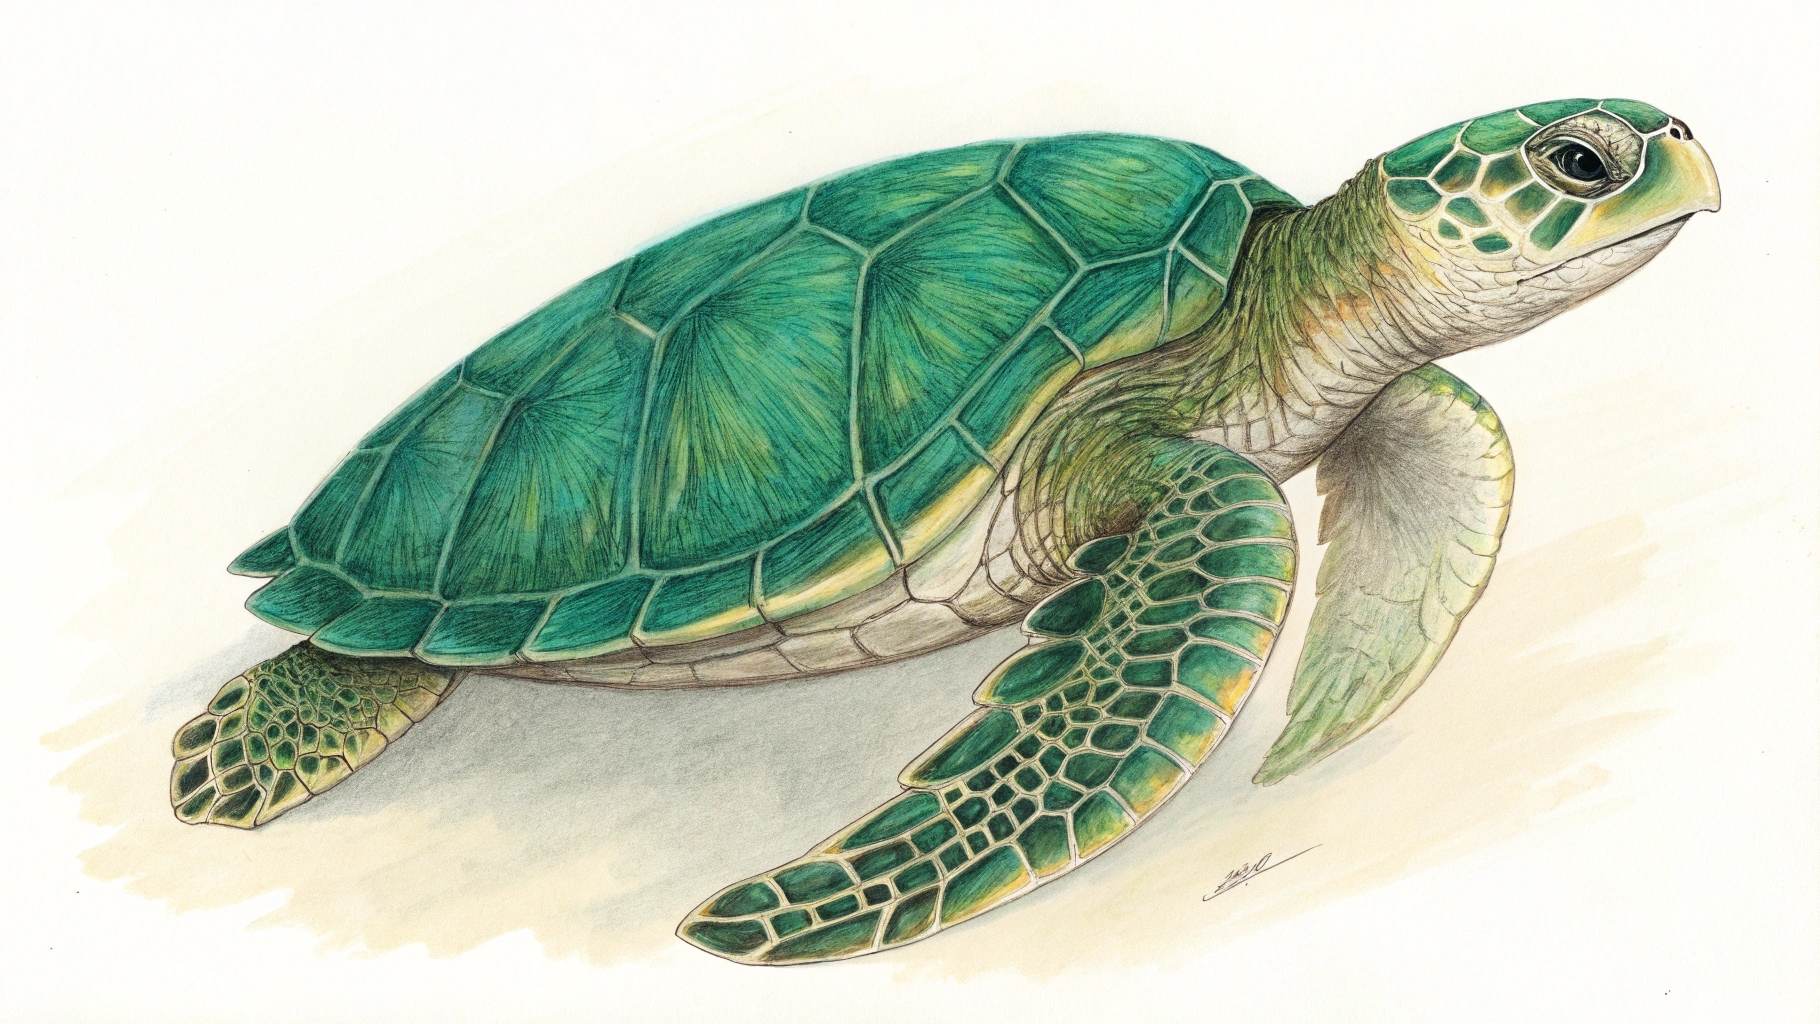
Finally, bring your turtle to life with color! Use colored pencils, markers, or even watercolors to add vibrant hues. Green and brown are common for turtles, but feel free to get creative.
Artists often draw inspiration from nature to capture the vibrant colors of turtles.
Observing real turtles or photos can help you choose the right shades for your sea turtle coloring page.
Fun Tip: Try adding a blue background to make it look like your turtle is swimming in the ocean!
And there you have it—a complete turtle drawing! This easy step-by-step art lesson not only helps you draw a turtle but also builds your confidence to draw other animals.
Tucocoo Turtle Paint by Numbers
Tips to Improve Your Step-by-Step Drawing Lesson
Even if you’re just starting out, there are a few ways to make your turtle drawings even better. These tips will help you refine your skills and build confidence as you practice.
Practice Basic Shapes and Proportions
Every great drawing starts with understanding basic shapes. Turtles might look complex, but they’re really just a combination of circles, ovals, and lines. Spend some time practicing these shapes before diving into a full drawing tutorial.
Start simple: Draw circles, ovals, and rectangles to get a feel for proportions.
Break it down: When you draw the shell and the bottom part of the turtle, think of it as an oval with smaller shapes inside.
Check proportions: Make sure the head, shell, and legs are balanced. If one part looks too big or small, adjust it before adding details.
Tip: Use light pencil strokes when sketching. This makes it easier to erase and fix mistakes as you go.
Experiment with Shading and Coloring
Shading and coloring can bring your turtle to life. Once you’ve drawn the outline of the turtle's head and body, try adding shadows and highlights to make it look more realistic.
Here’s how you can experiment:
Start with shading: Use a pencil to add shadows under the shell and around the legs. This gives your drawing depth.
Blend for smoothness: A blending tool or even your finger can help soften harsh lines.
Add color: Use colored pencils or markers to create an easy sea turtle coloring page. Green, brown, and yellow are great for turtles, but don’t be afraid to get creative!
Pro Tip: Observe real turtles or photos to see how light hits their shells and bodies. This will help you understand where to add shading.
Use References for Turtle Drawing Inspiration

If you’re unsure how to outline the turtle's front and hind legs or add details to the shell, references can be a game-changer. Look at pictures of turtles or watch videos to see how they move and what their features look like.
Photo references: Search for images of sea turtles, land turtles, or even cartoon turtles.
Drawing guides: Follow other step-by-step drawing lessons to learn new techniques.
Nature inspiration: Visit a local pond or aquarium to observe turtles in real life.
Fun Fact: Did you know that sea turtles have flippers instead of legs? Using references can help you capture these unique details in your drawing.
By practicing these tips, you’ll not only improve your turtle drawings but also gain skills that can be applied to other animals. Keep experimenting, and don’t be afraid to make mistakes. Every drawing is a step forward!
Congratulations! You’ve just learned how to draw an easy sea turtle step by step. Remember, practice makes perfect. The more you draw, the better you’ll get. Don’t worry if your first attempt isn’t perfect—it’s all part of the process. Once you feel confident, try to draw a turtle for kids or even explore other animals. Who knows? Your next sea turtle drawing might be your best yet!
FAQ
How long does it take to draw a turtle?
It depends on your pace! For beginners, it might take 20-30 minutes. Take your time and enjoy the process. 🐢
What if my turtle doesn’t look perfect?
That’s totally fine! Art is about practice and creativity. Each drawing helps you improve. Keep going—you’ll get better with every attempt! 🎨
Can I use crayons instead of colored pencils?
Absolutely! Crayons work great for adding color. They’re fun and easy to use, especially for beginners. Experiment with different tools to find what you like best. 🖍️