How to Draw an Astronaut Step by Step for Beginners

Have you ever dreamed of making an incredible astronaut drawing but felt unsure where to begin? No need to stress—you’ve come to the perfect spot! By using basic shapes and following easy step-by-step instructions, you’ll master creating an astronaut drawing that’s truly out of this world. So, grab your pencil, and let’s dive in!
Key Takeaways
Get basic supplies like a pencil, eraser, and paper to begin drawing your astronaut. You can also use a ruler and markers to improve your art.
Follow easy steps to draw your astronaut. Start with the helmet and body. Use simple shapes for arms, legs, and details like the visor and oxygen tank.
Add colors and shading to make your astronaut look real. Try bright colors and fun details like stars or flags to make it special.
Materials Needed
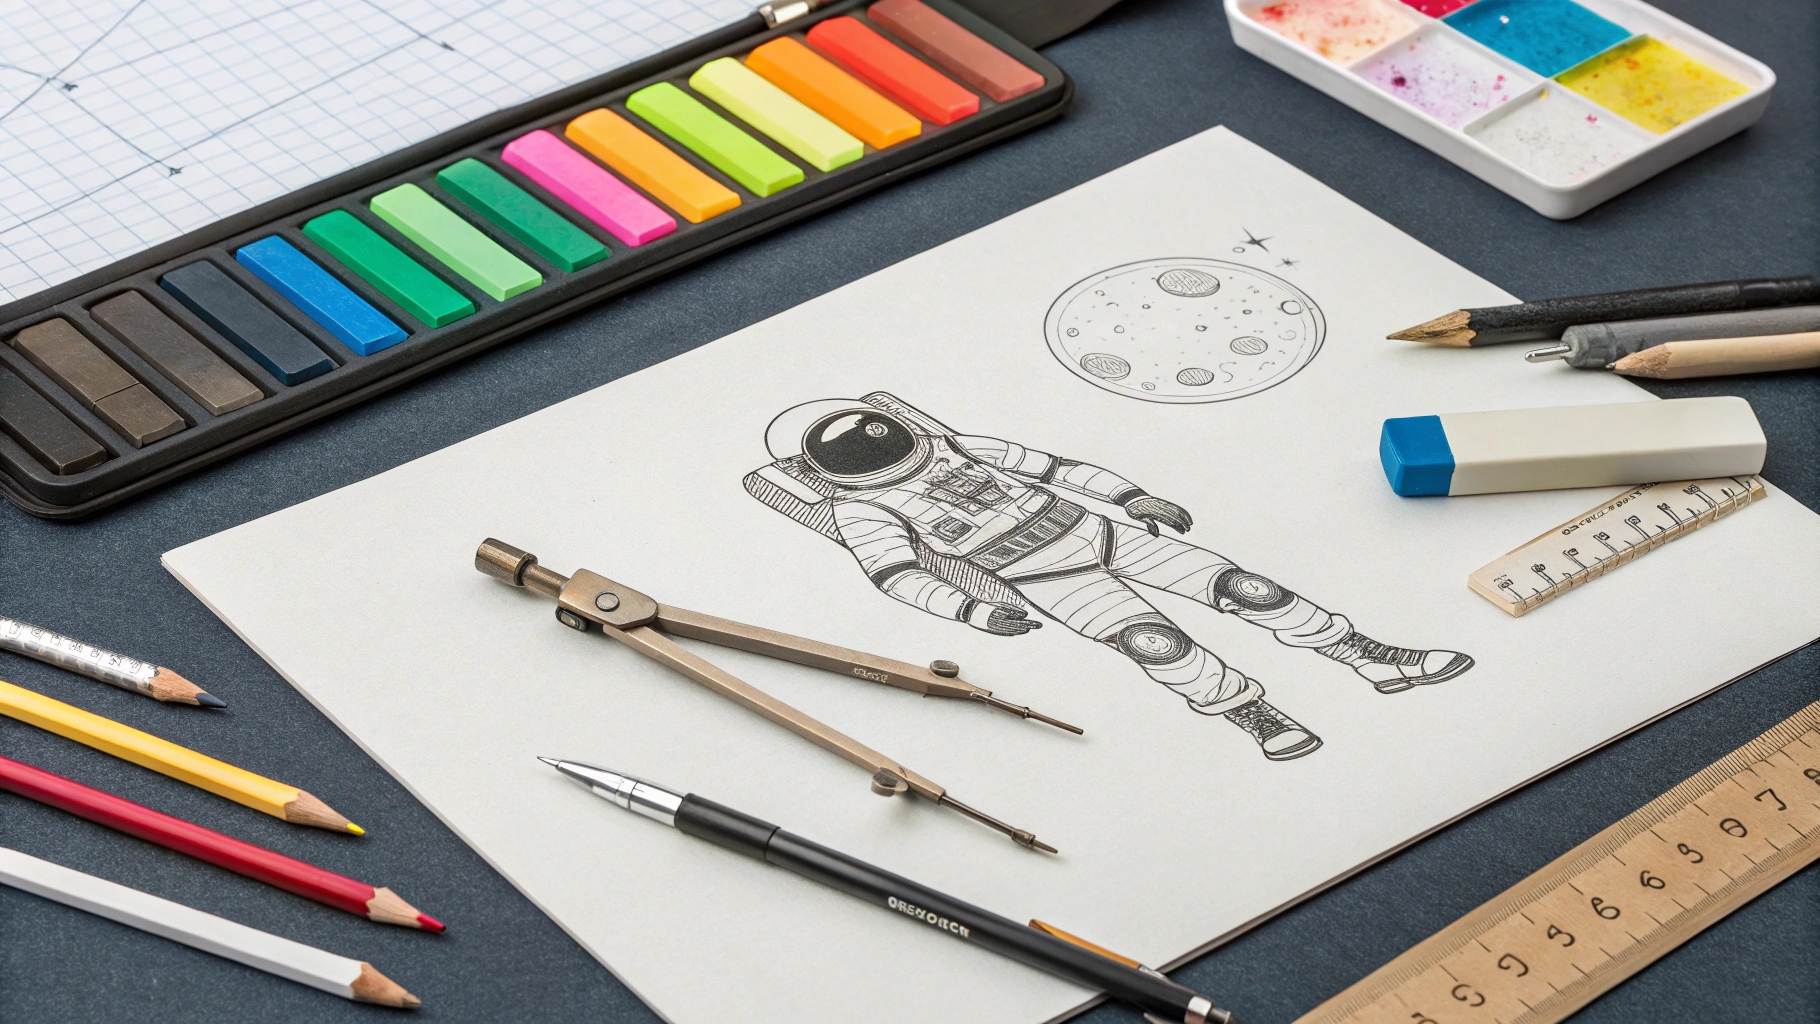
Before you start drawing the basic figure of your astronaut, it’s important to gather the right materials. Having the proper tools can make the process smoother and more enjoyable, especially if you’re just starting out. Here’s what you’ll need:
Essential tools: pencil, eraser, paper
You don’t need fancy supplies to begin. A simple pencil, eraser, and a sheet of paper are all you need to get started. Choose a pencil that feels comfortable in your hand—it’ll help you sketch with ease. An eraser is great for fixing mistakes as you refine your astronaut’s shape. And, of course, a sturdy piece of paper will give you a solid base for your masterpiece.
Optional tools: ruler, compass, fine-tip markers
If you want to take your drawing to the next level, consider adding a few extra tools. A ruler can help you draw straight lines for the astronaut’s suit or oxygen tank. A compass is perfect for creating a smooth, round helmet. Fine-tip markers are great for adding the fine details, like the seams on the suit or the edges of the visor. These tools aren’t required, but they can make your drawing look more polished.
Coloring supplies: colored pencils, markers, crayons
Once you’ve finished drawing the basic figure, it’s time to bring your astronaut to life with color! Colored pencils are great for shading and adding depth. Markers can make your colors pop, while crayons are perfect for a softer, textured look. Experiment with different supplies to find what works best for you. Adding the fine details, like stars or a flag, can make your drawing even more unique.
Tip: Start with the basics and experiment with optional tools as you grow more confident. The right materials can spark your creativity and make drawing even more fun!
Step-by-Step Tutorial for Astronaut Drawing
Ready to start your astronaut drawing? Let’s break it down into simple steps. Follow along, and you’ll have your very own astronaut in no time!
Step 1: Sketch the helmet using a circle
Begin with the helmet—it’s the most iconic part of an astronaut! Draw a large circle near the top of your paper. Don’t worry if it’s not perfect; you can always refine it later. If you have a compass, use it to make a smooth, even circle. This will form the base of your astronaut’s helmet.
Tip: Keep the circle large enough to leave room for the astronaut’s face or visor details later.
Step 2: Draw the body with a rectangle
Below the helmet, draw a rectangle for the astronaut’s torso. Make it slightly wider than the helmet to give your astronaut a sturdy look. This rectangle will serve as the main part of the spacesuit. Keep your lines light so you can adjust them as needed.
Step 3: Add arms and gloves using simple shapes
Now, let’s give your astronaut some arms! Draw two long, slightly curved rectangles extending from the sides of the torso. These will be the arms of the spacesuit. At the end of each arm, add a small oval or circle for the gloves. You can make the gloves a bit larger to give them a puffy, space-ready look.
Fun Fact: Astronaut gloves are designed to protect hands from extreme temperatures and allow flexibility for handling tools in space.
Step 4: Create the legs with a U shape
For the legs, draw two U-shaped lines extending downward from the bottom of the torso. These will form the astronaut’s legs. Make sure the legs are slightly apart to give your astronaut a balanced stance. At the bottom of each leg, add a small rectangle or oval for the boots.
Step 5: Include details like the visor and oxygen tank
Here’s where your astronaut drawing starts to come to life! Inside the helmet, draw a curved line to create the visor. This will give the helmet a realistic look. Next, add a small rectangle or square on the back of the torso to represent the oxygen tank. You can also draw a few lines or buttons on the suit to add extra details.
Pro Tip: Adding small details like patches or logos on the spacesuit can make your astronaut drawing unique and personal.
Step 6: Refine the outline and erase guidelines
Now that you’ve sketched the basic shapes, it’s time to clean up your drawing. Go over the outline with a darker pencil or fine-tip marker to make it stand out. Erase any extra guidelines or overlapping lines. This step will make your astronaut look polished and ready for the final touches.
Did you know? Over 163,000 readers have followed this step-by-step tutorial to create their own astronaut drawings. With 12 glowing testimonials, it’s a reader-approved method that works for beginners and beyond!
Metric |
Value |
|---|---|
Total Views |
163,364 |
Reader Testimonials |
12 |
Reader-Approved Status |
Yes |
By following these steps, you’ve created the foundation of your astronaut drawing. Great job! Now, let’s move on to coloring and adding those final creative touches.
Coloring and Final Touches
Choose bright colors for the suit and helmet
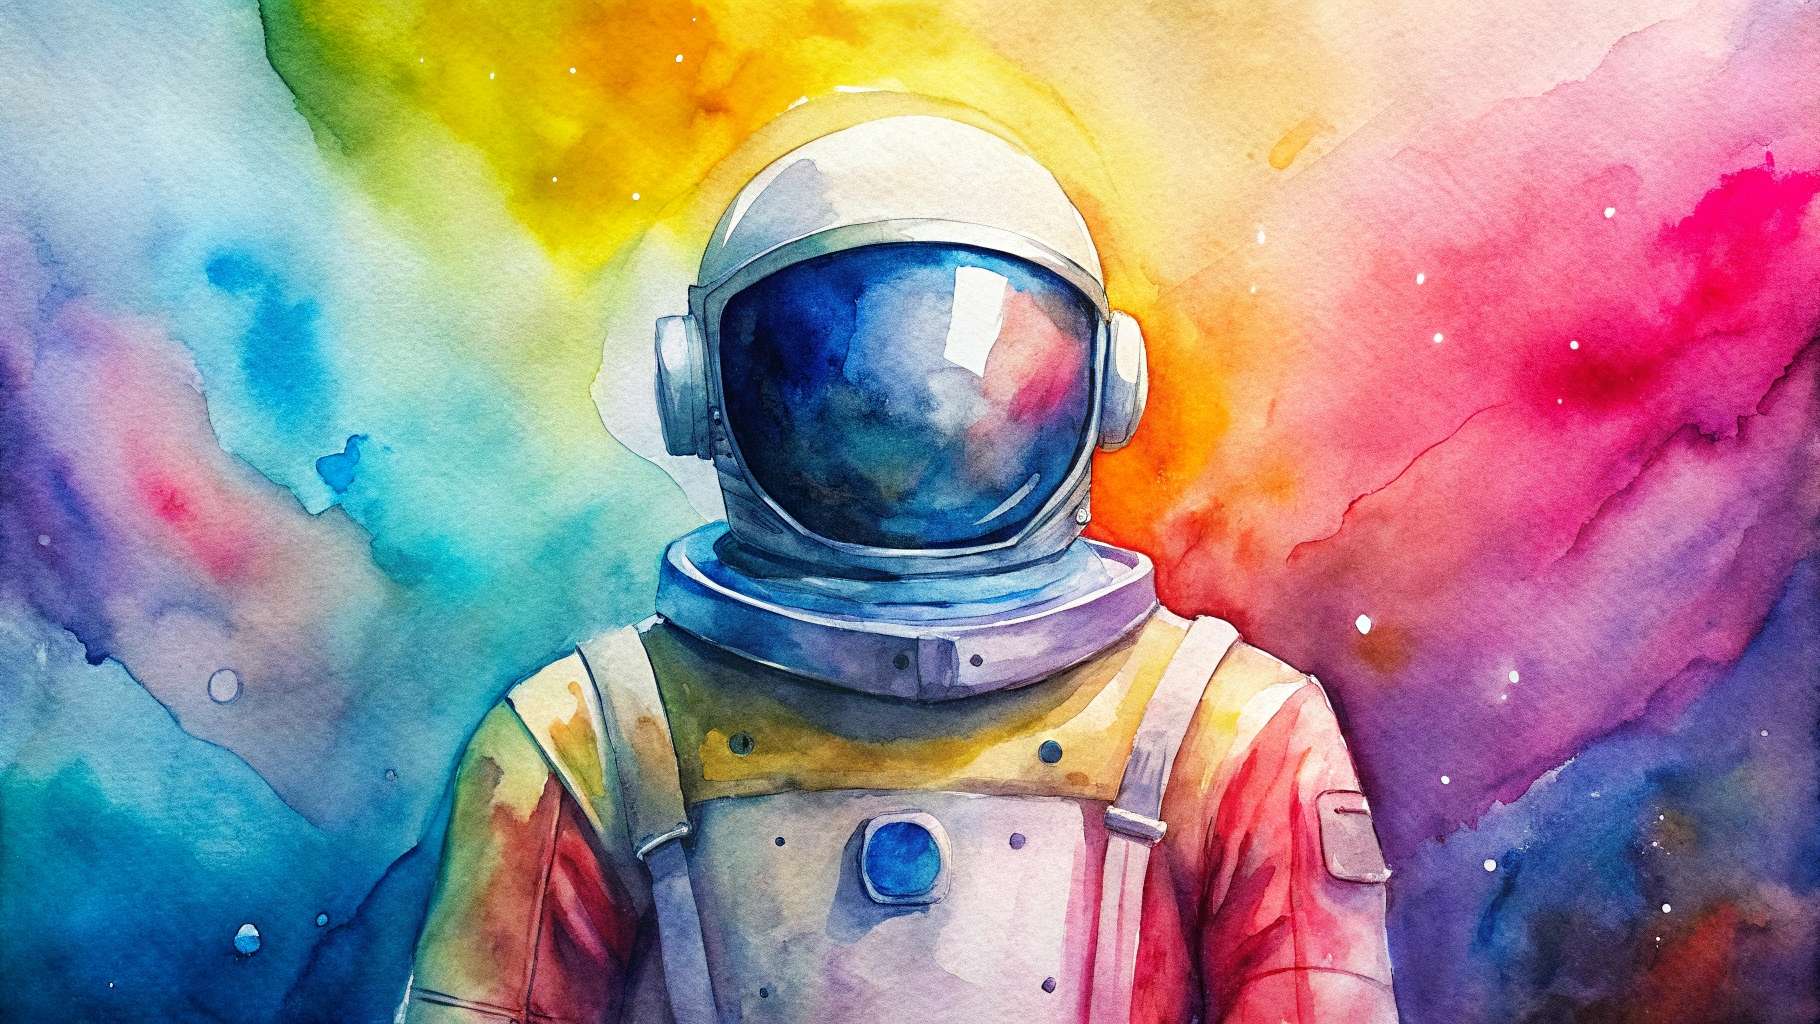
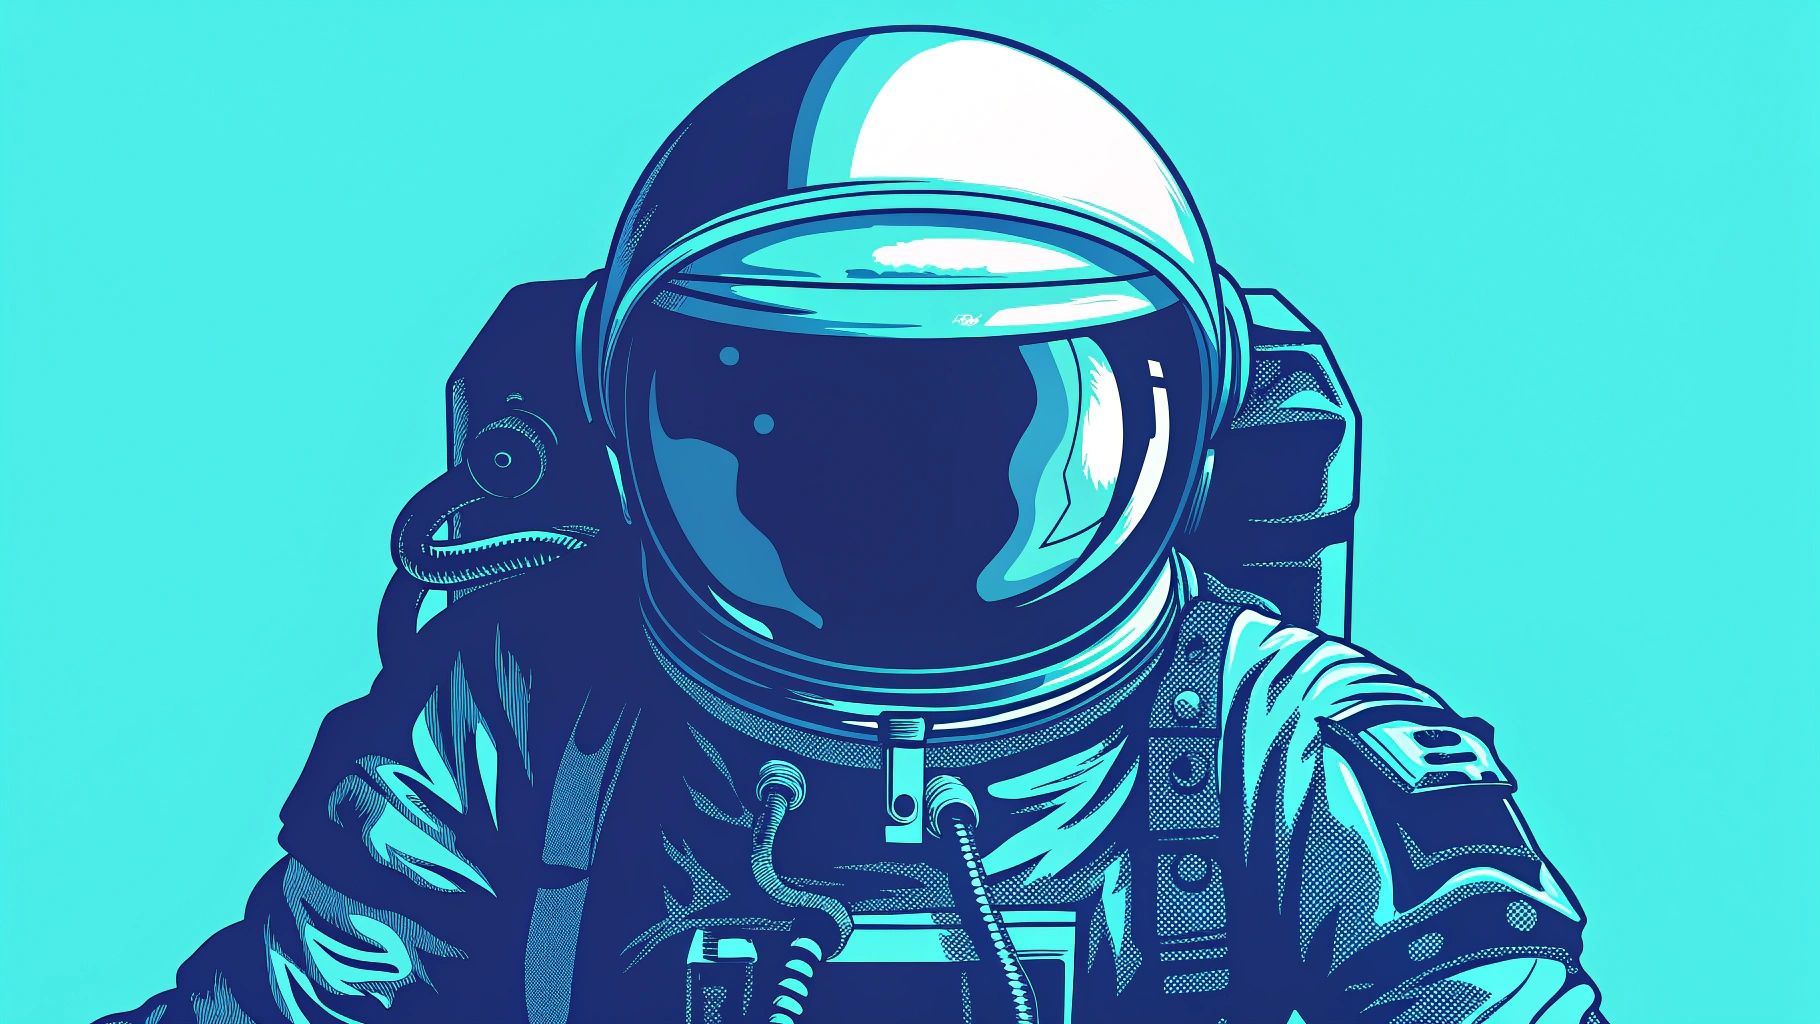
Now it’s time to bring your astronaut to life with some vibrant colors! Astronaut suits are often white, but you can get creative and choose any color you like. Bright shades like orange, blue, or silver can make your drawing stand out. For the helmet, consider using a metallic gray or black for the visor to give it a reflective look.
Tip: Use a light hand when coloring. You can always add more layers to make the colors richer, but it’s harder to fix if you press too hard.
Add shading and highlights for depth
Shading can make your astronaut look more realistic. Add darker tones along the edges of the suit and helmet to create shadows. Use lighter colors or leave small areas white to highlight spots where light would naturally hit. For example, the top of the helmet or the front of the gloves might catch more light.
Use a pencil or gray marker for subtle shadows.
Blend colors with your finger or a blending tool for a smooth effect.
Add highlights with a white gel pen or crayon for extra pop.
Pro Tip: Imagine where the light source is coming from. This will help you decide where to place shadows and highlights.
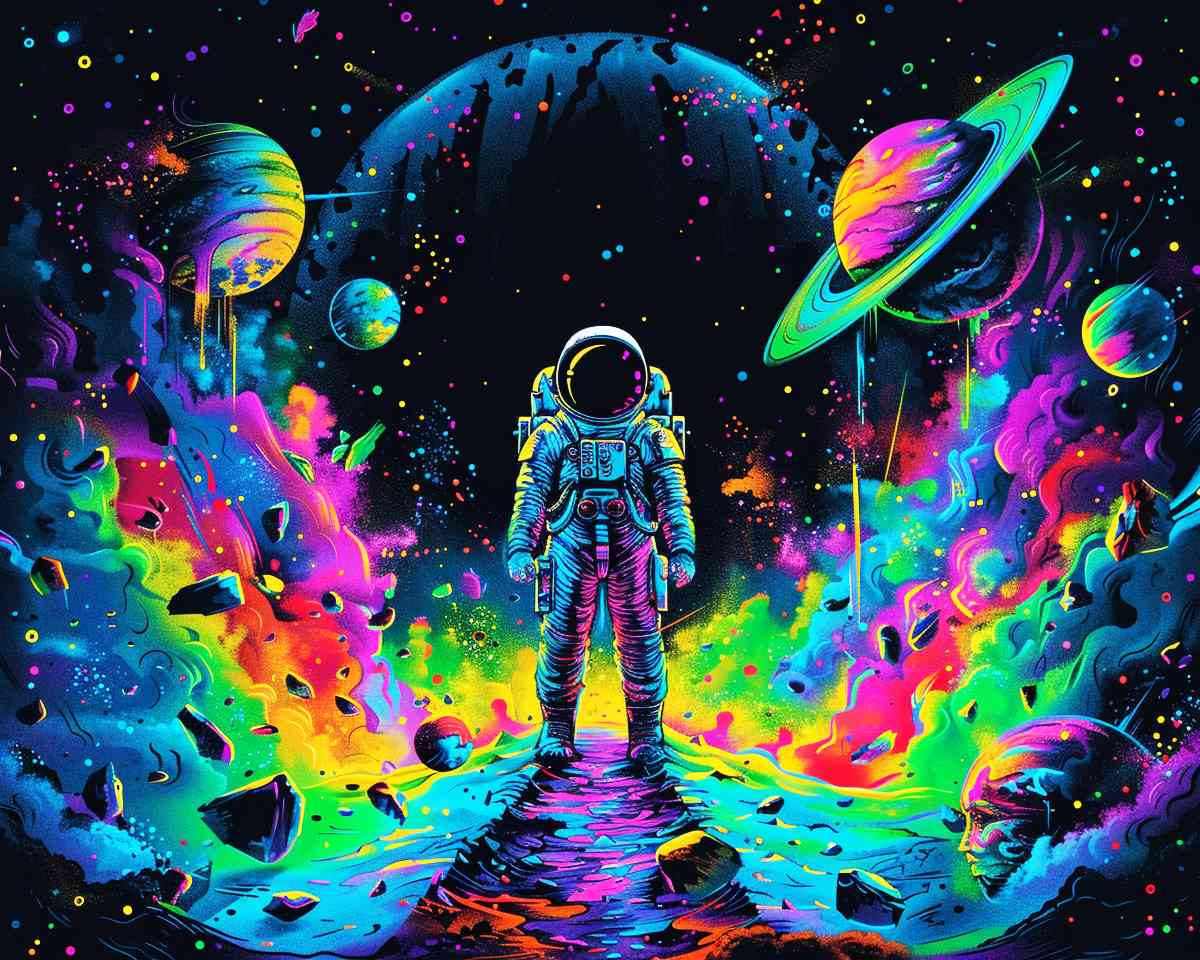
Include creative details like stars or a flag
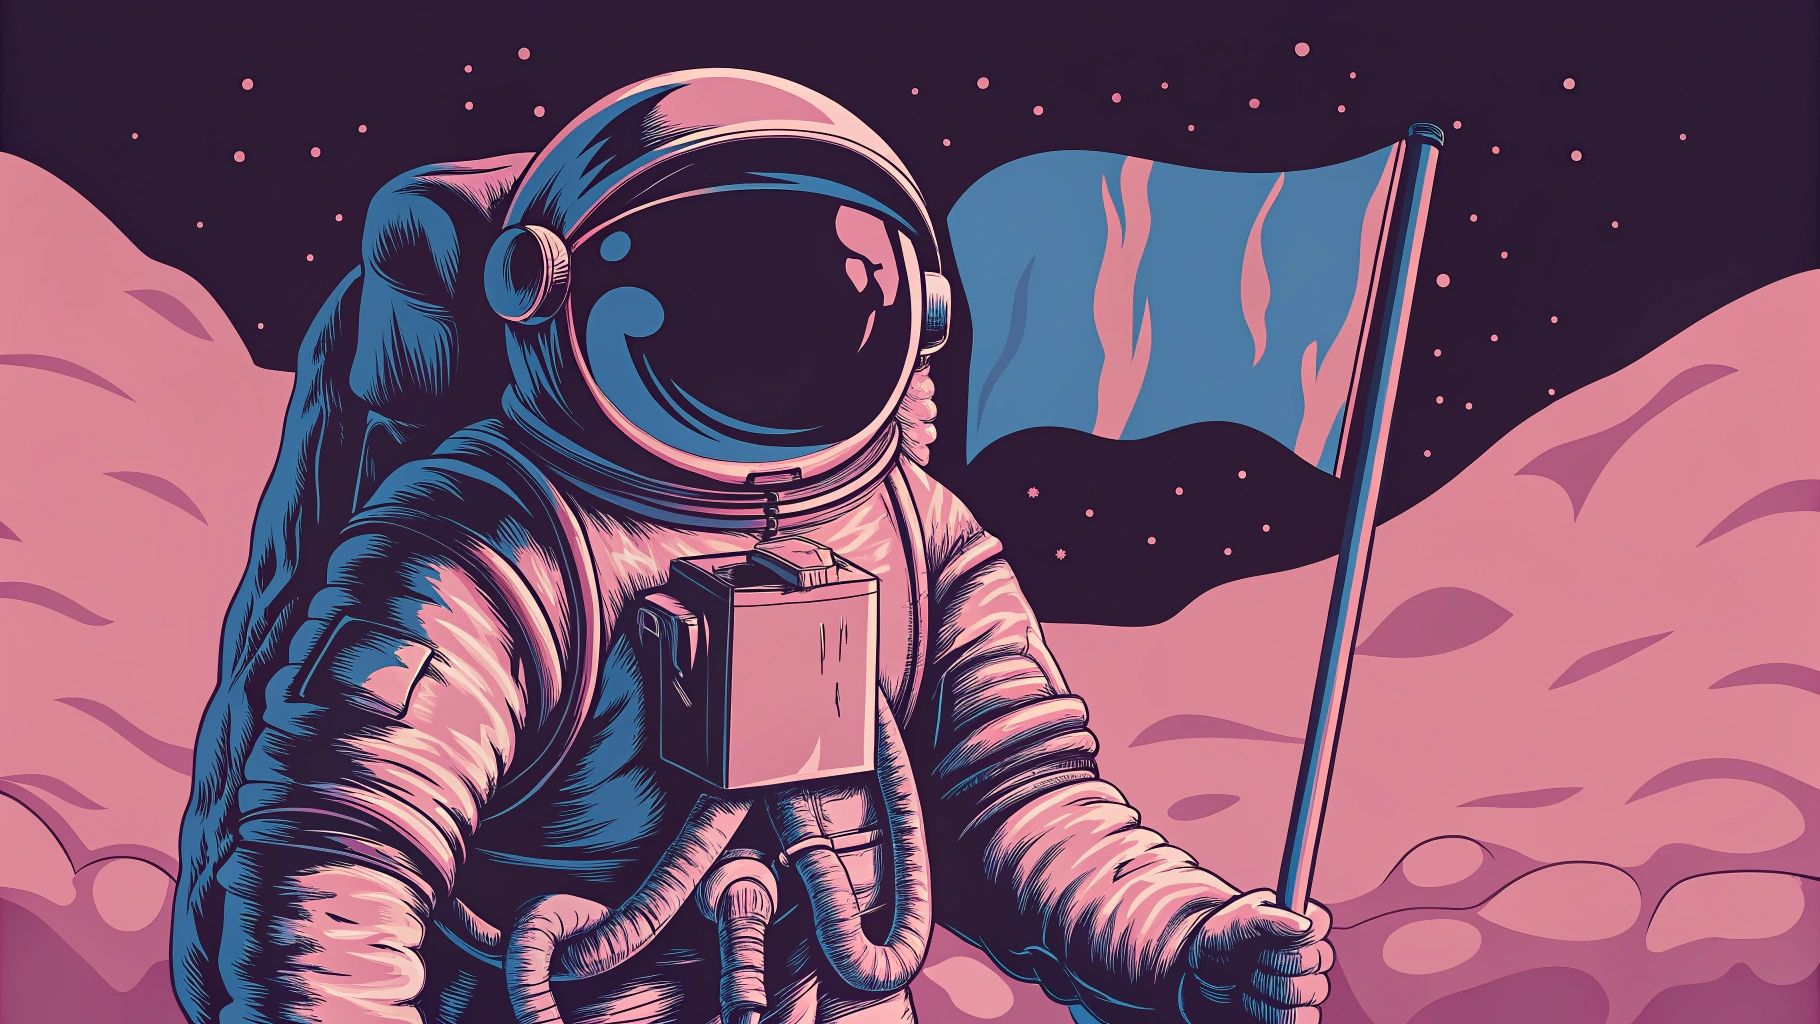
Make your drawing unique by adding fun details! Draw tiny stars or planets in the background to create a space scene. You could also add a flag on the astronaut’s suit or a patch with their name. If you’re feeling adventurous, sketch a moon or Earth in the distance.
Fun Idea: Use glitter pens or metallic markers to make stars and planets shine. It’s a simple way to add a magical touch to your artwork!
With these final touches, your astronaut drawing will look amazing and full of personality. Don’t be afraid to experiment and make it your own!
Drawing an astronaut is easier than you think when you follow simple steps. Keep practicing to sharpen your skills and try out new poses or fun details. Share your masterpiece with friends or family—they’ll love it!
Remember: Creativity grows with practice. So, grab your pencil and keep exploring the universe of art! 🚀
Tucocoo Astronaut Paint by Numbers
FAQ
How long does it take to draw an astronaut?
It depends on your pace! Most beginners finish in 30-60 minutes. Take your time and enjoy the process.
What if my astronaut doesn’t look perfect?
That’s okay! Every drawing is unique. Mistakes help you improve. Keep practicing, and you’ll see progress.
Can I use digital tools instead of paper?
Absolutely! You can use drawing apps or tablets. They’re great for experimenting with colors and undoing mistakes.
Tip: Whether digital or traditional, focus on having fun while creating! 🎨