How Beginners Can Draw a Cat with Ease
Have you ever wanted to create a cute cat drawing but didn’t know where to start? Don’t worry—you’re in the right place! This simple drawing tutorial will help you draw a cat step by step. Grab a pencil, relax, and let’s make something fun and adorable together.
Key Takeaways
Get simple tools like H and 4B pencils, a soft eraser, and drawing paper to begin drawing a cat.
Split the drawing into easy steps. Start with basic shapes for the cat's body and head.
Make your cat special by trying different ear shapes and face details.
Materials for Cat Drawing
Before drawing a cat, gather the right materials first. Using the proper tools makes drawing easier and more fun. Here’s what you’ll need.
Basic tools for beginners
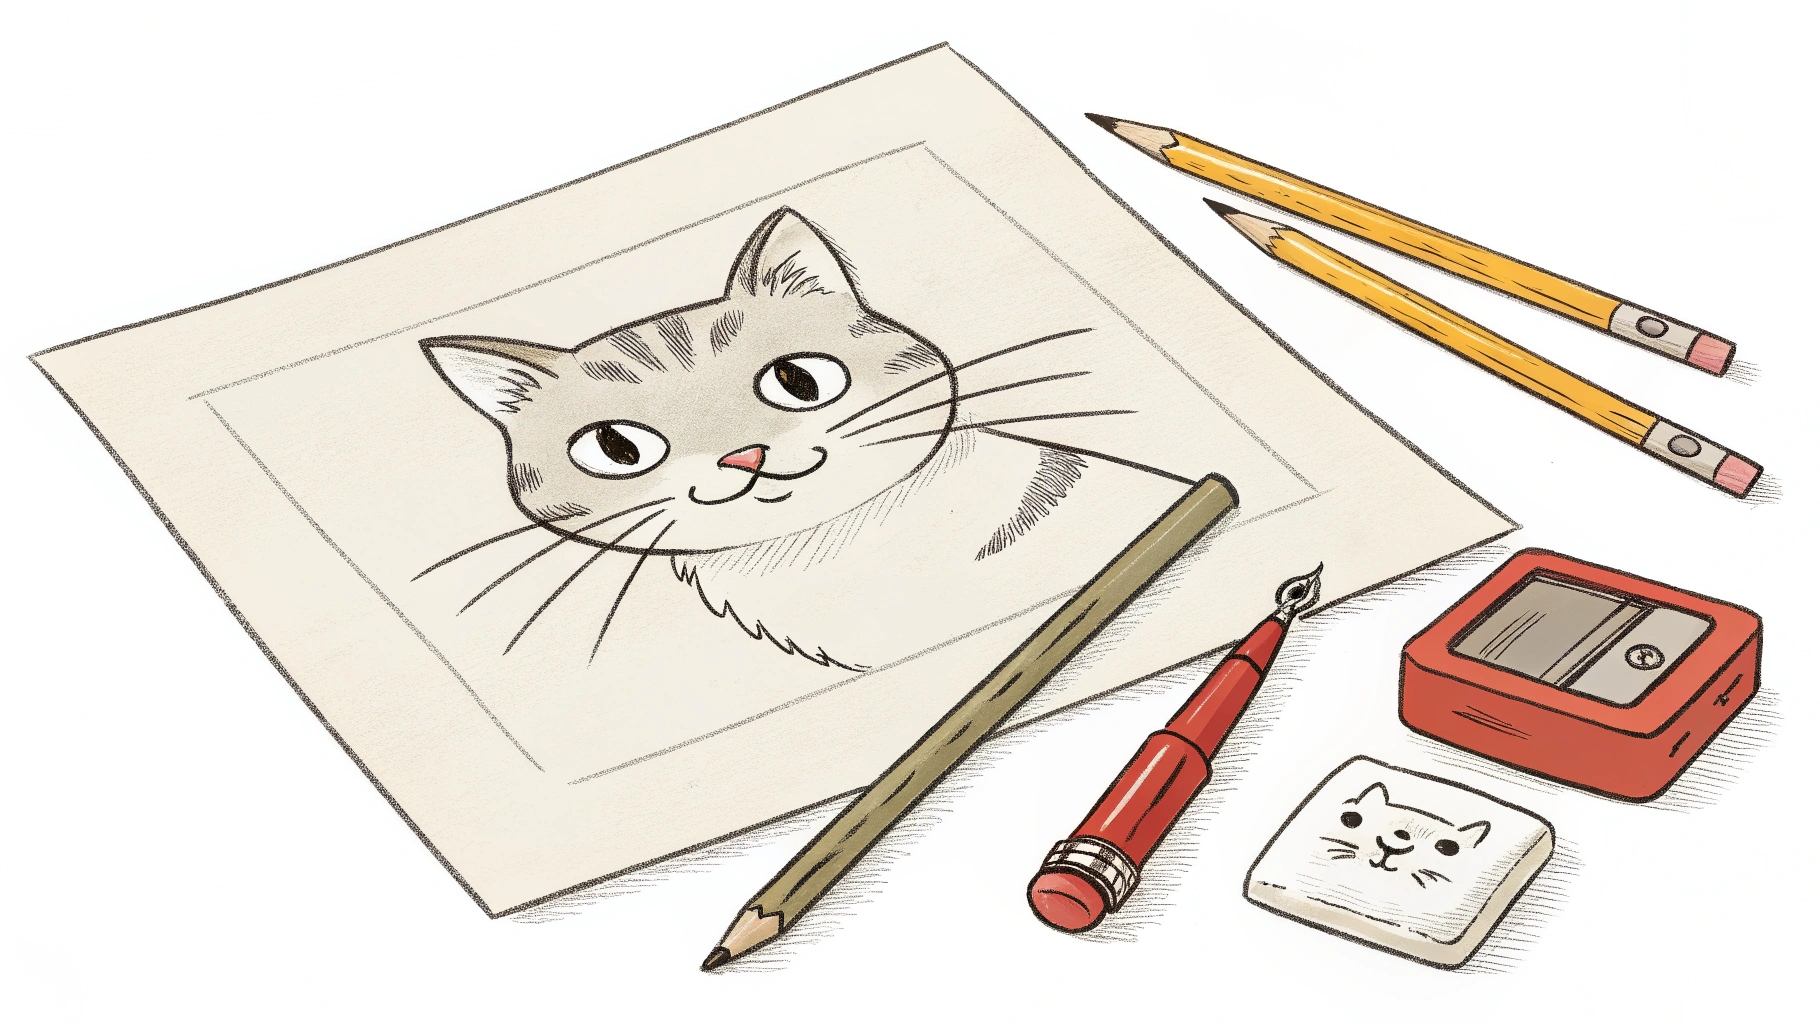
You don’t need expensive supplies to begin. Simple tools work well:
H pencil: Great for light sketches and basic shapes.
4B pencil: Adds shading and depth to your drawing.
Kneaded eraser: Fixes mistakes without tearing your paper.
Sketch paper with micro-perforations: Easy to remove and display your art.
These tools are simple to use and easy to find. They help you create neat and nice drawings without stress.
Extra tools for details and color
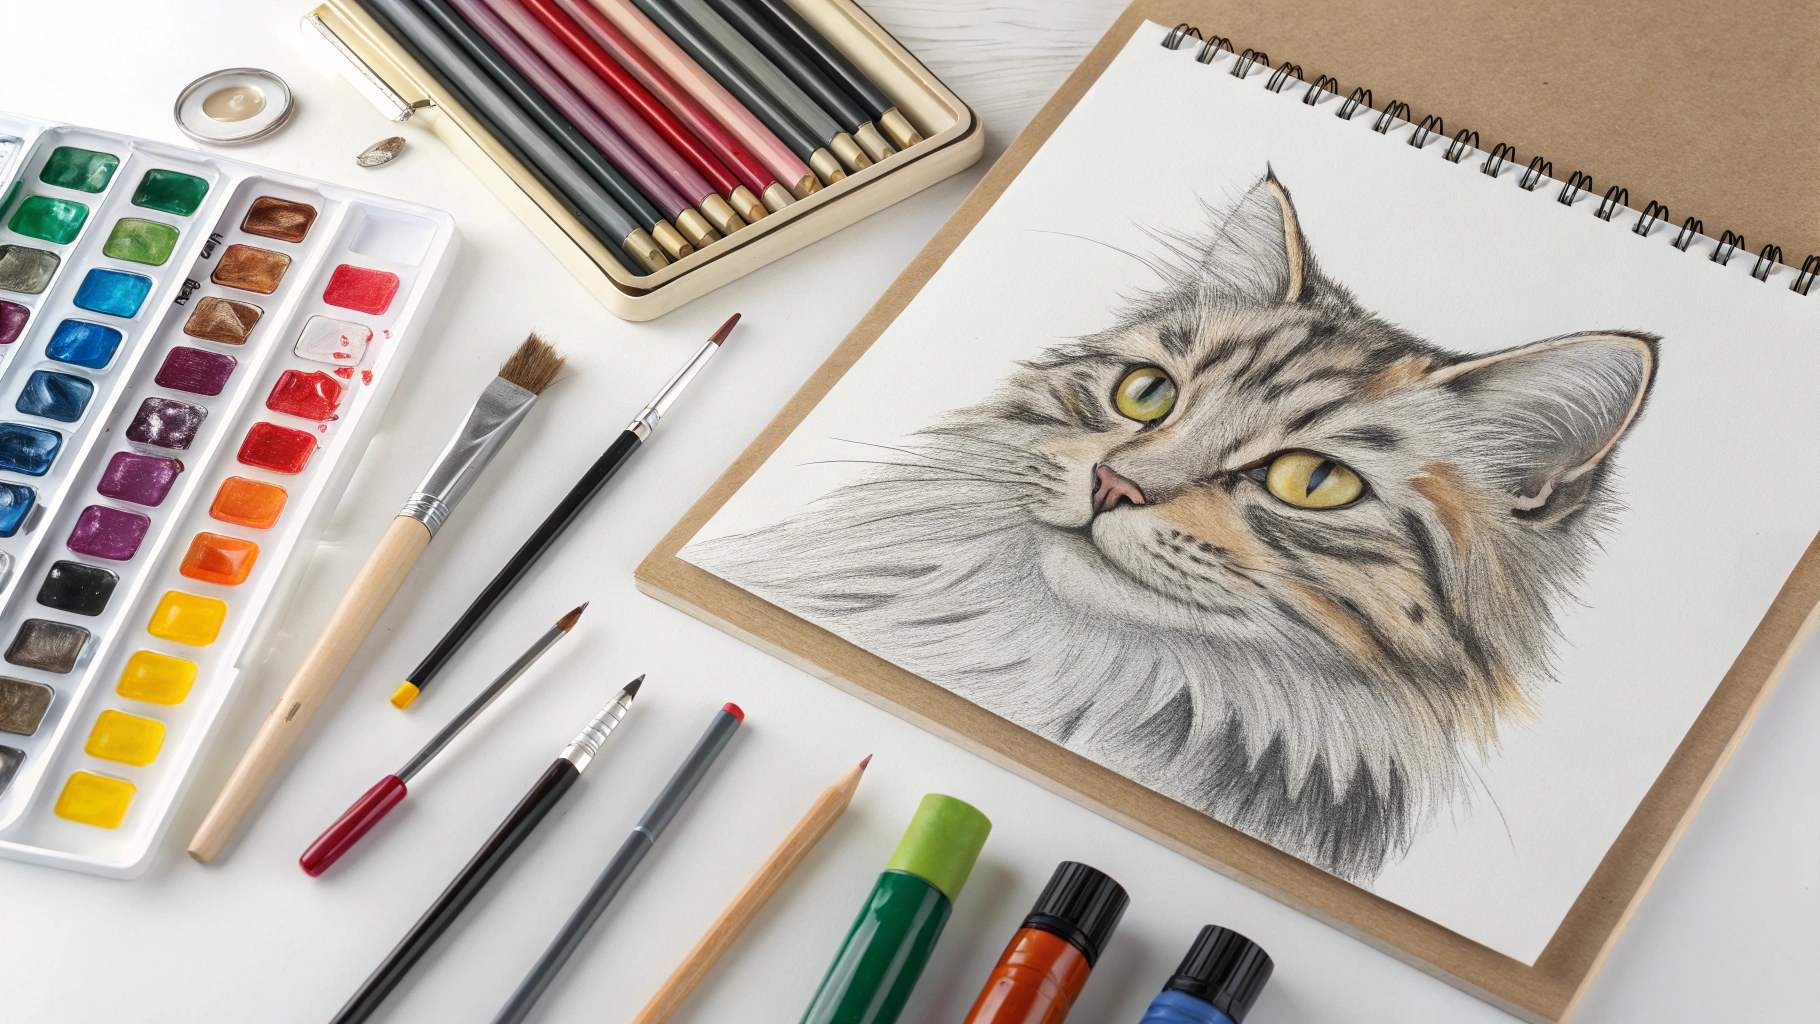
Once you’ve learned the basics, try adding more details. These optional tools can make your cat drawing unique:
Colored pencils or markers: Add bright colors to your cat.
Fine-tip pens: Outline and add small details like fur or whiskers.
Blending stumps: Smooth pencil shading for a realistic look.
Watercolors: Paint your cat for a soft, artistic style.
You don’t need these extras, but they can improve your art. Try them out to find what you like best.
Tip: Start with simple tools and add more over time. Focus on what works for you instead of buying everything at once.
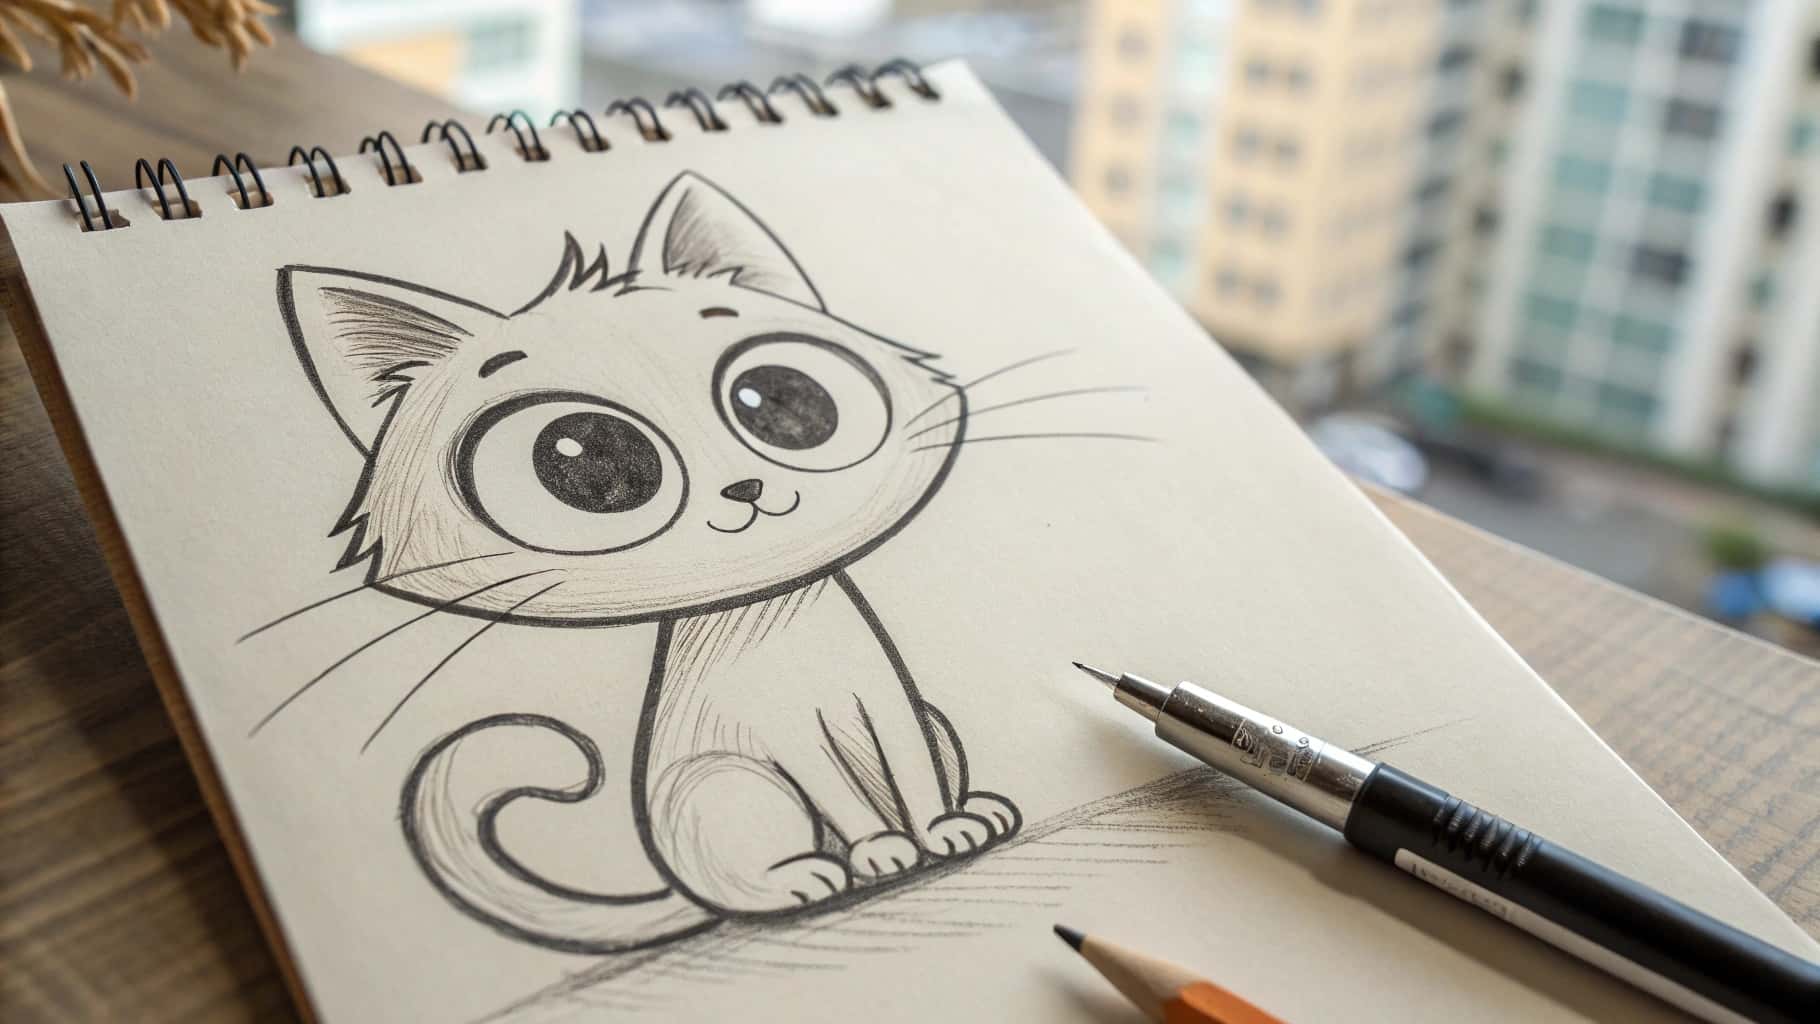
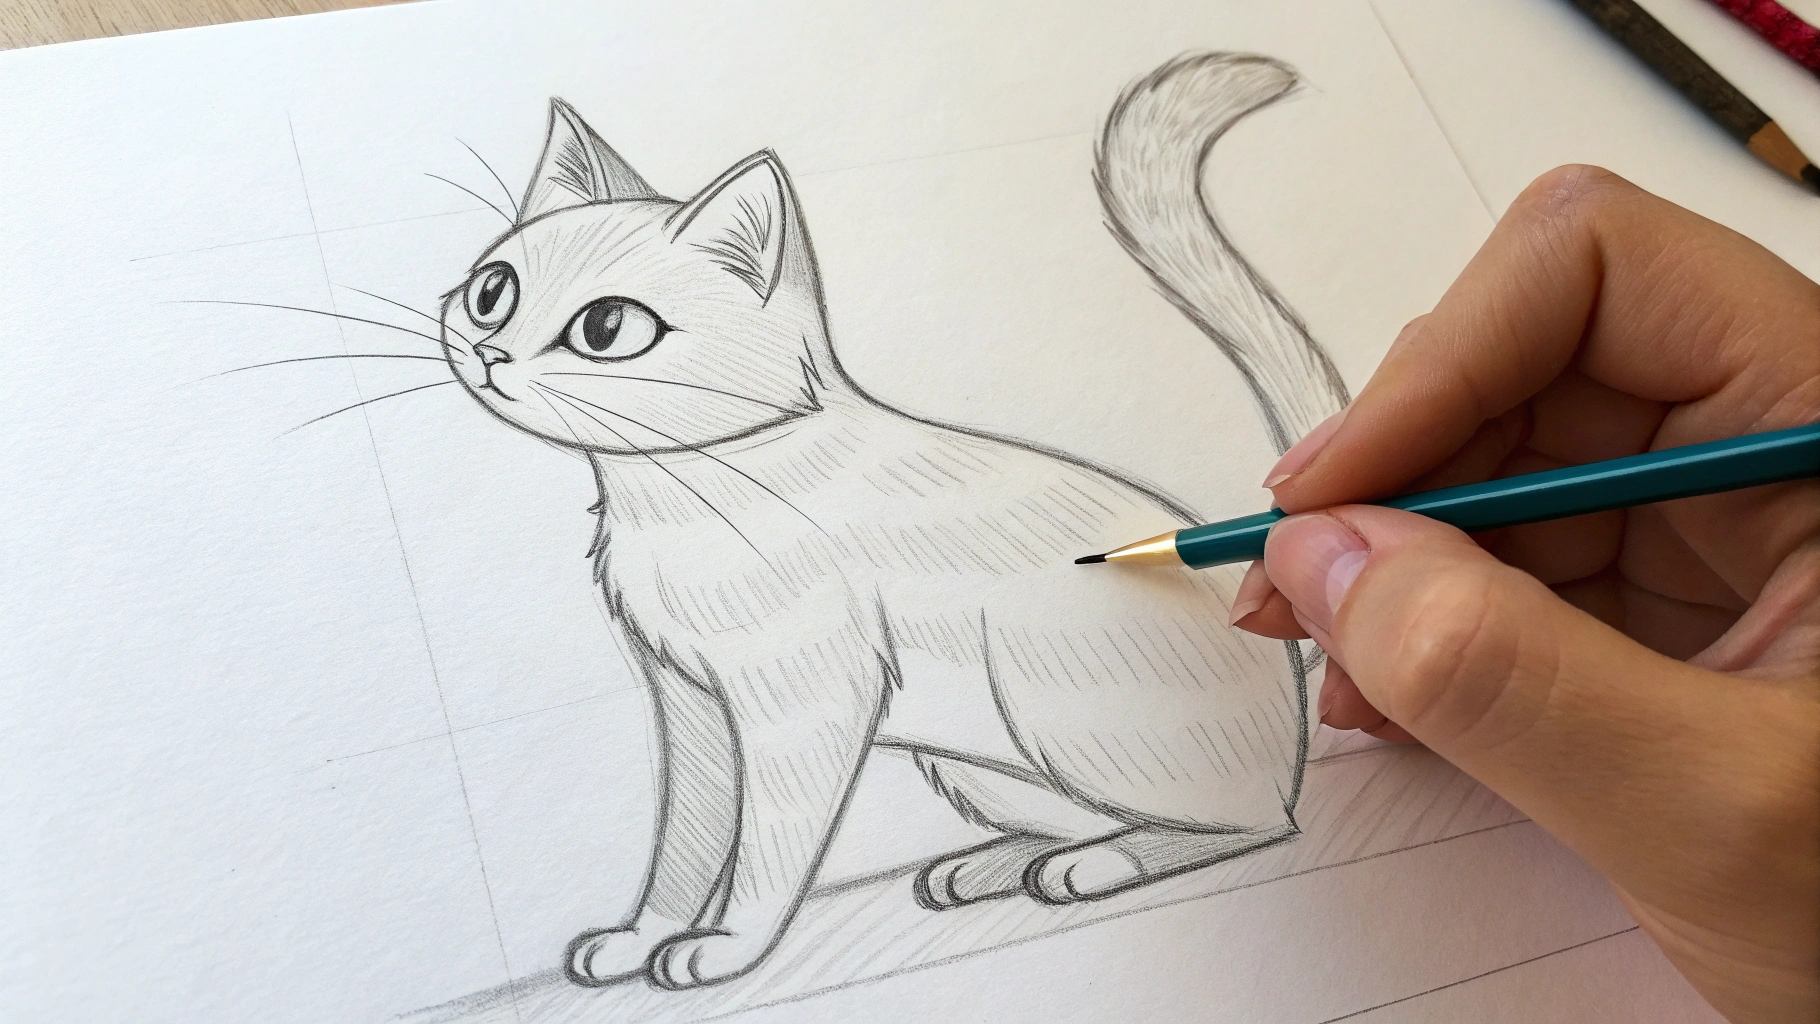
How to Draw a Cat Step by Step
Drawing a cat can feel intimidating, but breaking it into smaller steps makes it much easier. Follow this guide, and you’ll have a cute cat drawing in no time!
Step 1: Outline the body with basic shapes
Start by sketching the cat’s body using simple shapes. Draw a large oval for the body and a smaller circle above it for the head. Connect these two shapes with two curved lines to form the neck. For the tail, add a long, curved line extending from the body. These shapes act as a foundation, helping you map out the proportions of your cat.
Tip: Keep your pencil strokes light so you can easily erase and adjust as needed.
Step 2: Sketch the head and add ears
Next, focus on the head. Refine the circle you drew earlier by shaping it into a slightly rounded triangle for the cat’s face. Add two triangles on top for the ears. You can make the ears pointy or slightly rounded, depending on the type of cat you want to draw. This step is where you can start adding personality to your cat.
Did you know? Starting with the ears allows for creative design. You can experiment with different ear shapes to give your cat a unique look.
Step 3: Draw the legs, tail, and body details
Now, it’s time to add the legs and tail. Draw two front legs as straight lines extending downward from the body. For the back legs, sketch curved lines that bend slightly at the “knee.” The tail can be long and fluffy or short and sleek—whatever suits your cat’s personality. Pay attention to the proportions to ensure your cat looks balanced.
Evidence Description |
Key Points |
|---|---|
Visual signals in animals |
Different body parts like the tail, legs, and body contribute to communication and expression. |
Configurations in displays |
Analyzing components separately helps understand their roles in visual displays. |
Importance of tail position |
Tail position is crucial in understanding emotional expressions and should be analyzed with other body parts. |
Step 4: Add facial features like eyes, nose, and mouth
The face is where your cat drawing comes to life. Start by drawing two almond-shaped eyes in the middle of the head. Add a small triangle for the nose just below the eyes, and draw a curved line beneath it for the mouth. Don’t forget to include pupils in the eyes to give your cat expression. You can make the eyes wide and curious or narrow and mischievous—it’s up to you!
Pro Tip: Pay special attention to the shape of light reflected in the eyes. This small detail can make your cat look more realistic.
Step 5: Refine the outline and erase extra lines
At this stage, go over your drawing and refine the outline. Use smooth, confident strokes to finalize the shape of the body, head, and legs. Erase any extra lines from the initial sketch. This step cleans up your drawing and makes it look polished.
Use a kneaded eraser to remove unwanted lines without damaging your paper. It’s perfect for fine-tuning your work.
Step 6: Add texture, whiskers, and other details
Now, it’s time to add the finishing touches. Draw short, light strokes to create the appearance of fur. Add whiskers by sketching thin, curved lines extending from the sides of the nose. Don’t forget to include small details like the inner ear texture or subtle fur patterns.
Squint your eyes to see differences in tonal levels while drawing.
Use an eraser to remove some tone of the hairs to replicate fine cat fur.
Redefine edges of erased areas with a pencil for clarity.
Focus on capturing unique features like whiskers and fur patterns.
These small details make your cat drawing look more lifelike and unique.
Step 7: Shade or color your cat drawing
Finally, bring your cat to life with shading or color. Use a soft pencil to add shadows under the legs, tail, and chin to create depth. If you’re coloring, layer shades of orange, yellow, or gray to mimic fur texture. For a more artistic look, try using watercolors or colored pencils.
Early modern artists used diluted ink washes to create tonal richness and enhance the three-dimensional effect in their drawings.
Variations in ink color and application technique contributed to visual depth and spatial coherence.
Experiment with different techniques to find what works best for you. Shading and coloring not only make your drawing pop but also give it a professional touch.
Tips for Perfecting Your Cat Drawing
Begin with soft, loose lines
Start your cat drawing with light and gentle pencil strokes. This makes it simple to fix mistakes or change proportions without leaving dark marks. Think of this step as creating the base of your drawing. Don’t worry about making it perfect right away—just focus on forming the basic shapes and outlines.
Drawing with soft, loose lines also helps you stay calm. Pressing too hard can make you feel stressed if something goes wrong. Let your hand move freely and enjoy the process. Every amazing cat drawing begins with a simple sketch!
Tip: Use an H pencil for faint lines. It’s easy to erase and adjust.
Look at references for ideas and accuracy
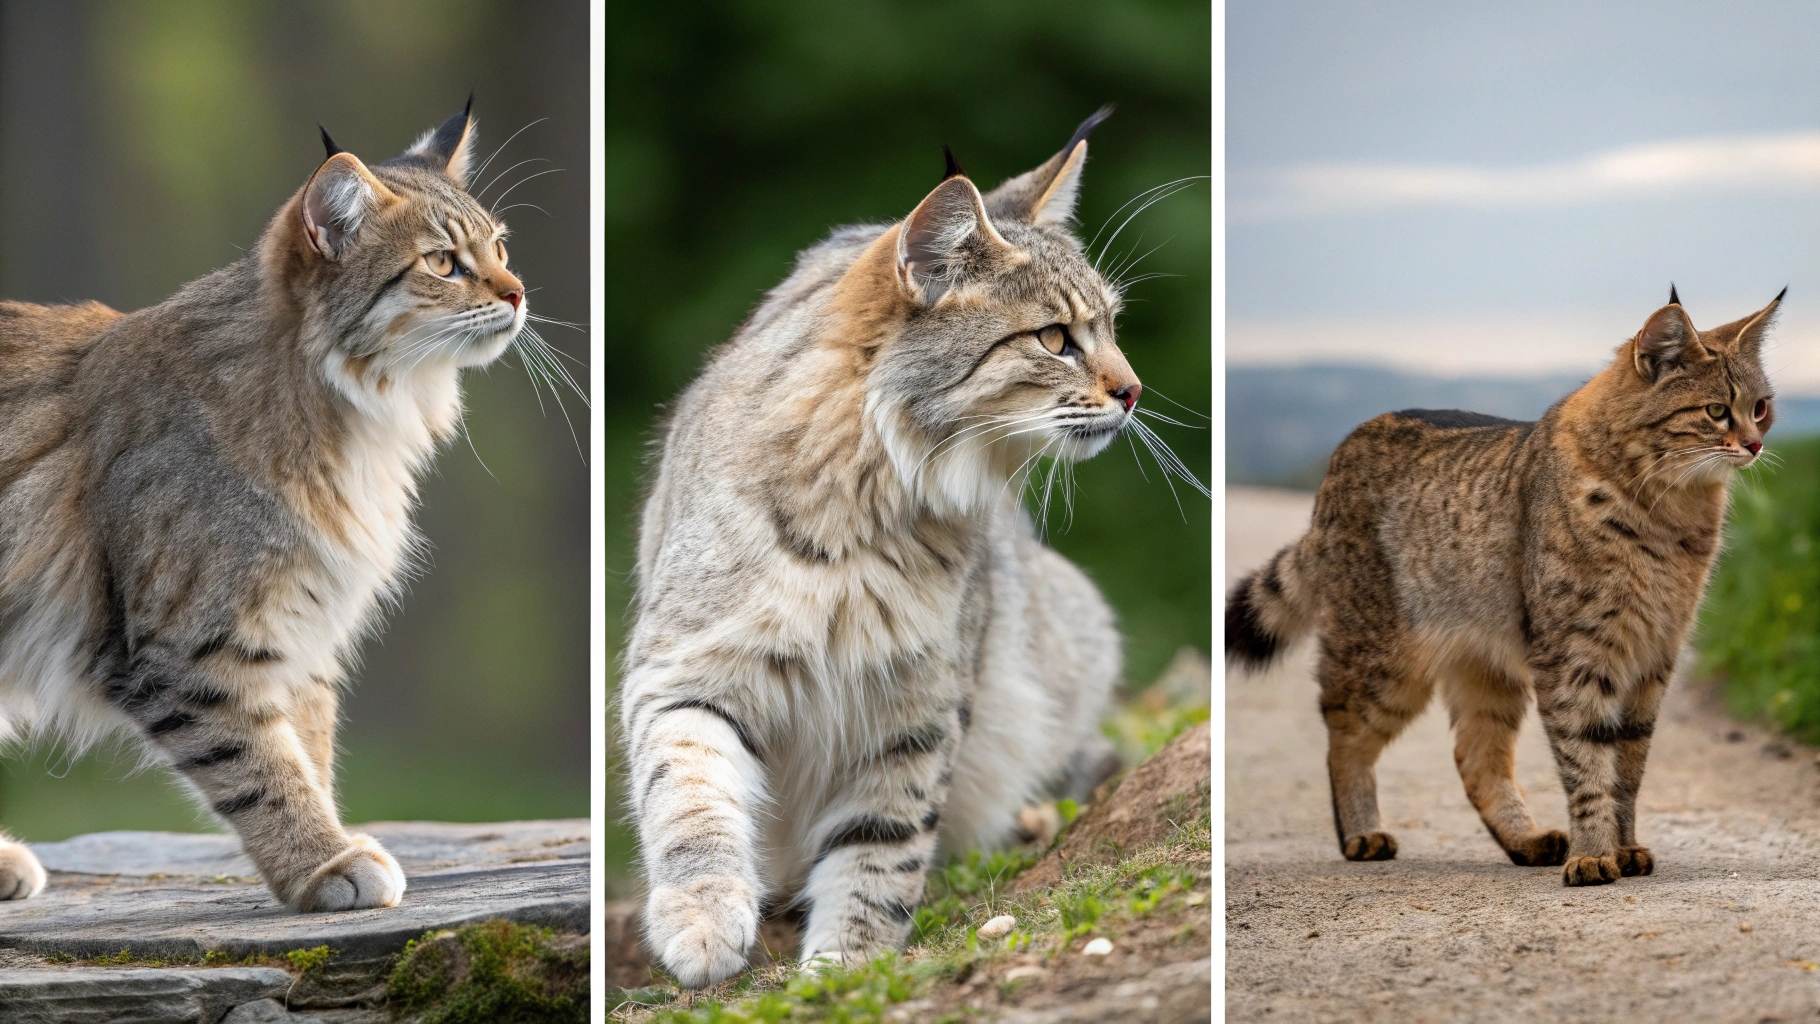
To make your cat drawing realistic or unique, use references. Study photos of real cats to learn about their fur, poses, and body shapes. You’ll notice small details, like how a cat’s tail curves or how its ears move when curious.
Art teacher Clara Lieu says observing carefully is key before using references well. It might feel hard at first, but practice will help. Over time, you’ll get better at turning what you see into your drawings.
Pro Tip: Collect cat photos that inspire you. Use them to try new poses or styles.
Try different poses and styles
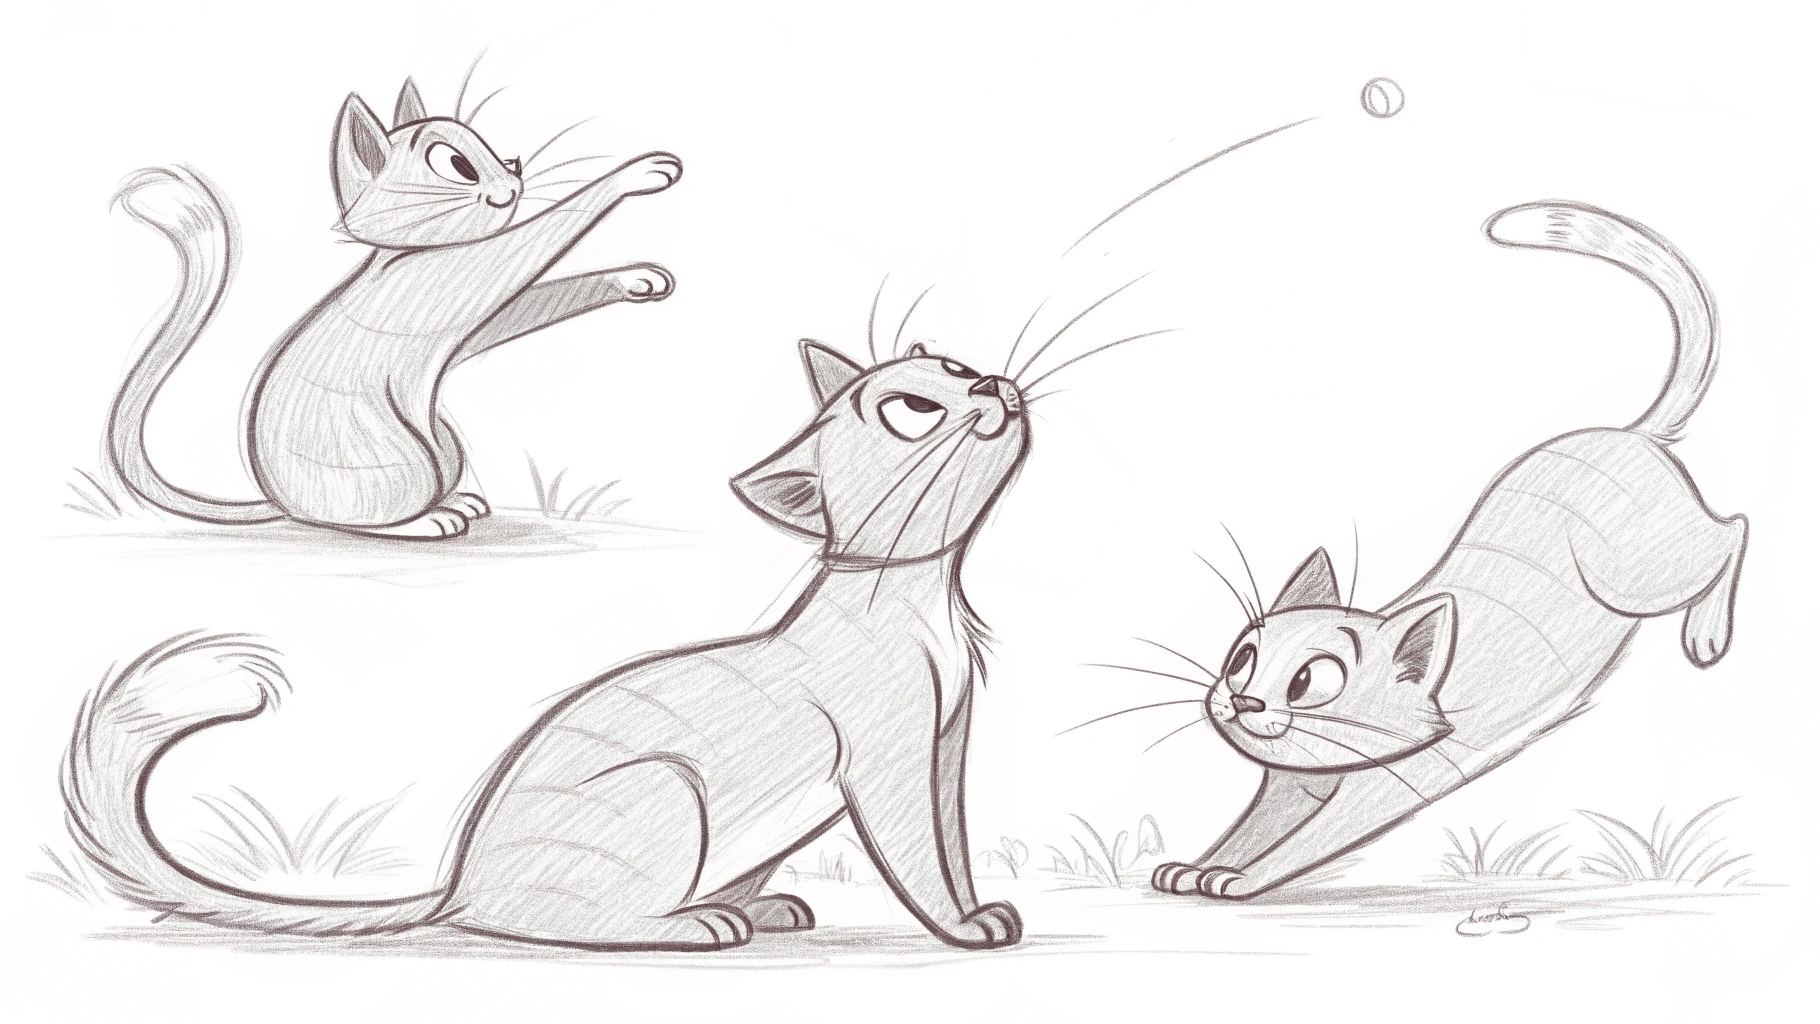
Cats are flexible and expressive, making them fun to draw in many poses. Practice sketching a cat sitting, stretching, or playing. Drawing different poses helps you understand how their bodies move and work.
You can also try new styles. Maybe draw a realistic cat today and a cartoon one tomorrow. Changing styles keeps drawing fun and helps you find what you like best. The more you practice, the more confident you’ll become in drawing cats your way.
Challenge: Choose three cat poses and draw them in your favorite style. It’s a fun way to improve and enjoy drawing!
Drawing a cat is simpler than it seems! By using these steps, you’ve made something special and fun. Keep going—add your own ideas, like cool patterns or funny poses. Support from friends or family can inspire you. Show your art and keep practicing. You’ll improve every time!
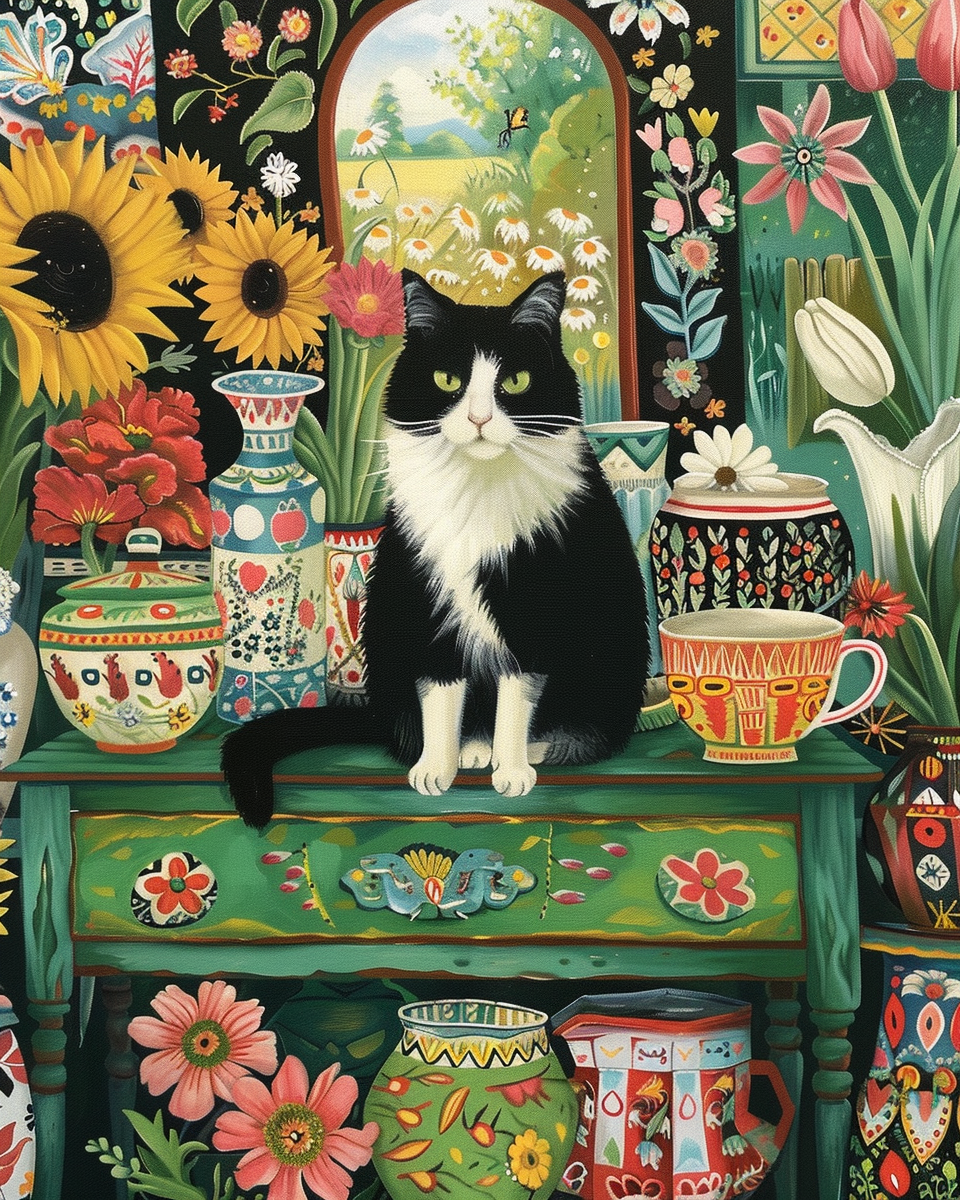
Tucocoo Cats Paint by Numbers
FAQ
How long does it take to learn how to draw a cat?
You can learn quickly! With practice, you’ll master basic cat drawing in a few hours. Start with simple shapes and improve over time.
Do I need expensive tools for cat drawing?
Nope! Basic tools like pencils and paper work perfectly. You can add optional materials later to enhance your drawing tutorial experience.
Can I draw a cat without artistic experience?
Absolutely! This step-by-step guide makes cat drawing easy for beginners. Follow the instructions, and you’ll create a cute cat in no time.