How to Draw an Elephant Step by Step with Easy Techniques
Drawing an elephant drawing can seem tricky, but it doesn’t have to be! This guide will show you how to create an elephant drawing with simple steps. You don’t need fancy skills—just grab a pencil and let your creativity flow. Start with basic shapes, and you’ll have an easy elephant masterpiece in no time. Ready to try?
Key Takeaways
Get simple tools like a pencil, eraser, and paper to begin drawing your elephant.
Draw lightly with your pencil at first. This makes fixing mistakes easier.
Pay attention to size and balance for a lifelike elephant. Look at the head, trunk, and ears as you draw.
Materials for an Easy Elephant Drawing
Before starting your elephant drawing, gather the right supplies. Using proper tools makes drawing easier and more fun. Let’s see what you’ll need.
Basic Drawing Supplies
You don’t need much to begin. Here’s a simple list:
Pencil: Use an HB pencil for sketching. It’s easy to erase.
Eraser: A soft eraser removes mistakes without harming the paper.
Paper: Any paper works, but smooth paper is best for beginners.
Sharpener: Keep your pencil sharp for clean, clear lines.
That’s all! These simple tools are enough to draw a great elephant.
Extra Tools for Adding Details
Want to make your drawing even better? Try these extra tools for details, shading, and texture. Check out this table of helpful tools:
Drawing Tool |
What It’s Good For |
|---|---|
Pentel Mechanical Pencils 0.3mm |
Perfect for adding small, fine details. |
Derwent Graphic Drawing Pencils |
Great for shading in different ways. |
Daler-Rowney Heavyweight Cartridge Paper |
Best for detailed pencil drawings. |
Jakar Battery Eraser |
Erases small areas with precision. |
Tombo Mono Eraser Pen |
Works well for tiny erasing jobs. |
Faber Castell Putty Eraser |
Lifts pencil marks without tearing paper. |
Blu Tack |
Holds paper steady or removes smudges. |
These aren’t necessary, but they can make drawing more exciting. Give them a try if you want to experiment!
Step by Step Tutorial for Drawing an Elephant
Ready to learn how to draw an elephant? Follow this easy step by step art lesson, and you’ll have your own elephant drawing in no time. Grab your pencil, and let’s get started!
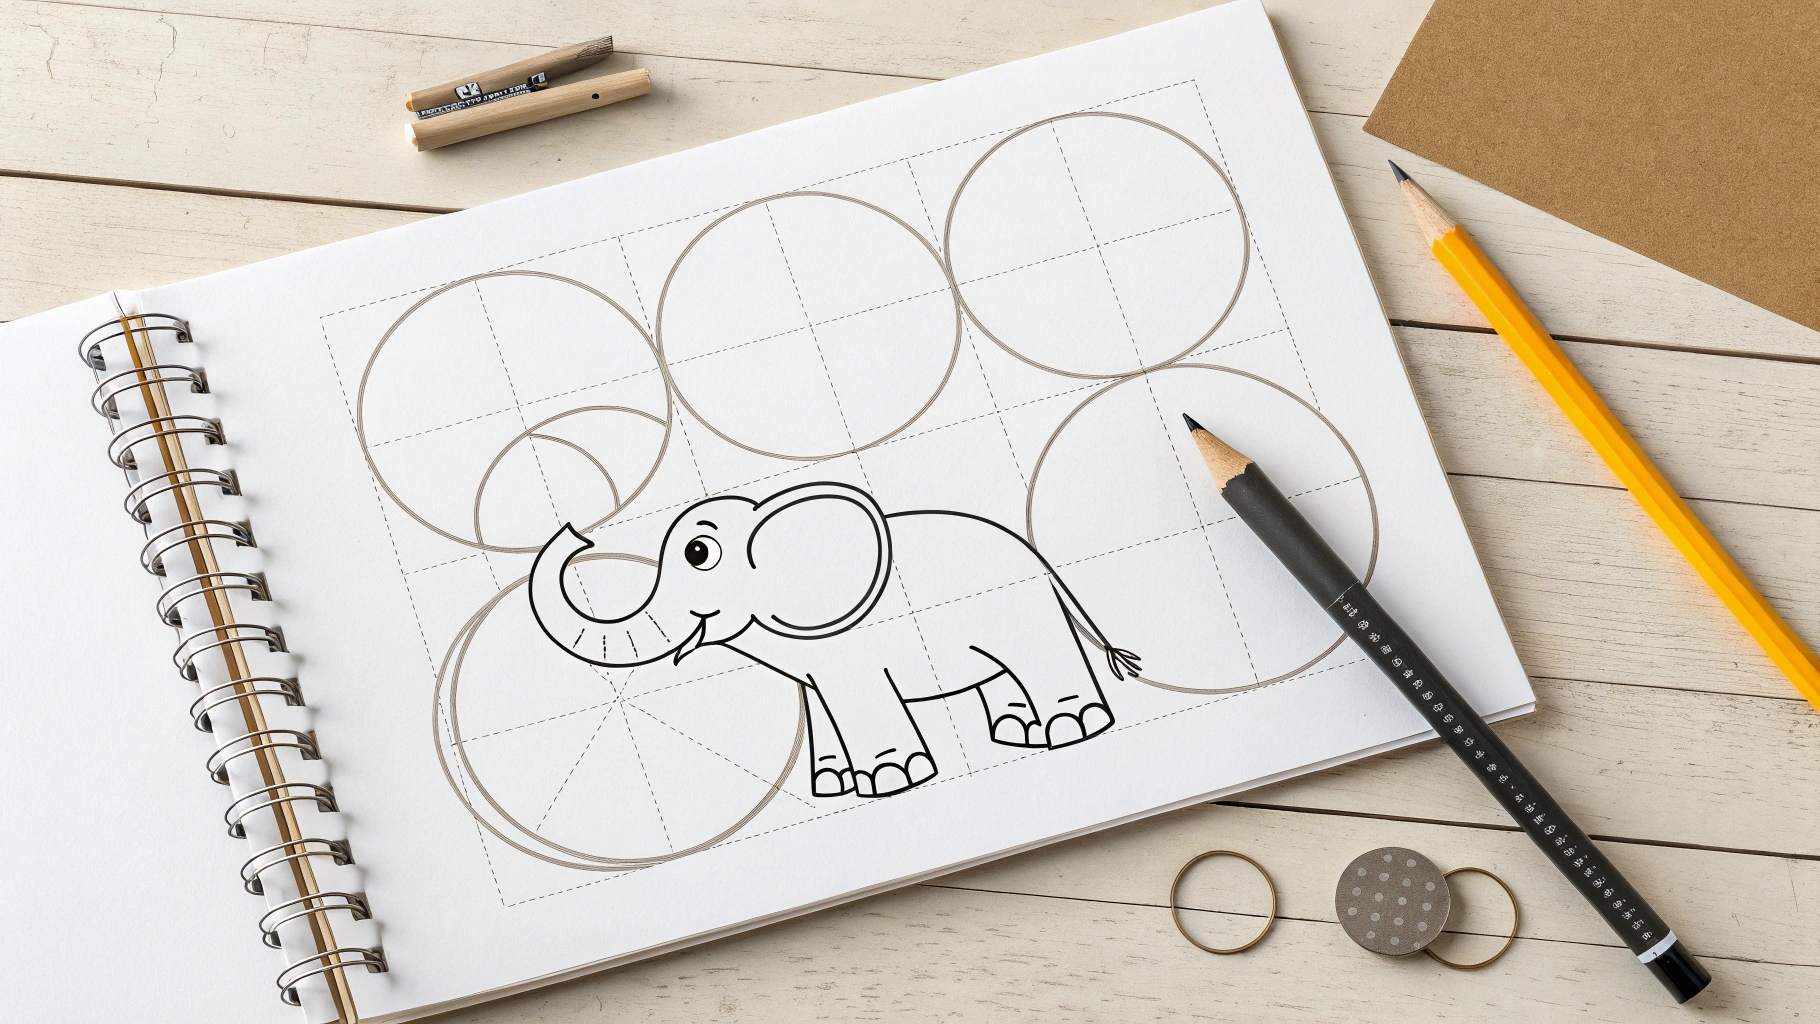
Step 1: Sketch Basic Shapes for the Body
Start by drawing simple shapes to outline the elephant’s body. Use a large oval for the main body and a smaller circle for the head. Connect these two shapes with a curved line to form the neck. For the trunk, draw a long, slightly curved rectangle extending from the head. These basic shapes will act as your guide and make it easier to refine the elephant later.
Tip: Keep your pencil strokes light so you can easily erase and adjust as needed. This is especially helpful when learning how to draw an elephant for the first time.
Step 2: Draw the Head and Trunk
Now, focus on the head and trunk. Refine the circle you drew earlier into the shape of the elephant’s head. Add a slight curve where the trunk begins to bend downward. The trunk should taper slightly as it extends outward. Pay attention to the angle between the head and the trunk—it’s a key feature of an elephant’s face.
If you’re following this step by step tutorial, take your time here. The trunk is one of the most distinctive parts of an elephant, so getting its shape right will make your drawing stand out.
Step 3: Add the Legs and Tail
Next, draw the legs. Use rectangles or elongated ovals to outline the front and back legs. Make sure the front legs are positioned directly under the body for balance. For the back legs, add a slight bend to show the elephant’s natural posture. Don’t forget to leave some space between the legs to maintain accurate proportions.
Finally, sketch a thin, curved line for the tail. Add a small tuft of hair at the end to give it a realistic touch.
Pro Tip: When drawing the legs, focus on the negative space between them. This will help you position them correctly and make your elephant look more lifelike.
Step 4: Outline the Ears and Eyes
Elephants have large, floppy ears that are almost as iconic as their trunks. Draw the ears as big, rounded shapes extending from either side of the head. African elephants have larger, more rounded ears, while Asian elephants have smaller, more triangular ones. Choose the style you prefer for your easy elephant drawing.
For the eyes, place small circles near the top of the head. Add a tiny dot inside each circle to create a lively, expressive look.
Fun Fact: Did you know that an elephant’s ears help regulate its body temperature? You can use this detail to inspire your drawing!
Step 5: Refine the Elephant’s Shape
Now it’s time to refine your sketch. Go over the basic shapes you’ve drawn and smooth out the lines to create a more natural outline. Add curves to the body, legs, and trunk to make them look less blocky. Erase any unnecessary guidelines as you go.
Pay close attention to the elephant’s proportions. The body should be large and sturdy, while the legs should appear thick and strong. This step is where your elephant drawing really starts to come to life.
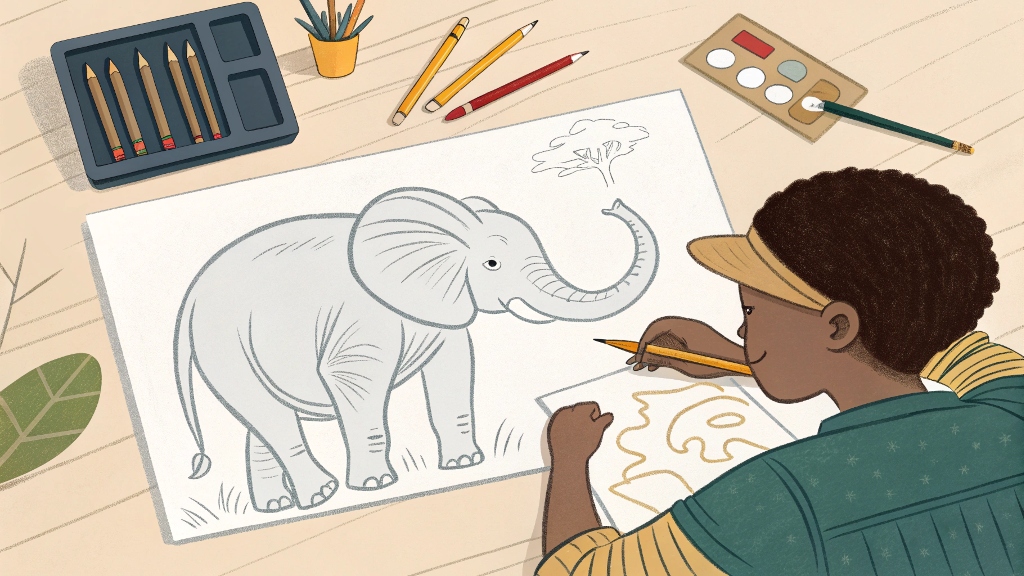
Step 6: Add Final Details to Complete the Drawing
In this final step, add the finishing touches to your elephant. Draw wrinkles on the trunk and around the joints to give it texture. Add toenails to the feet by sketching small, rounded shapes at the bottom of each leg. If you want to make your drawing even more detailed, include subtle lines on the ears to show their folds.
Once you’re happy with the details, go over your drawing with a darker pencil or pen to make the lines stand out. You can also add shading to give your elephant depth and dimension. If you’re feeling creative, turn your drawing into an elephant coloring page by outlining it in bold lines and filling it with colors.
Bonus Idea: Create a background for your elephant, like a savanna or jungle scene. This will make your drawing even more dynamic and fun!
By following this easy step by step art lesson, you’ve learned how to draw an elephant from start to finish. Great job! Keep practicing, and soon you’ll be drawing elephants like a pro.
Tips for Beginners to Improve Their Elephant Drawing
Use Light Pencil Strokes for Adjustments
Start drawing with soft, light pencil strokes. This makes fixing mistakes easy. You can erase and adjust lines without trouble. Think of it as a rough sketch before finishing your drawing. Light strokes also prevent smudges, especially on tricky parts like the trunk or ears. If you mess up, don’t worry! A soft eraser can clean it without tearing the paper.
Tip: Hold your pencil near the middle or end. This helps you draw softer lines and keeps your hand relaxed.
Focus on Proportions and Symmetry
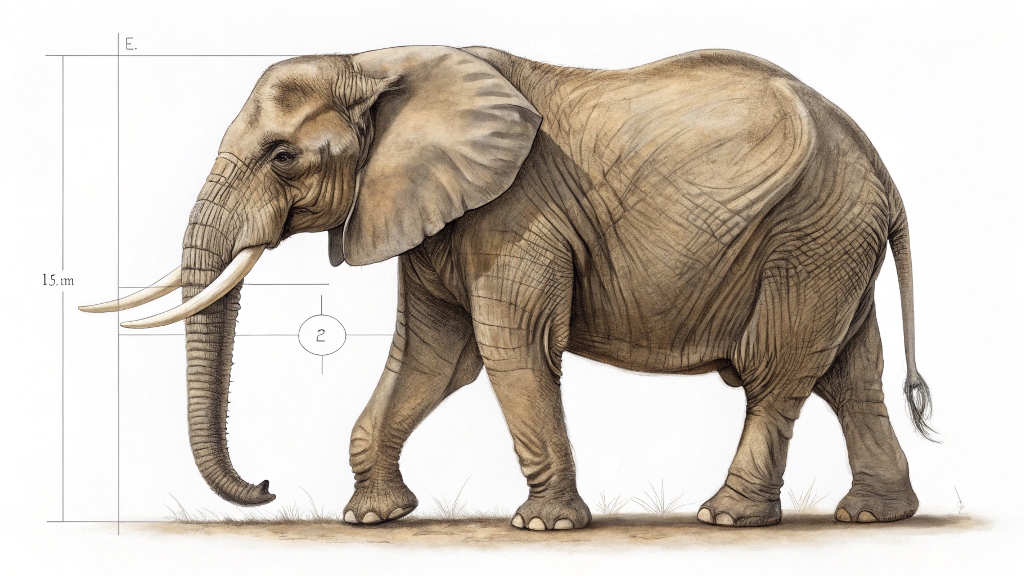
Proportions are important for a realistic elephant drawing. Make sure the head matches the body size and the trunk’s length looks right. Symmetry matters too, especially for ears and legs. If one ear is much bigger, your elephant might look uneven. Take time to check and compare as you draw.
Pro Tip: Step back and look at your drawing from far away. This helps you see areas that need fixing.
Practice Drawing Common Shapes Regularly
To get better at drawing, practice basic shapes often. Draw circles, ovals, and rectangles repeatedly. These shapes are the base for many drawings, including elephants. Practicing improves your hand control and memory for shapes. You’ll also learn shading, which adds depth to your art.
Practicing shapes makes your strokes more confident.
Shading teaches light and shadow, making drawings look real.
Focusing on small improvements helps you progress faster.
The more you practice, the easier it gets to draw complex things like elephants. Grab your pencil and start sketching shapes today!
Optional Enhancements for Your Elephant Drawing
Add Realistic Texture to the Skin
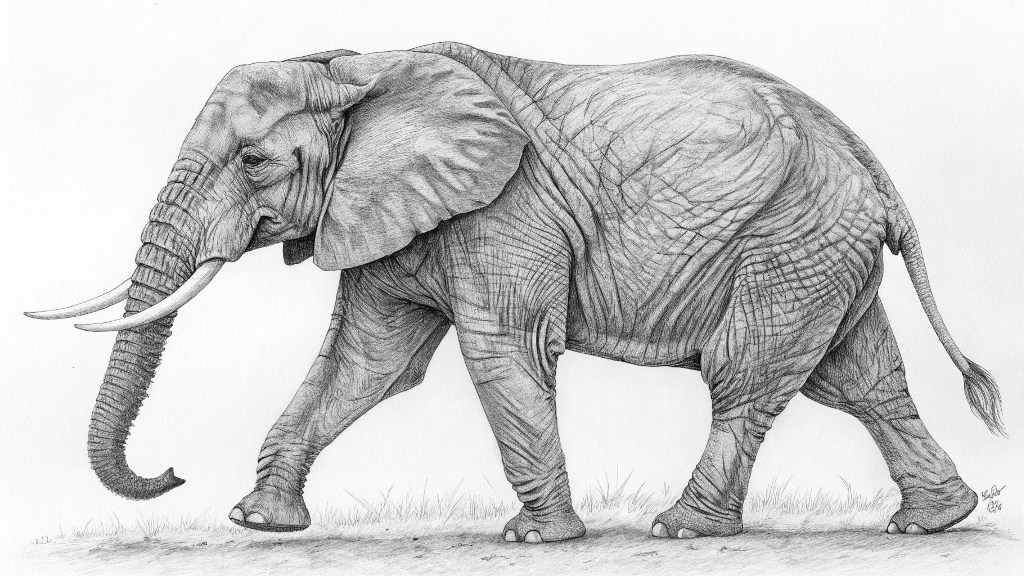
Want to make your elephant drawing look more lifelike? Adding realistic texture to the skin is a great way to do that. Elephants have rough, wrinkled skin, and capturing this detail can take your artwork to the next level. Use short, curved lines to mimic the folds and creases on the trunk, legs, and ears. For the body, try drawing small, uneven patterns to show the rough texture.
Artists often say that shading and texture are essential for creating depth and dimension. Paying attention to these details makes your elephant look more realistic and adds character to your drawing. Don’t rush this step—take your time to observe how an elephant’s skin looks in photos or videos.
Tip: Use a softer pencil, like a 2B or 4B, for shading. This helps you create darker, smoother lines for the wrinkles.
Use Colors or Shading for Depth
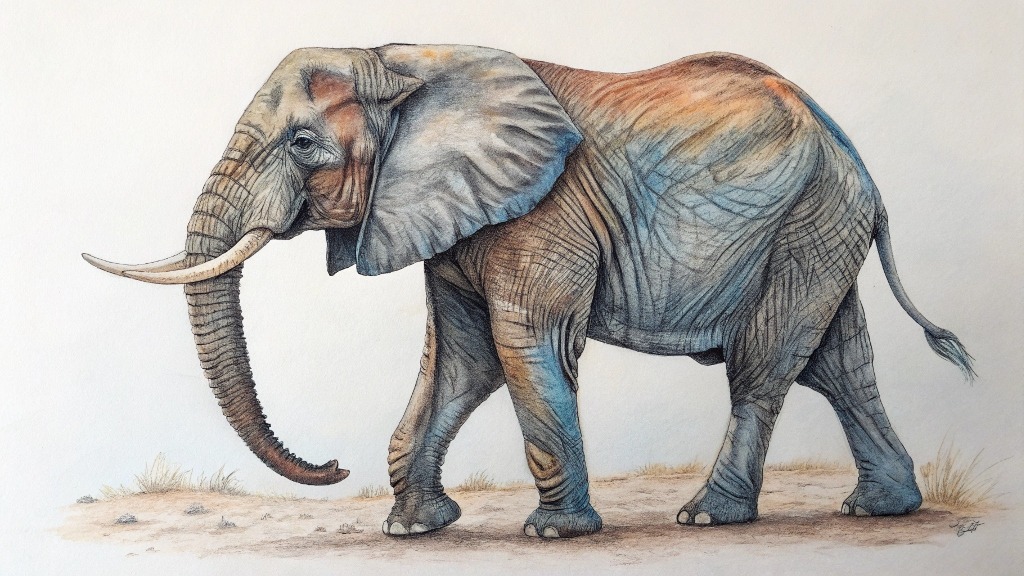
Adding colors or shading can bring your elephant drawing to life. If you’re using pencils, try shading the areas where shadows naturally fall, like under the belly or behind the ears. This creates a sense of depth and makes your elephant look three-dimensional.
If you prefer colors, use gray tones for the skin and add hints of brown or blue for a more dynamic look. Colored pencils or watercolor paints work well for this. Blend the colors gently to avoid harsh lines.
Pro Tip: Use a blending tool or your finger to smooth out pencil shading. This gives your drawing a polished finish.
Create a Background to Enhance the Scene
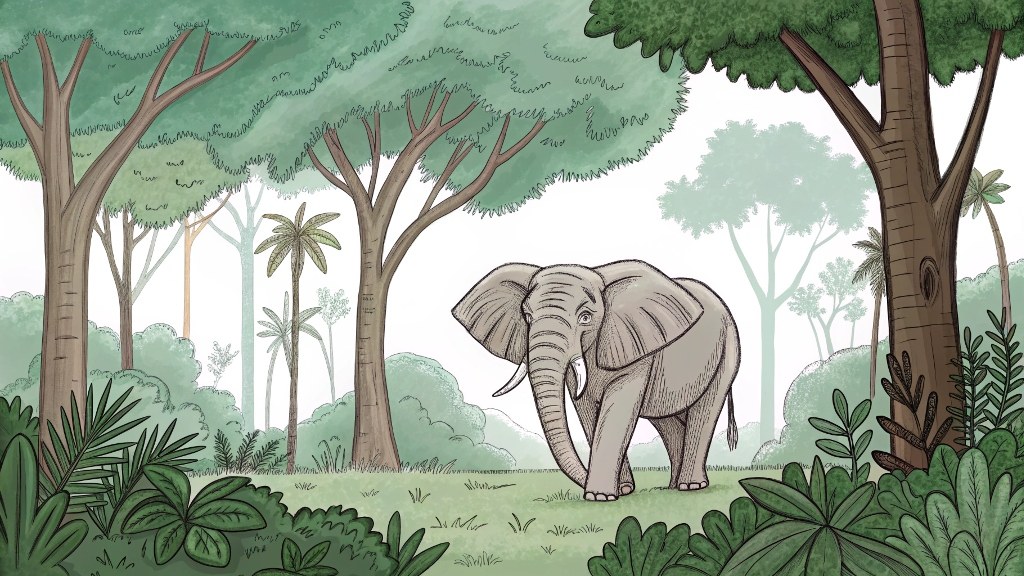
Why stop at just the elephant? Adding a background can make your drawing more exciting. Picture your elephant in a lush jungle, a wide savanna, or even a zoo. Draw trees, grass, or mountains to set the scene. This not only enhances your artwork but also tells a story.
Keep the background simple if you’re a beginner. Focus on basic shapes and light shading. You can always add more details as you gain confidence. A well-thought-out background makes your elephant stand out and gives your drawing a professional touch.
Fun Idea: Try drawing a baby elephant next to your main one. It’s a fun way to practice proportions and add a playful element to your scene.
Congratulations! You’ve learned how to draw an elephant step by step. See how simple it can be? Keep practicing to improve your skills and make your drawings even better. Don’t stop here—try drawing other animals or experiment with new techniques. Who knows what amazing art you’ll create next?
FAQ
How long does it take to draw an elephant?
It depends on your pace. Beginners might take 30–60 minutes. Take your time and enjoy the process—there’s no rush!
Tip: Practice regularly to speed up your drawing skills.
Can I use markers or crayons instead of pencils?
Absolutely! Markers and crayons work great for adding color. Just sketch lightly with a pencil first, then color over it.
Fun Idea: Try experimenting with different colors for a creative twist! 🎨
What if my elephant doesn’t look perfect?
That’s okay! Art is about learning and having fun. Every drawing improves your skills. Keep practicing, and you’ll see progress.
Remember: Even professional artists started as beginners. 😊