How to Paint Stained Glass

Stained glass art offers a unique way to express your creativity through vibrant colors and intricate designs. By learning how to paint stained glass, you can transform ordinary glass into stunning works of art. The process combines precision and imagination, allowing you to create pieces that reflect your personal style. Using stained glass paint, you can experiment with textures, shades, and effects to achieve breathtaking results. This timeless craft continues to inspire artists and hobbyists alike, keeping its beauty and relevance alive for generations.
Key Takeaways
Gather essential materials like clear or frosted glass, stained glass paint, and various brushes to set yourself up for success.
Prepare your glass by cleaning it thoroughly with soap and water, followed by rubbing alcohol, to ensure proper paint adhesion.
Outline your design with outliner paint or liquid leading to create bold lines that define your artwork and enhance its depth.
Apply thin, even layers of paint and allow each layer to dry completely to avoid streaks and achieve a smooth finish.
Experiment with mixing colors on a palette to create custom shades that elevate your stained glass design.
Seal your finished piece with a UV-resistant sealant to protect the colors from fading and ensure longevity.
Explore creative projects like seasonal decorations or personalized gifts to further express your artistic vision through stained glass art.
Materials Needed for Stained Glass Paint Projects
Creating beautiful stained glass art begins with gathering the right materials. Each tool and supply plays a vital role in ensuring your project turns out as planned. Whether you are a beginner or an experienced artist, having the essentials at hand will make the process smoother and more enjoyable.
Essential Tools and Supplies
Glass surface (clear or frosted)
Choose a glass surface that suits your design. Clear glass works well for vibrant colors, while frosted glass adds a soft, diffused effect. Ensure the glass is free of scratches or imperfections to achieve a flawless finish.
Stained glass paint (water-based or solvent-based)
Stained glass paint is the heart of your project. Water-based options are easy to clean and ideal for beginners. Solvent-based paints offer durability and richer colors, making them perfect for long-lasting pieces. Both types allow you to create stunning effects, whether you aim for traditional or modern designs.
Paintbrushes (various sizes)
Use a variety of paintbrushes to handle different parts of your design. Small brushes help with intricate details, while larger ones cover broader areas efficiently. A blunt brush can also assist in applying colors for faux stained glass projects.
Outliner paint or liquid leading
Outliner paint or liquid leading defines your design and mimics the look of real stained glass. Apply it to create bold lines that separate colors and add depth to your artwork.
Palette for mixing colors
A palette is essential for blending shades and experimenting with custom colors. Mixing your stained glass paint on a palette allows you to achieve unique tones that enhance your design.
Cotton swabs and paper towels
Keep cotton swabs and paper towels nearby for quick corrections. They help clean up smudges or excess paint, ensuring your work remains neat and precise.
Gloves and protective gear
Wear gloves to protect your hands from paint and chemicals. Safety goggles and an apron can also shield you from accidental spills or splashes.
Optional Tools for Advanced Techniques
Sponges for texture effects
Sponges add texture and dimension to your stained glass art. Dab paint onto the glass with a sponge to create shading or a frosted appearance.
Stencils for intricate designs
Stencils simplify the process of creating detailed patterns. They are especially useful for beginners or when working on complex designs like floral motifs or geometric shapes.
UV-resistant sealant for preservation
A UV-resistant sealant protects your finished piece from fading over time. Apply it as a final step to preserve the vibrancy of your stained glass paint and ensure your artwork lasts for years.
"The right tools and materials can transform your stained glass project from ordinary to extraordinary."
By assembling these supplies, you set yourself up for success. Whether you aim to create faux stained glass or experiment with acrylic paint, having the proper tools ensures a rewarding experience. Dive into your project with confidence, knowing you have everything you need to bring your vision to life.
How to Prepare Glass and Workspace for Painting
Preparing your glass and workspace is a crucial step in ensuring the success of your stained glass painting project. Proper preparation helps the paint adhere better and keeps your workspace organized, allowing you to focus on your creativity.
Preparing the Glass
Clean the glass thoroughly with soap and water.
Start by washing the glass surface with warm water and mild soap. This removes dirt, dust, and grease that could interfere with the paint. Use a soft sponge or cloth to avoid scratching the glass.Use rubbing alcohol to remove any remaining residue.
After washing, apply rubbing alcohol to the glass using a lint-free cloth. This step eliminates any oils or invisible residues left behind. It ensures the surface is completely clean and ready for painting.Dry the glass completely to ensure paint adhesion.
Allow the glass to air dry or use a clean, dry cloth to wipe it down. Make sure no moisture remains, as even small amounts of water can prevent the paint from sticking properly.
"A clean and dry surface is the foundation of a flawless stained glass masterpiece."
Setting Up Your Workspace
Choose a well-lit, ventilated area.
Select a space with plenty of natural or artificial light to see your design clearly. Ensure the area has good ventilation, especially if you are using solvent-based paints, to maintain a safe and comfortable environment.Lay down a protective covering to prevent messes.
Cover your workspace with newspaper, a plastic sheet, or an old tablecloth. This protects your furniture from accidental spills and makes cleanup easier once your project is complete.Organize your tools and materials for easy access.
Arrange your brushes, paints, palette, and other supplies within arm’s reach. Keeping everything organized saves time and helps you stay focused on your artwork.
"An organized workspace fosters creativity and minimizes distractions."
By preparing your glass and workspace properly, you set the stage for a smooth and enjoyable painting experience. These steps ensure your materials are ready and your environment supports your artistic process. Take the time to prepare, and you’ll be rewarded with a more satisfying and successful project.
How to Paint Stained Glass: Step-by-Step Techniques
Creating the Design
Select a pre-made pattern or sketch your own design.
Begin by choosing a design that resonates with your artistic vision. You can use pre-made patterns for convenience or sketch your own to add a personal touch. Floral motifs, geometric shapes, or abstract designs are popular choices for beginners and experienced artists alike.Use tracing paper to transfer the design onto the glass.
Place tracing paper over your chosen design and carefully outline it with a pencil. Once complete, position the tracing paper on the glass surface. Secure it with tape to prevent movement, then trace the design onto the glass using a marker or outliner paint.Apply outliner paint or liquid leading to trace the design and let it dry.
Use outliner paint or liquid leading to create bold lines that define your design. These lines mimic the look of traditional stained glass and separate the colors in your artwork. Allow the outliner to dry completely before moving to the next step. This ensures clean edges and prevents smudging.
"Outlining your design is like building the framework of a masterpiece—it sets the stage for adding color and detail."
Applying Stained Glass Paint
Use small brushes for detailed areas and larger brushes for broader sections.
Select the appropriate brush size for each part of your design. Small brushes work best for intricate details, while larger brushes cover bigger areas efficiently. This approach ensures precision and consistency throughout your artwork.Apply thin, even layers of paint to avoid streaks.
Dip your brush into the stained glass paint and apply it in thin, even strokes. Avoid overloading the brush with paint, as this can lead to streaks or uneven coverage. Let each layer dry before applying additional coats to achieve a smooth finish.Experiment with transparent paints for a traditional stained glass effect.
Transparent paints allow light to pass through, creating a luminous effect reminiscent of classic stained glass windows. Experiment with these paints to enhance the vibrancy and depth of your design. Adjust the opacity by layering the paint until you achieve the desired look.
"Mastering brush techniques and layering paint brings your stained glass design to life with clarity and brilliance."
Mixing Colors and Adding Effects
Blend colors on a palette to create custom shades.
Use a palette to mix different colors of stained glass paint. This allows you to create unique shades that complement your design. Blending colors adds a personal touch and elevates the overall aesthetic of your artwork.Use sponges or brushes to add texture, shading, and highlights.
Add dimension to your design by incorporating textures and shading. Dab a sponge lightly onto the painted surface to create a frosted or textured effect. Use a fine brush to add highlights, enhancing the depth and realism of your artwork.Layer colors to create depth and dimension.
Apply multiple layers of paint to build depth in your design. Start with lighter colors as the base and gradually add darker shades for contrast. This technique creates a three-dimensional effect, making your stained glass art visually captivating.
"Adding color to the design transforms your glass into a vibrant canvas, showcasing your creativity and skill."
By following these steps, you can learn how to paint stained glass with confidence and precision. Each technique contributes to the beauty and uniqueness of your artwork. Whether you aim to paint stained glass windows or create smaller decorative pieces, these methods will guide you toward stunning results. Embrace the process, experiment with colors and textures, and let your imagination shine through your creations.
Finishing Touches for Your Painted Stained Glass
Sealing and Preserving the Artwork
Allow the paint to dry completely (follow manufacturer instructions).
Once you finish painting, let the glass sit undisturbed. Check the paint’s packaging for specific drying times. Some paints may require several hours, while others might need a full day. Avoid touching the surface during this time to prevent smudges or damage. Proper drying ensures the paint adheres securely to the glass.Apply a UV-resistant sealant to protect the colors from fading.
After the paint dries, use a UV-resistant sealant to preserve your stained glass window art. This step is essential for maintaining the vibrancy of your colors, especially if you plan to display the piece in direct sunlight. Spray or brush the sealant evenly over the painted surface. Follow the product’s instructions for application and drying times. A well-sealed piece will resist fading and last for years.
"Sealing your artwork is the final step to ensure its beauty endures over time."
Displaying Your Finished Piece
Frame the glass or hang it in a window to showcase its beauty.
Decide how you want to display your stained glass window art. Framing the glass adds a polished look and provides extra support. You can use a wooden or metal frame, depending on your style preference. If you prefer a simpler approach, attach hooks or suction cups to hang the piece directly in a window. The sunlight passing through the colors will create a stunning visual effect.Choose the perfect spot to highlight your artwork.
Select a location where your stained glass window art can shine. A sunny window works best for showcasing the vibrant colors and intricate designs. Alternatively, you can place it on a stand or shelf with a light source behind it. Experiment with different spots to find the one that enhances the beauty of your creation.
"Displaying your stained glass art transforms it into a centerpiece that brightens any space."
By sealing and displaying your stained glass window art, you complete the creative process. These finishing touches not only protect your work but also allow you to share its beauty with others. Take pride in your creation and enjoy the radiant charm it brings to your surroundings.
Troubleshooting and Tips for Painting Stained Glass
Even with careful preparation and execution, challenges can arise during stained glass painting. Understanding common mistakes and learning how to address them will help you refine your skills and achieve better results. These troubleshooting tips will guide you through resolving issues and avoiding potential pitfalls.
Common Mistakes and Fixes
Paint peeling: Ensure the glass was cleaned properly before painting.
Paint peeling often occurs when the glass surface is not adequately prepared. To prevent this, clean the glass thoroughly with soap and water, followed by rubbing alcohol to remove any oils or residues. A clean surface ensures the paint adheres securely. If peeling happens after painting, gently scrape off the affected area, clean it again, and reapply the paint.
Uneven lines: Practice steady hand movements or use stencils.
Uneven lines can disrupt the flow of your design. To improve your precision, practice drawing straight and curved lines on paper before applying them to the glass. Using stencils can also help you achieve consistent and clean outlines, especially for intricate patterns. Secure the stencil firmly to avoid smudging or shifting while painting.
Streaky paint: Apply thinner layers and let each layer dry before adding more.
Streaks in your paint can result from applying thick or uneven coats. Use a small amount of paint on your brush and apply it in thin, even layers. Allow each layer to dry completely before adding another. This technique creates a smooth and polished finish. If streaks persist, consider experimenting with different brushes or sponges to find the tool that works best for your style.
"Mistakes are opportunities to learn and grow. Addressing them with patience will enhance your stained glass painting skills."
Tips for Avoiding Issues
Test paint on a small area before starting the full design.
Before diving into your project, test the paint on a small, inconspicuous section of the glass. This allows you to check the color, consistency, and adhesion of the paint. Adjust your technique or materials based on the test results to ensure the best outcome for your design.
Work slowly and patiently to achieve the best results.
Rushing through the process can lead to errors and frustration. Take your time with each step, from outlining the design to applying the paint. Focus on precision and enjoy the creative journey. Patience not only improves the quality of your work but also makes the experience more rewarding.
"The key to mastering stained glass painting lies in preparation, practice, and persistence."
By addressing common mistakes and following these tips, you can overcome challenges and create stunning stained glass art. Each project is an opportunity to learn and refine your techniques. Embrace the process, and let your creativity shine through every piece you create.
Creative Ideas for Stained Glass Art Enthusiasts
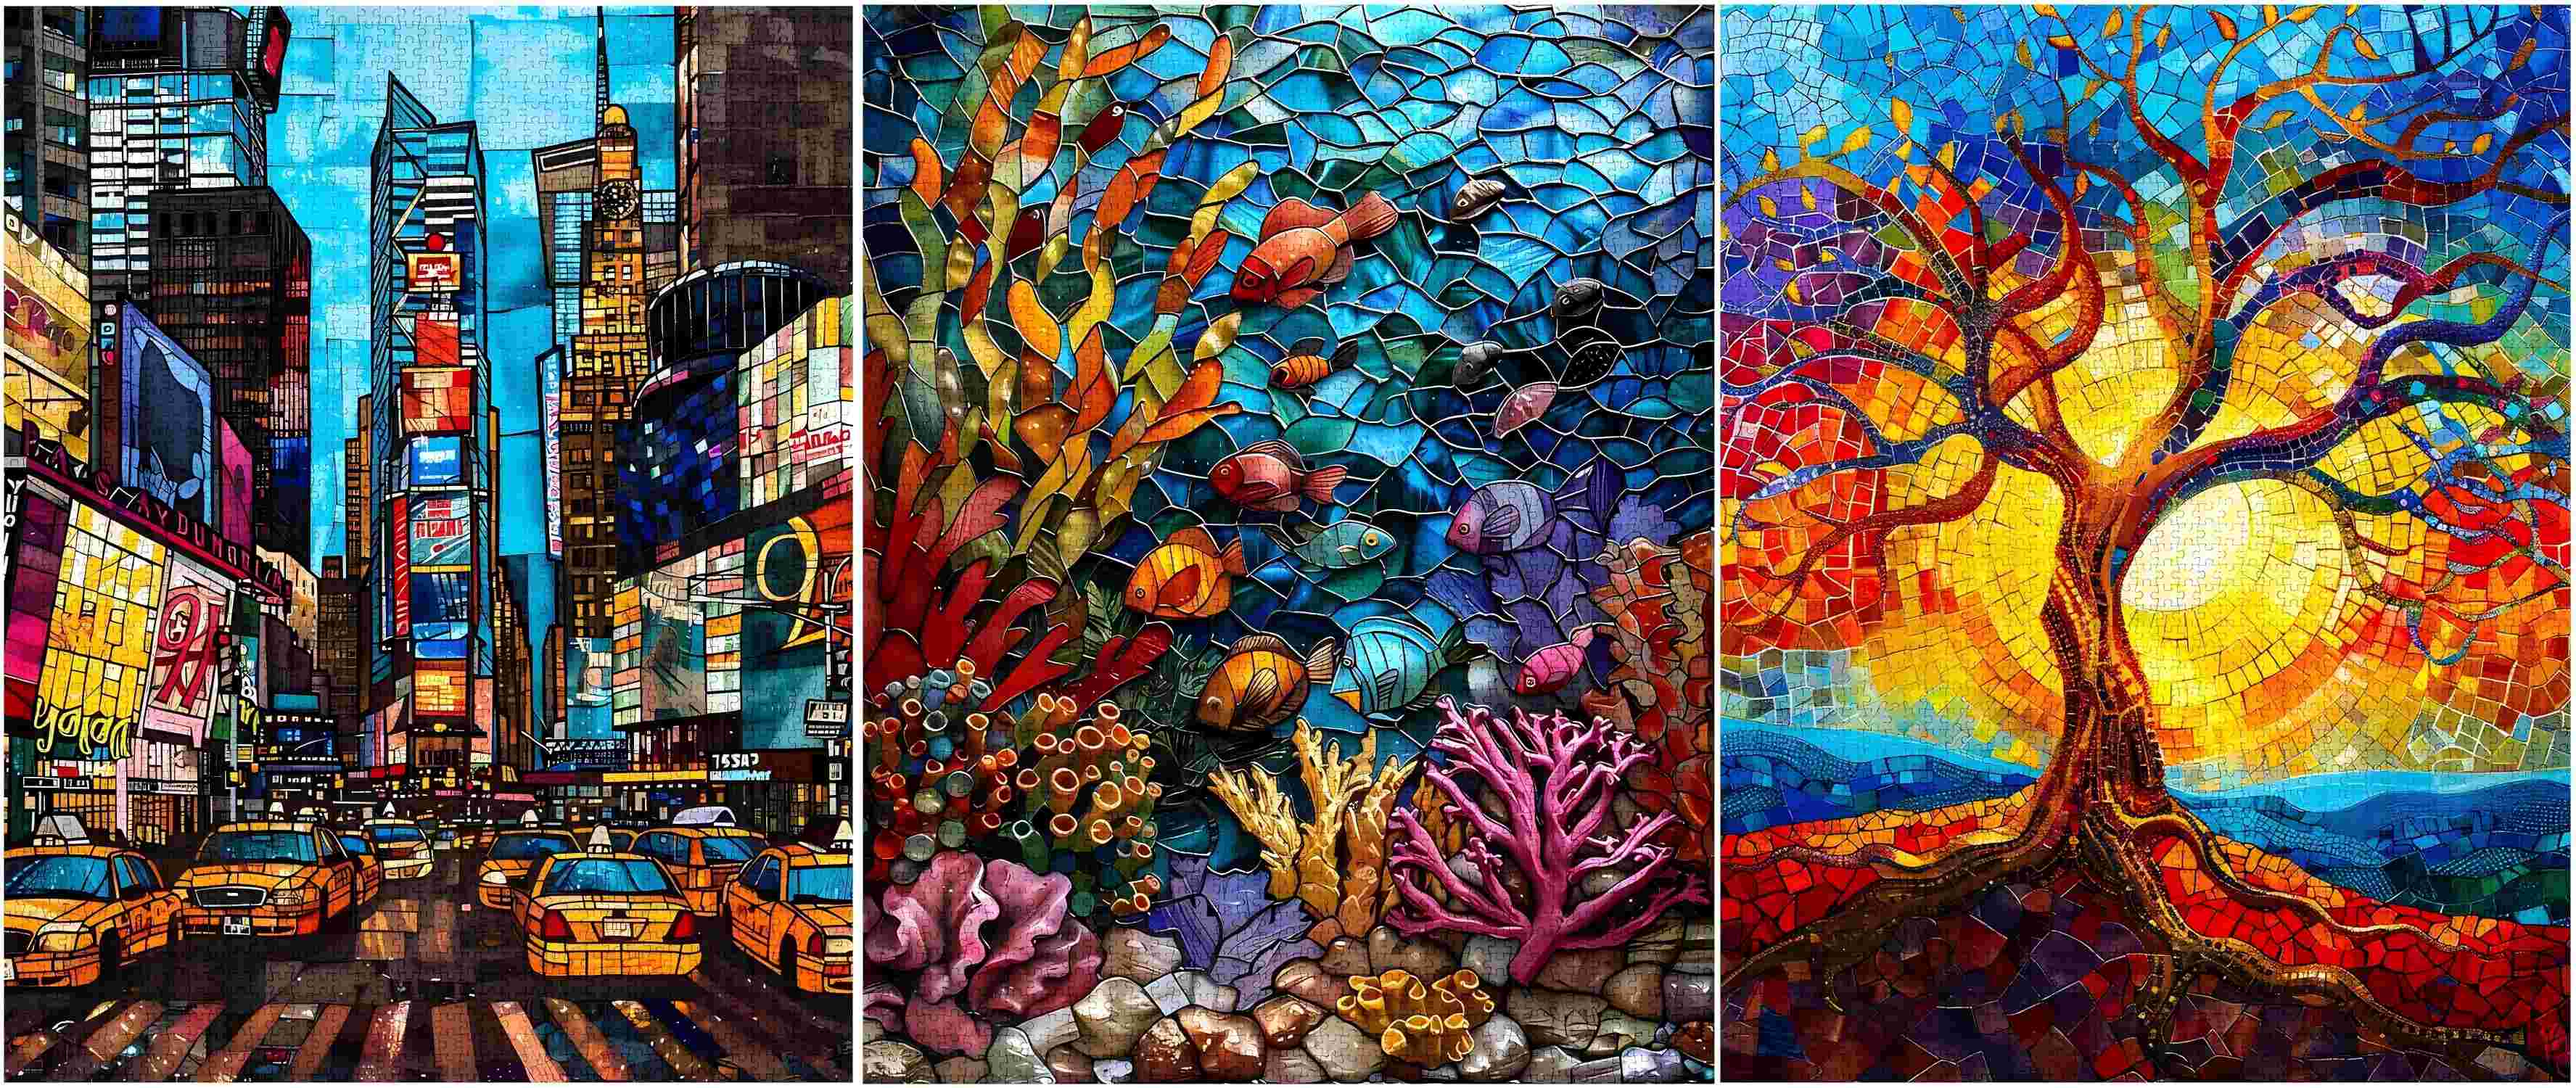
Stained glass art offers endless opportunities for creativity. Whether you’re a seasoned artist or just starting, exploring unique projects and experimenting with stained glass-inspired crafts can elevate your artistic journey. Here are some exciting ideas to inspire your next stained glass project.
Unique Stained Glass Projects
Create seasonal decorations like holiday ornaments or sun catchers.
Seasonal decorations bring a festive touch to any space. You can craft holiday ornaments or sun catchers using vibrant stained glass paint. For example, design a Christmas tree ornament with intricate patterns or create a sun catcher that reflects the colors of spring. These projects are perfect for adding a personal and decorative flair to your home during special occasions. The timeless appeal of stained glass, which has adorned cathedrals and historic buildings since the Gothic Revival, makes these pieces stand out as both traditional and modern.
Design personalized gifts such as nameplates or picture frames.
Personalized gifts hold sentimental value and showcase your creativity. A stained glass nameplate with bold outlines and vibrant colors can make a thoughtful gift for a loved one. Picture frames painted with stained glass designs also add a unique touch to cherished memories. These projects allow you to experiment with how to make faux stained glass effects, blending colors and textures to create one-of-a-kind pieces. The versatility of this craft ensures that each gift is as unique as the person receiving it.
"Stained glass art has evolved through centuries, from ancient Rome to modern homes, proving its enduring charm and adaptability."
Explore Stained Glass-Inspired Art with Tucocoo
Try Tucocoo's stained glass jigsaw puzzles for a fun and relaxing activity.
If you’re looking for a relaxing way to enjoy stained glass art, Tucocoo’s stained glass jigsaw puzzles offer the perfect solution. These puzzles feature intricate designs and vibrant colors that mimic the beauty of traditional stained glass. Assembling them not only challenges your mind but also provides a therapeutic experience. Once completed, the puzzles transform into stunning decorative pieces, combining the joy of crafting with the elegance of stained glass.
Use stained glass patterns as inspiration for other crafts like embroidery or painting.
Stained glass patterns can inspire a variety of creative endeavors. Use these designs to guide your embroidery projects, stitching colorful threads to replicate the look of stained glass. Alternatively, apply the patterns to canvas painting, experimenting with bold outlines and translucent colors. These crafts allow you to explore the artistic elements of stained glass in new and exciting ways, broadening your creative horizons.
"The resurgence of stained glass in modern art reflects its ability to inspire creativity across different mediums."
By diving into these creative ideas, you can expand your appreciation for stained glass art while honing your skills in various crafts. Whether you’re crafting seasonal decorations, designing personalized gifts, or exploring Tucocoo’s puzzles, each project offers a chance to express your artistic vision. Let the timeless beauty of stained glass guide your creativity and inspire your next masterpiece.
Painting stained glass offers a rewarding way to express your creativity while adding beauty to your surroundings. With the right tools and techniques, you can transform simple glass into stunning works of art. This timeless craft connects you to a rich artistic tradition, inspiring you to explore your potential. Many artists, like Pete Day, have found joy in creating meaningful pieces, while others, such as Kelsie McNair, share their passion through teaching. Now it’s your turn to embrace stained glass art. Start your journey today and let your imagination shine through every piece you create.
FAQ
What type of glass should I use for stained glass painting?
You can use either clear or frosted glass for your projects. Clear glass works best for vibrant and bold colors, while frosted glass creates a softer, diffused effect. Ensure the glass is free of scratches or imperfections to achieve a smooth and professional finish.
Can I paint on glass without access to a kiln?
Yes, you can paint directly on glass without a kiln. Use water-based or solvent-based stained glass paints that air-dry or cure in a regular oven. These paints are designed for home use and do not require firing. If you want to add intricate details, consider using outliner paint or liquid leading to enhance your design.
How do I prepare the glass before painting?
Start by cleaning the glass with soap and water to remove dirt and grease. Follow this by wiping the surface with rubbing alcohol to eliminate any remaining residue. Make sure the glass is completely dry before applying paint to ensure proper adhesion.
What brushes work best for stained glass painting?
Use a variety of brushes for different parts of your design. Small brushes are ideal for fine details, while larger brushes cover broad areas efficiently. For texture effects, sponges can also be a great tool. Experiment with different brush types to find what works best for your style.
Can I mix colors to create custom shades?
Absolutely! Use a palette to blend different colors of stained glass paint. Mixing allows you to create unique shades that match your vision. Start with small amounts of paint to test combinations before applying them to your project.
How do I prevent paint from peeling off the glass?
Proper preparation is key. Clean the glass thoroughly and ensure it is dry before painting. Apply thin, even layers of paint and let each layer dry completely before adding more. Using a UV-resistant sealant after the paint dries can also help protect your artwork.
What is the purpose of outliner paint or liquid leading?
Outliner paint or liquid leading creates bold lines that define your design and mimic the look of traditional stained glass. It separates colors and adds depth to your artwork. Apply it carefully and let it dry completely before filling in the design with paint.
Can I create stained glass art with children?
Yes, stained glass painting can be a fun and safe activity for children when using non-toxic, washable paints. Simplify the process by using stencils or painter’s tape to outline designs. Always supervise children to ensure they handle materials safely.
How do I preserve my finished stained glass piece?
Allow the paint to dry completely according to the manufacturer’s instructions. Apply a UV-resistant sealant to protect the colors from fading, especially if the piece will be exposed to sunlight. Display your artwork in a frame or hang it in a window to showcase its beauty.
Are there other crafts inspired by stained glass?
Yes, stained glass patterns can inspire many creative projects. You can use them for embroidery, canvas painting, or even Tucocoo’s stained glass jigsaw puzzles. These crafts allow you to explore the beauty of stained glass in new and exciting ways.


