DIY Butterfly Wall Art Ideas to Transform Your Space
Imagine transforming a plain wall into a vibrant masterpiece with butterfly artwork. DIY butterfly wall art isn’t just a craft—it brings personality and charm to your space. With basic materials, you can create stunning and unique butterfly artwork for your walls. Personalized decor is all the rage, making butterfly artwork an excellent choice. So, let your creativity take flight!
Materials and Tools for DIY Butterfly Wall Art
Making butterfly wall art starts with gathering simple materials and tools. With just a few items, you can create something special for your space.
Basic Supplies for Butterfly Art
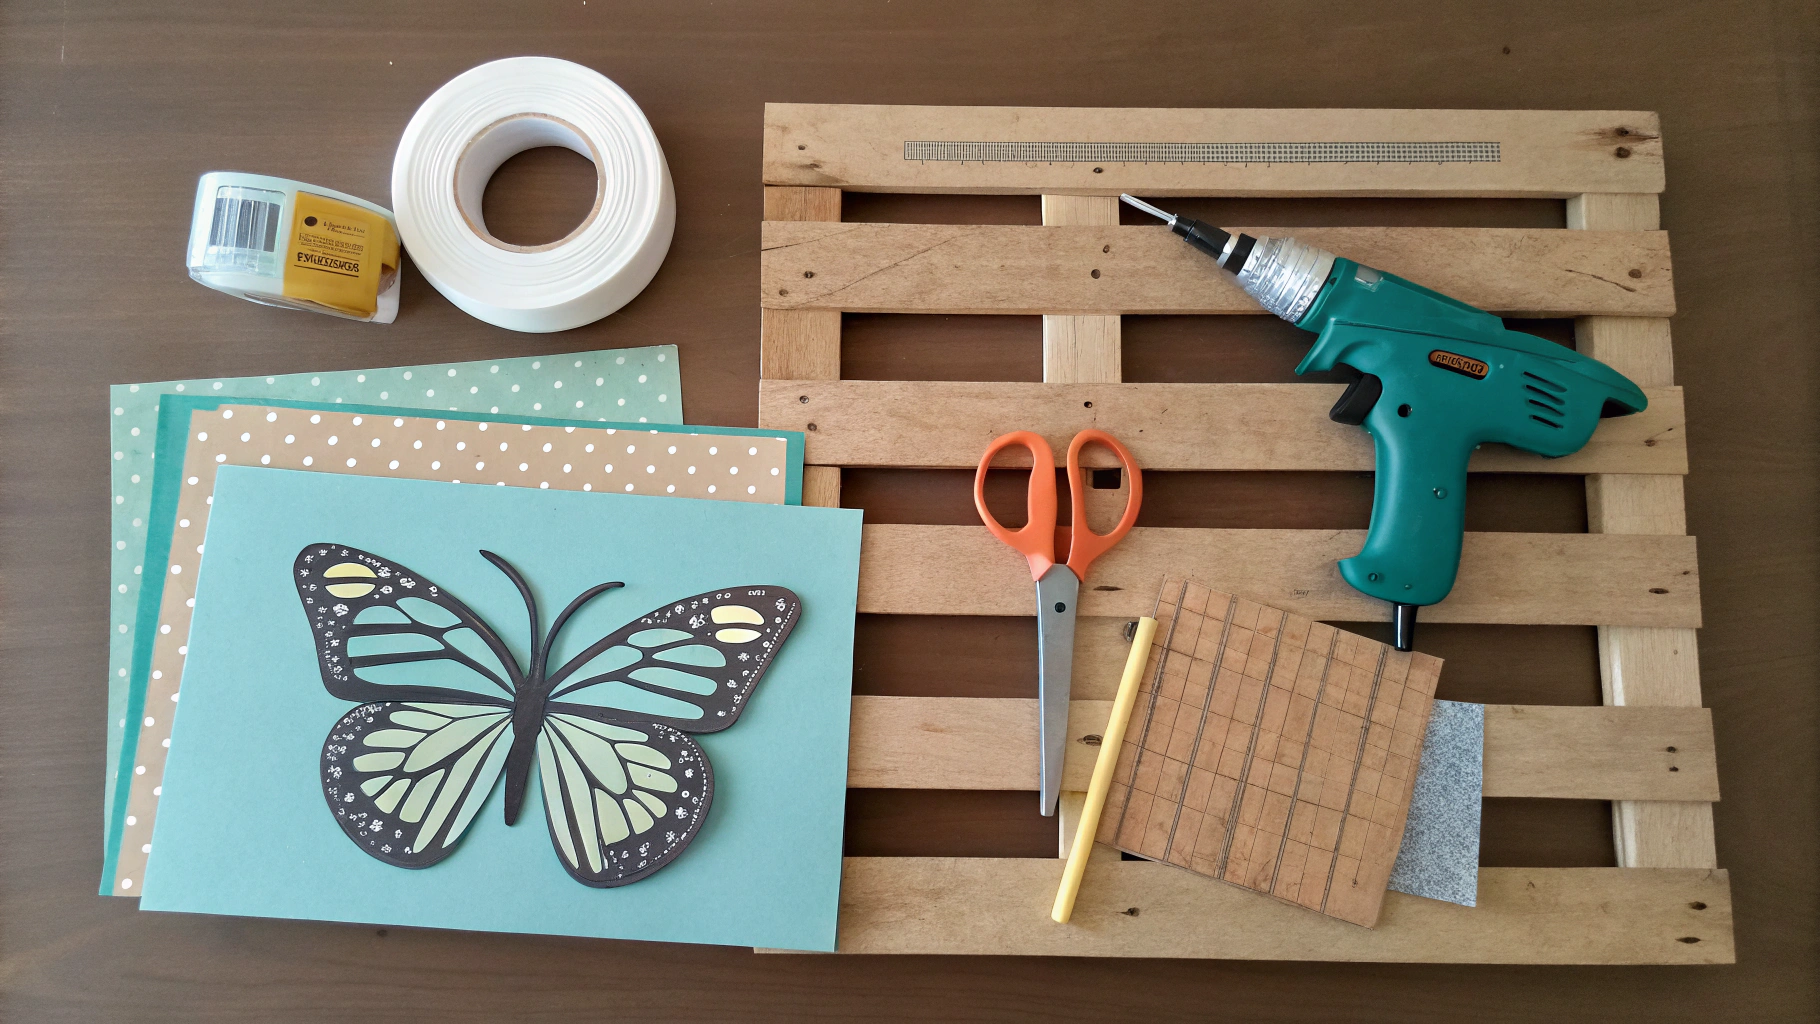
Here’s a list of what you’ll need to begin. These supplies are easy to find and will help you start your project:
Scrap paper: Great for making butterfly shapes.
Tape: Keeps pieces in place while you work.
Scissors: Needed to cut out your designs.
Large pallet board: A strong base for your butterfly art.
Hot glue gun and glue: Holds everything together securely.
Vinyl sheets: Adds color and style to your butterflies.
Free SVG cutting file: Useful if you have a craft cutter.
Material/Tool |
Purpose |
|---|---|
Scrap paper |
For creating butterfly shapes |
Tape |
To hold parts together during crafting |
Scissors |
For cutting out designs |
Large pallet board |
Base for the wall art, gives a rustic touch |
Hot glue gun and glue |
To attach pieces firmly |
Craft cutter |
For neat cutting of vinyl or other materials |
Vinyl sheets |
Adds decoration to your butterflies |
Free SVG file |
Optional for those using a craft cutter |
Tools for Making Butterfly Wall Art
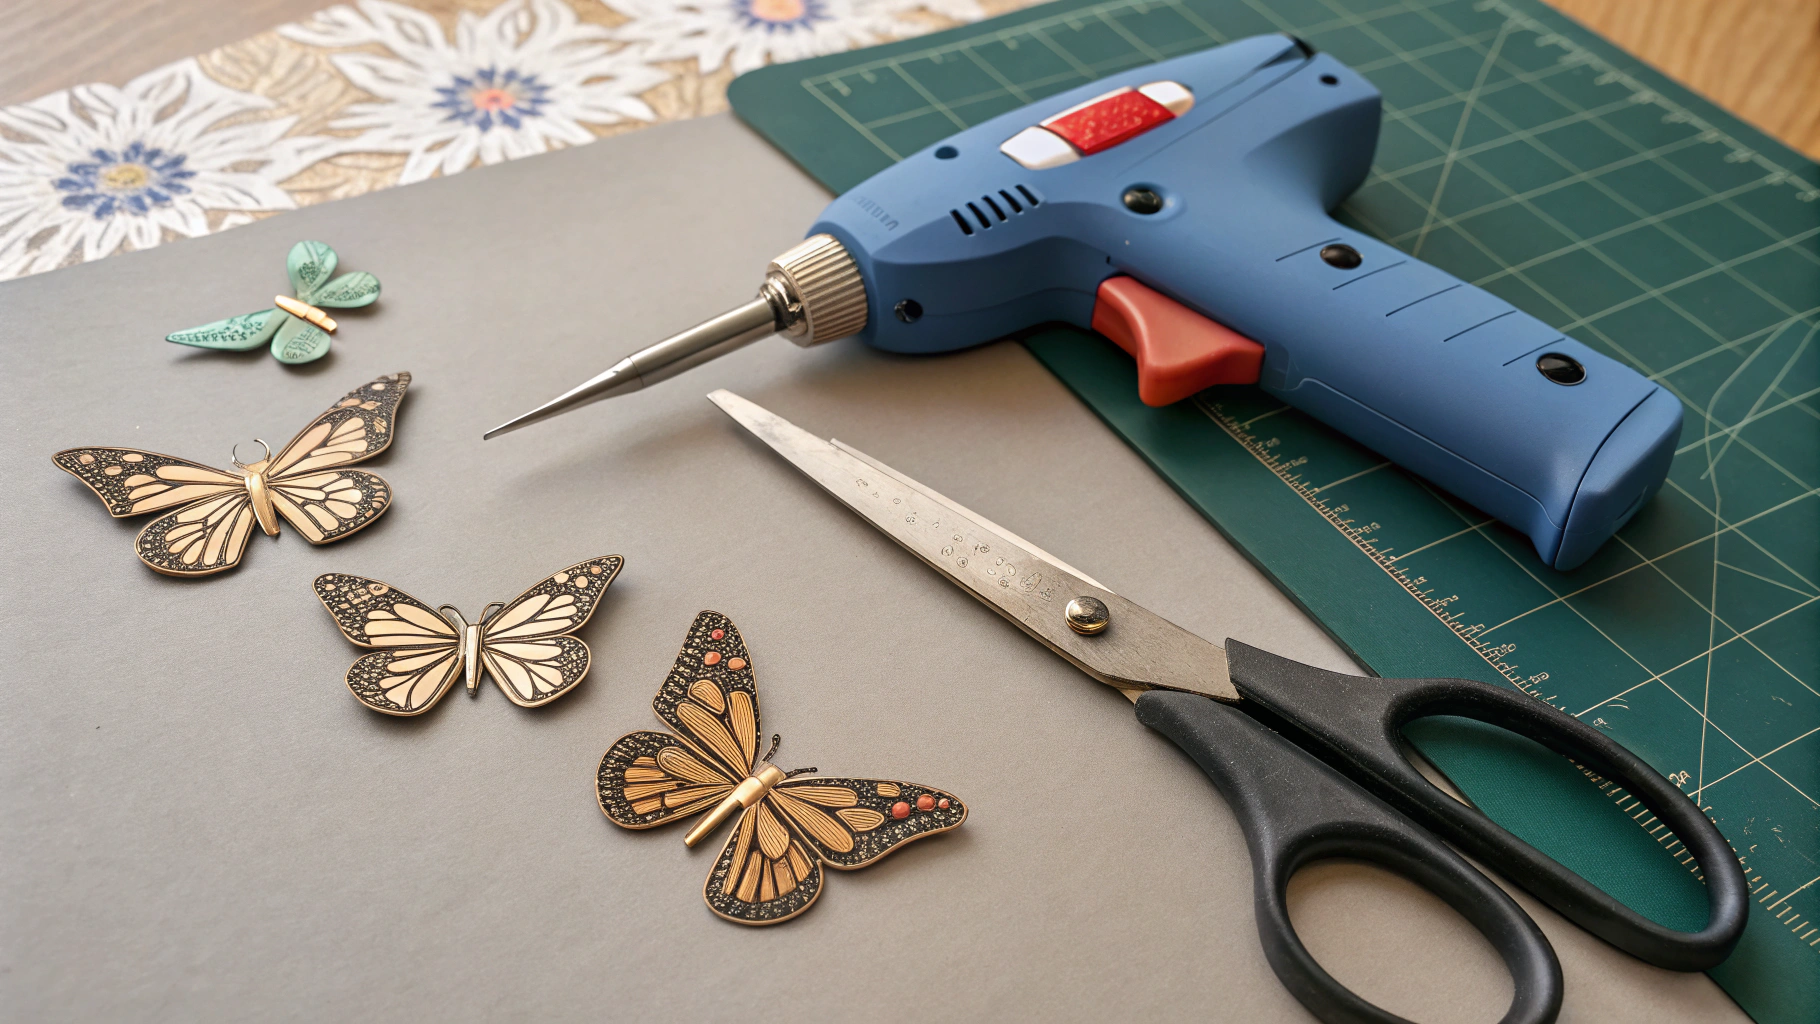
Using the right tools makes crafting easier and more fun. A craft cutter is great for neat designs, especially with templates or printables. Scissors and a hot glue gun are also important for cutting and sticking your butterflies. These tools help your butterfly wall art look neat and well-made.
Extra Ideas for Creative Butterfly Wall Art
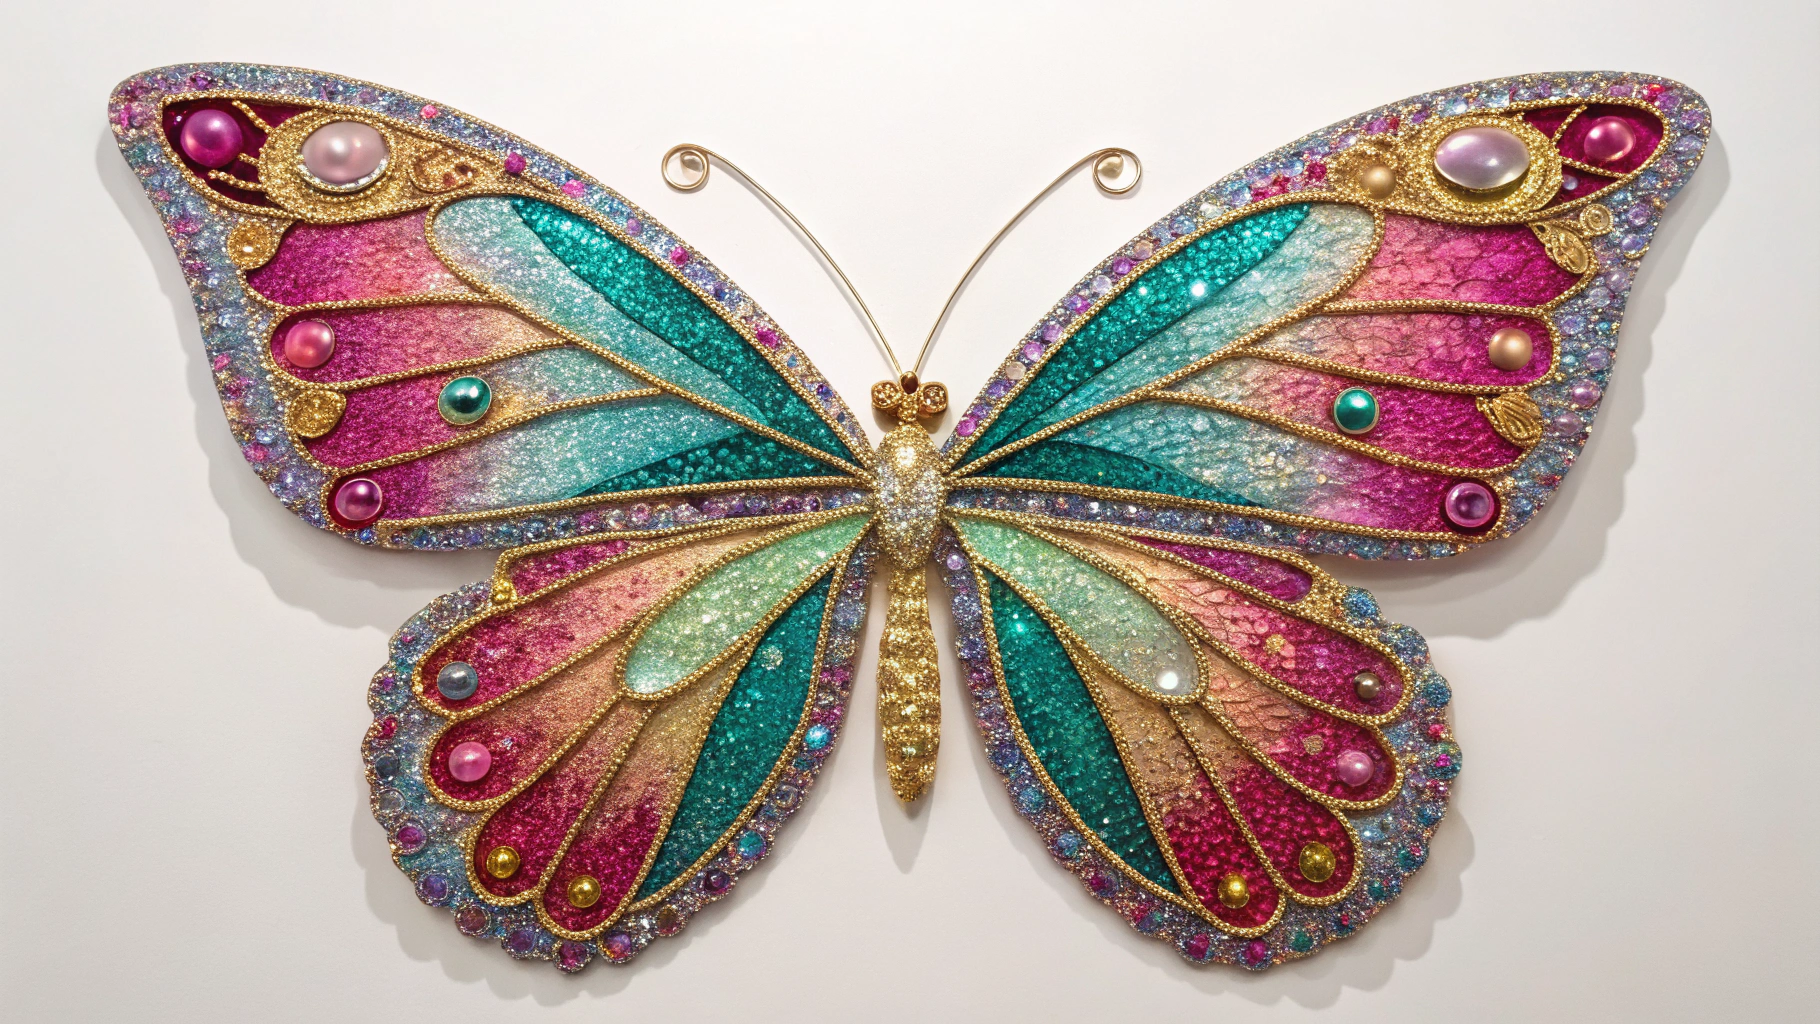
Want to make your butterfly art even better? Add glitter or rhinestones for sparkle. Try using fabric or shiny paper for a unique style. DIY butterfly wall art lets you be creative and make something special. Whether you keep it simple or go all out, the options are endless.
Step-by-Step Guide to DIY Butterfly Wall Art
Setting Up Your Workspace
Before starting, prepare a creative and clean workspace. Use a flat, bright surface like a table or desk. Cover it with old newspaper or a protective sheet to avoid messes. Gather all your tools and materials in one spot for easy access. A tidy area helps you focus and enjoy the process.
If kids are helping, set up a separate space for them. This lets them create freely without worrying about messes. Keep sharp tools like scissors and hot glue guns out of their reach unless supervised.
Crafting Butterfly Shapes
Now it’s time to make butterfly shapes! Pick your material—scrap paper, vinyl sheets, or fabric work well. Draw butterfly outlines with a pencil or use printed templates for accuracy. Feeling creative? Try drawing freehand for a personal touch.
Cut out your butterfly shapes carefully with scissors or a craft cutter. For a layered look, make butterflies in different sizes. This adds depth and makes your wall art more interesting. Don’t stress about perfect shapes—small flaws make your art unique.
Decorating and Customizing Butterflies
This is where you can get really creative! Decorate your butterflies to make them special. Add glitter for sparkle or glow paint for a nighttime effect. Use bright colors and patterns on both sides of the wings for a fun design.
You can also add rhinestones or beads for extra detail. These small touches make your butterflies stand out. Want to try something different? Make a butterfly headband to match your wall art. Let your imagination lead the way!
Arranging and Mounting Butterfly Wall Art
The last step is putting everything together. Choose a blank wall in your bedroom, living room, or hallway. Arrange the butterflies on the wall to plan your design. Try different layouts like clusters, spirals, or heart shapes.
When you’re happy with the layout, attach the butterflies using double-sided tape or hot glue. For a 3D effect, fold the wings slightly upward before sticking them. Step back and admire your work—you’ve just added a creative touch to your space!
Creative Variations for Butterfly Wall Art
Trying New Materials for Butterfly Art
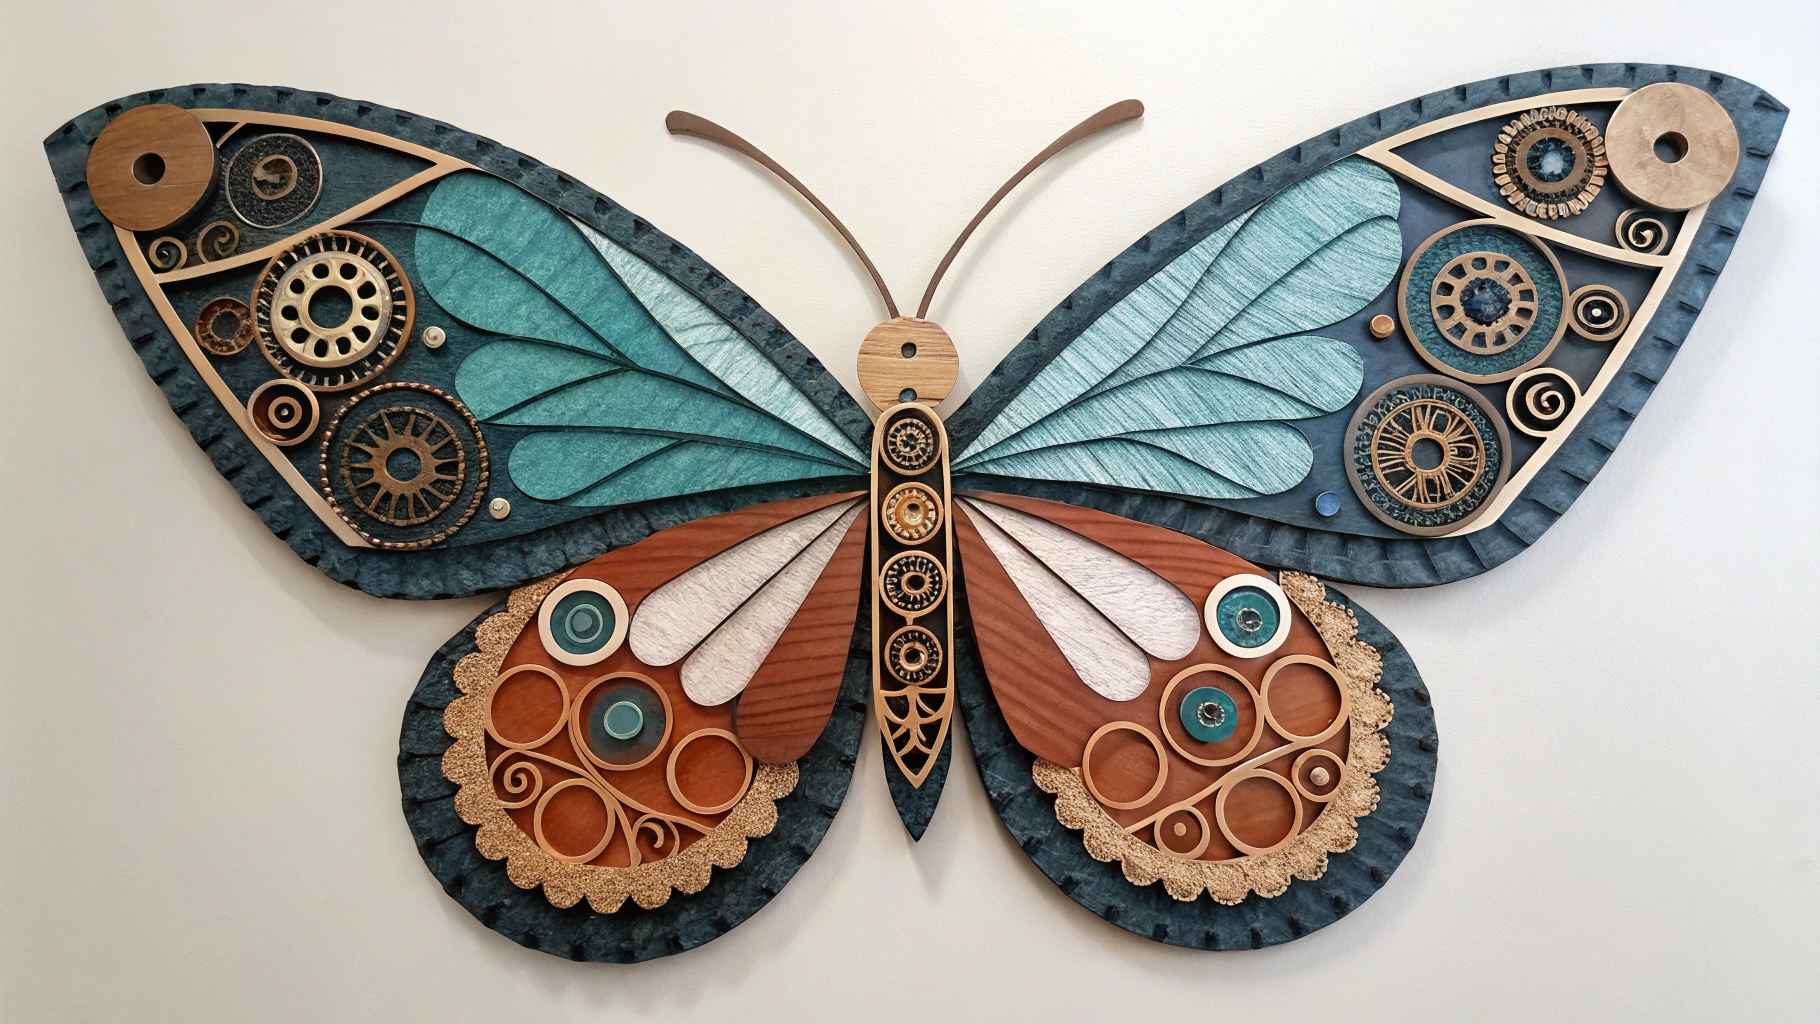
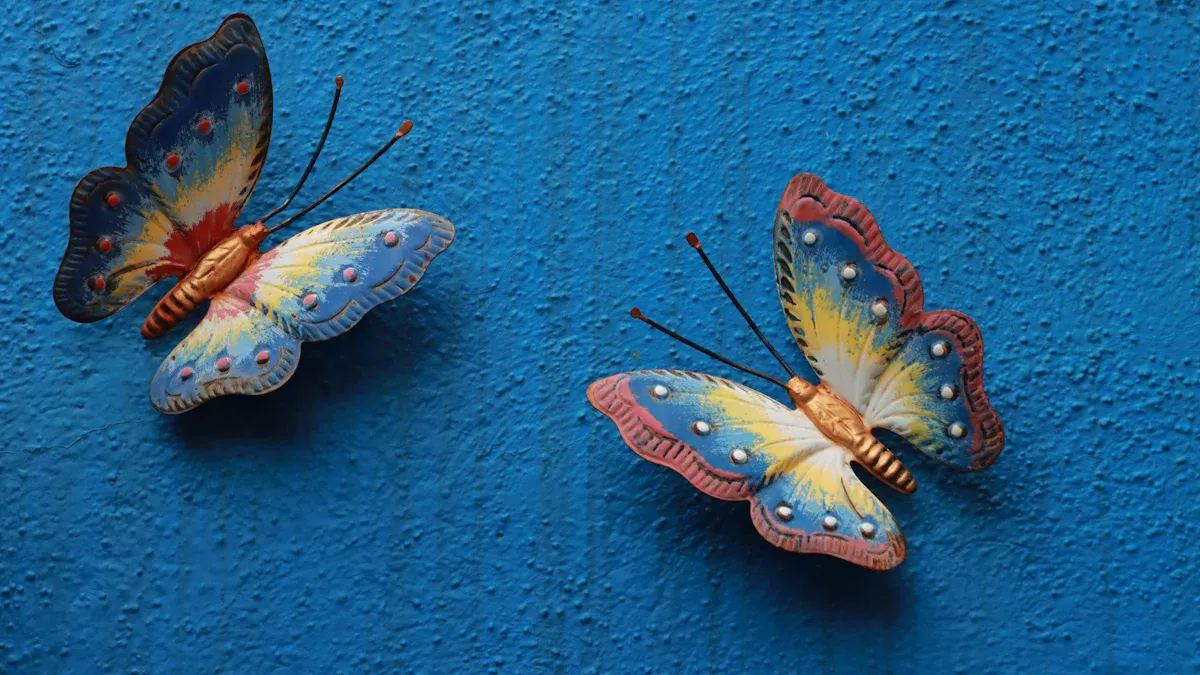
Using different materials can make your butterfly art unique. Don’t just use paper or vinyl—try something else! Fabric, wood, or metal can add cool textures. Felt or velvet gives a soft look. Wooden or corkboard butterflies are great for a rustic style.
Projects like the Vintage Butterfly Shadow Box show how materials matter. This project uses colorful paper butterflies in shades like blue and pink. You can match the colors to your room. Adding gold accents or distress ink makes the butterflies look fancy. These details make your art special and one-of-a-kind.
Butterfly scales create shiny, colorful effects in nature. You can copy this idea for your art. Mixing materials can give you amazing results. Try combining different things—you might find a new favorite style!
Adding Colors and Patterns to Butterfly Art
Colors and patterns make butterfly art exciting. Use soft pastel colors like lavender or mint for a calm look. Bright colors like red or yellow make your butterflies stand out. Choose colors that match your mood or space.
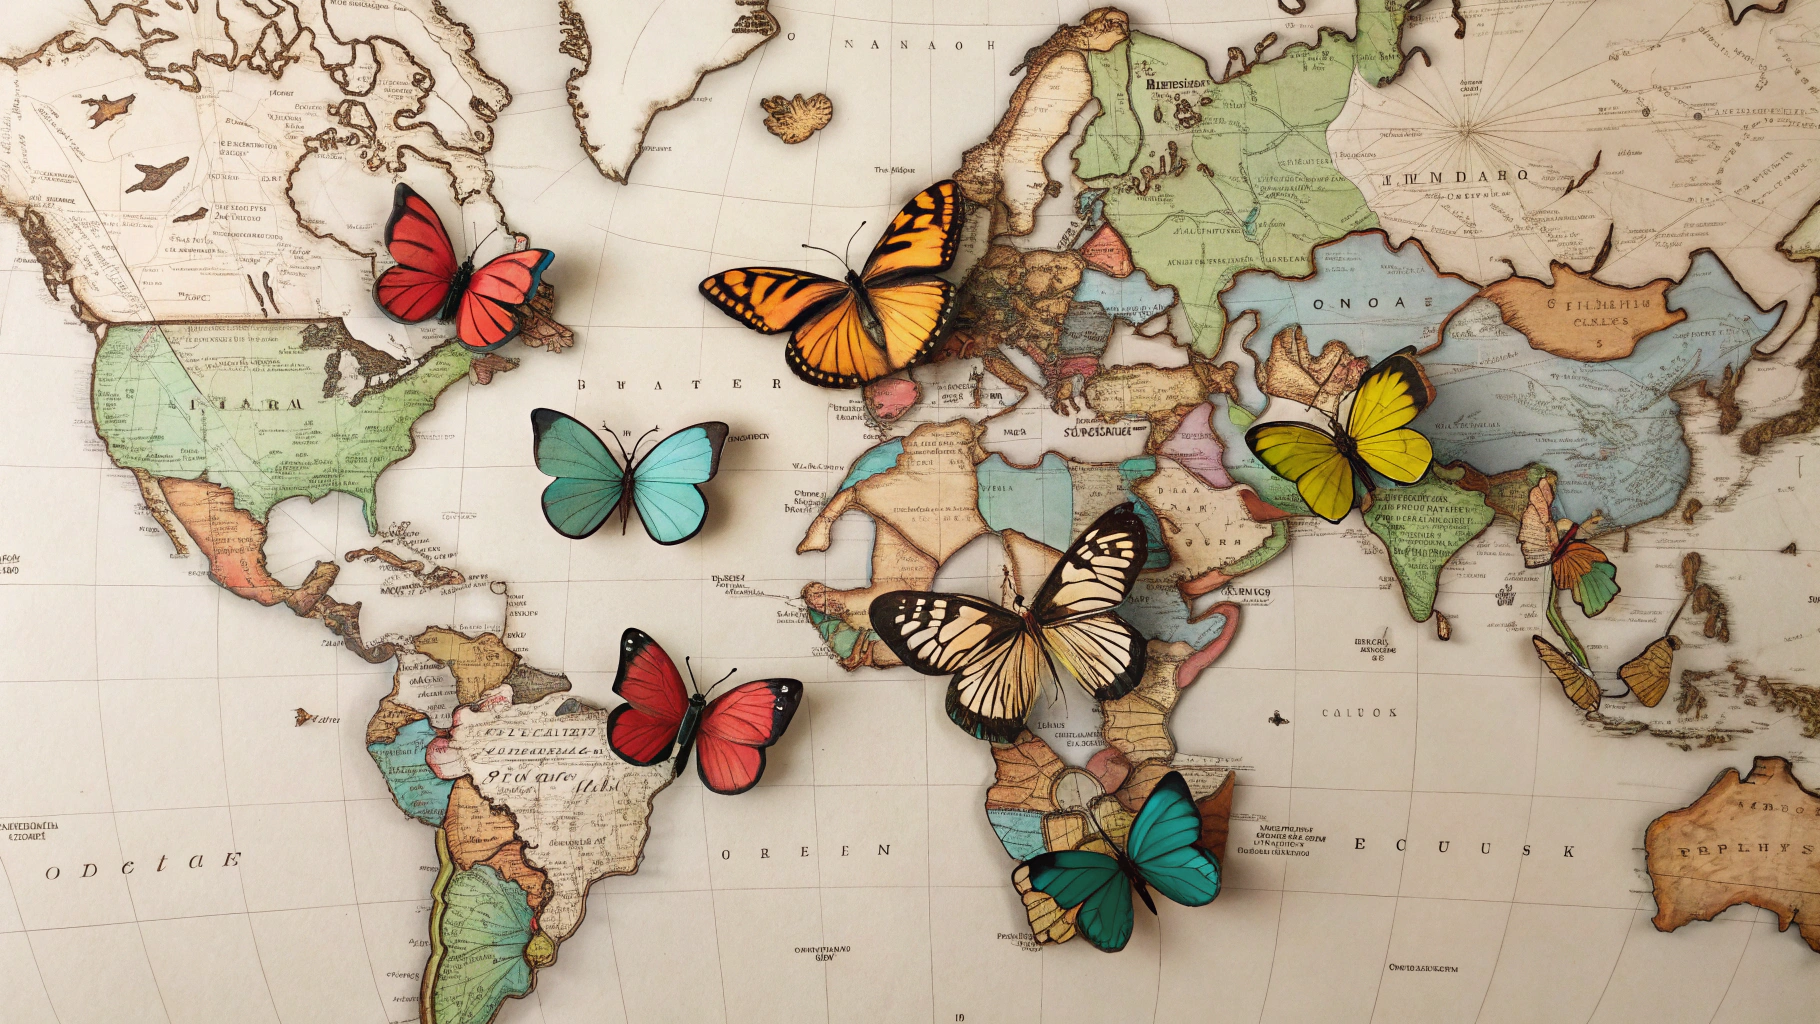
Patterns like polka dots or stripes add fun designs. You can even use a map as a background for your butterflies. This makes your art tell a story and look more interesting.
"Using a map as a background adds a creative touch and makes the butterflies stand out."
Add glitter or metallic paint for sparkle. These small details make your butterflies shine and catch the light. It adds a magical feel to your room.
Making 3D Butterfly Wall Art
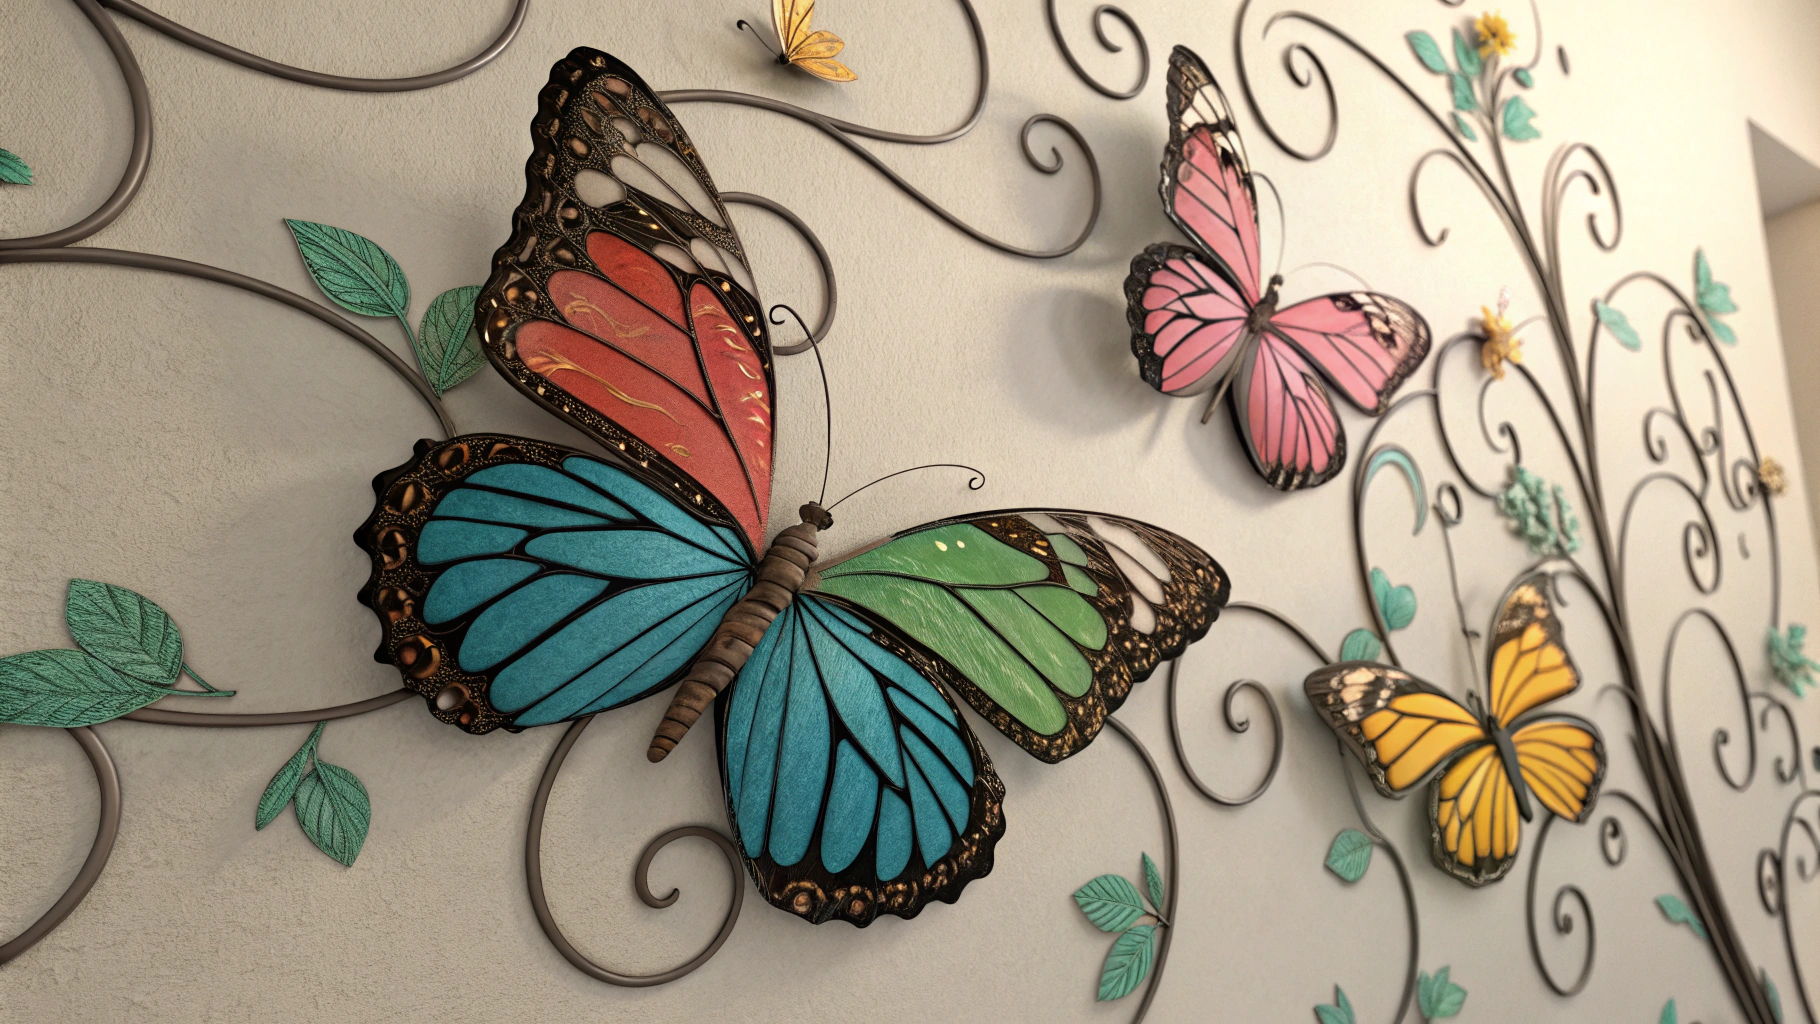
Want your butterflies to pop off the wall? Try making 3D designs! Fold the wings of your butterflies slightly upward. This makes them look like they’re flying.
Layering butterflies on top of each other adds depth. Use different sizes and colors for a lively effect. Mount them on foam or wire to make them hover off the wall. Lightweight materials like foam board work well for this.
3D designs make your art more fun and interactive. Guests will love how your butterflies seem alive. It’s a great way to show off your creativity.
Seasonal and Themed Butterfly Art Ideas
Butterfly art can match seasons or special events. For spring, use pastel butterflies with flower patterns. Add tiny flowers or leaves for a fresh look.
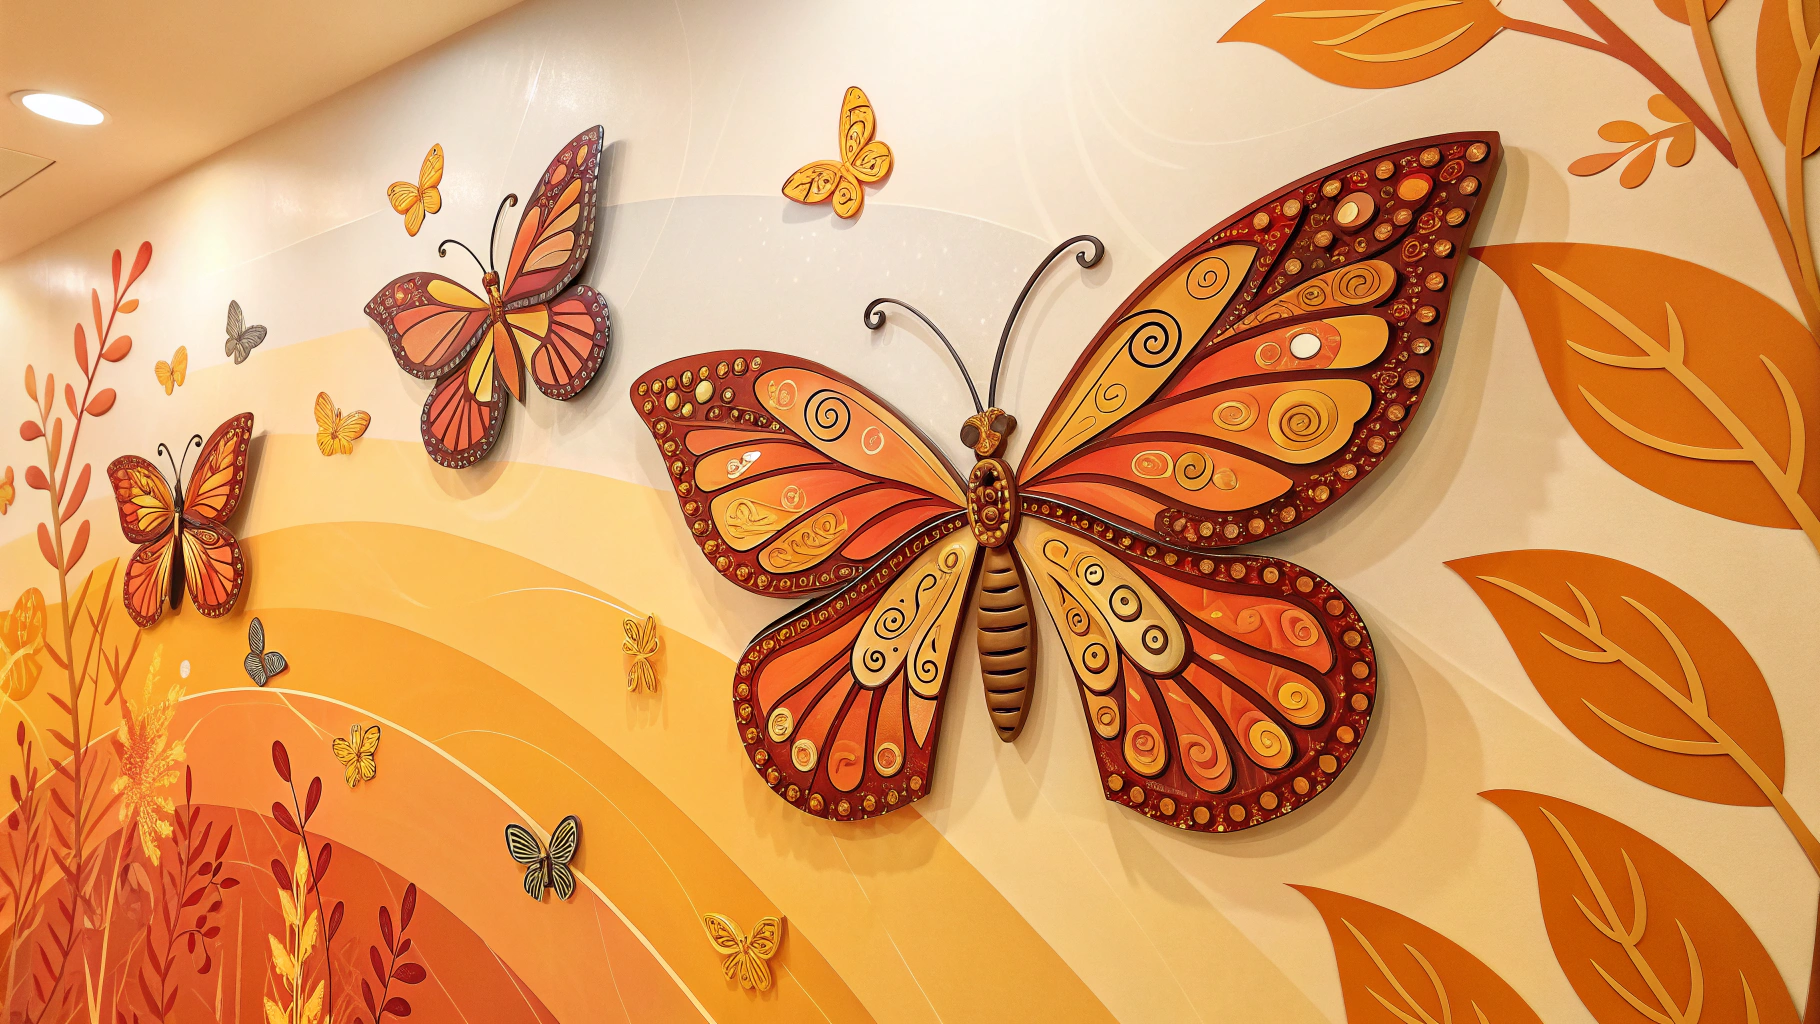
In fall, use warm colors like orange and gold. Pair butterflies with leaves or acorns for a cozy vibe. For winter, try white and silver butterflies with snowflake designs. Glitter can make them sparkle like snow.
Themed designs are also fun. Create a tropical look with bright butterflies and palm leaves. Or make a romantic theme with heart shapes and pink tones. Whether it’s for a holiday or just for fun, themed butterfly art adds a personal touch to your space.
DIY butterfly wall art is a fun way to express your style and creativity. Experiment with colors, materials, and designs to make it truly yours. It’s perfect for sprucing up your home decor or as a thoughtful handmade gift. So, grab your supplies and start transforming your space today!
Tucocoo Custom Paint by Numbers