Sunset Painting Always Looks Amazing with These Tips
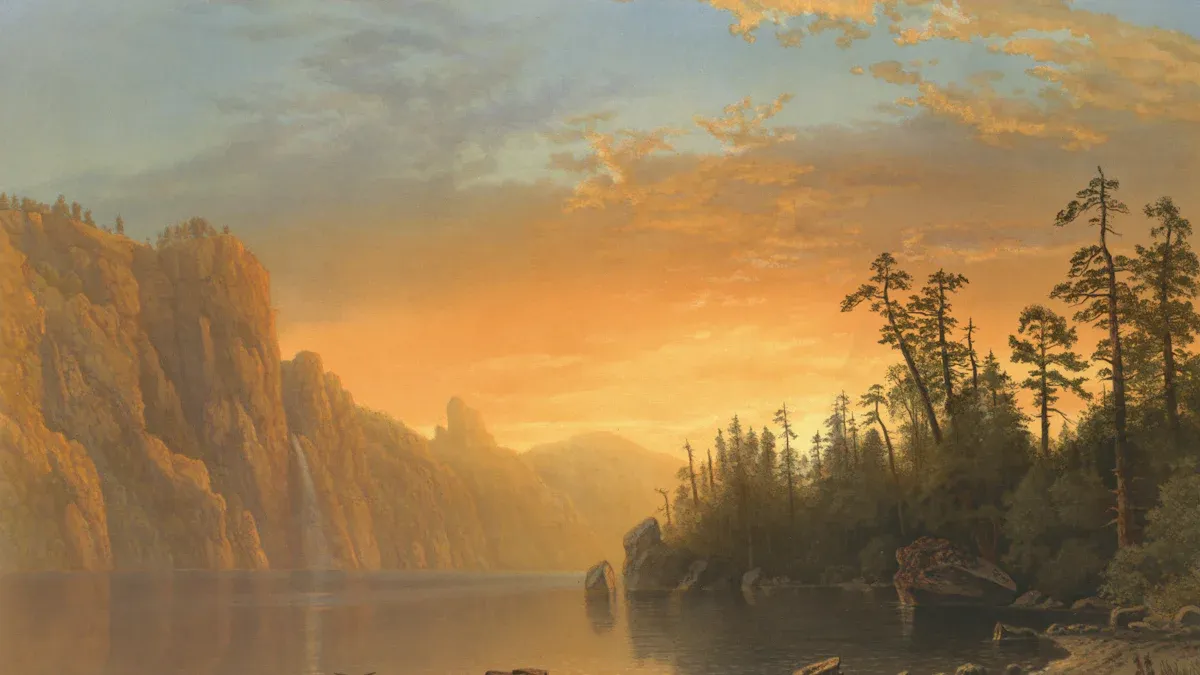
You can create stunning sunset painting pieces, even if you have never picked up a brush before. Acrylic painting makes sunset painting approachable and fun, so there’s no need to feel nervous. Try a Paint by Numbers kit for an easy way to start your sunset painting. Watch how the colors blend and come alive as you work on your sunset painting. Enjoy the process and let your creativity shine.
Key Takeaways
Acrylic paints work well for sunset paintings. They dry fast and mix together easily. Begin with bright colors like orange, yellow, and red. These colors make the sky look lively.
Try a Paint by Numbers kit if you are new to painting. It helps you learn how to mix colors. You can also get better at painting while having fun.
Blending colors well makes the sky look smooth and pretty. Start with light colors close to the sun. Slowly add darker colors to make the sky look deep.
Watch how you set up your painting. Put the horizon low to show more sky. Use lines that lead the eye to important parts of your painting.
Practice using different ways to paint, like wet-on-wet blending and layering. Try out new colors and shapes to make your sunset paintings special.
Sunset Painting Materials
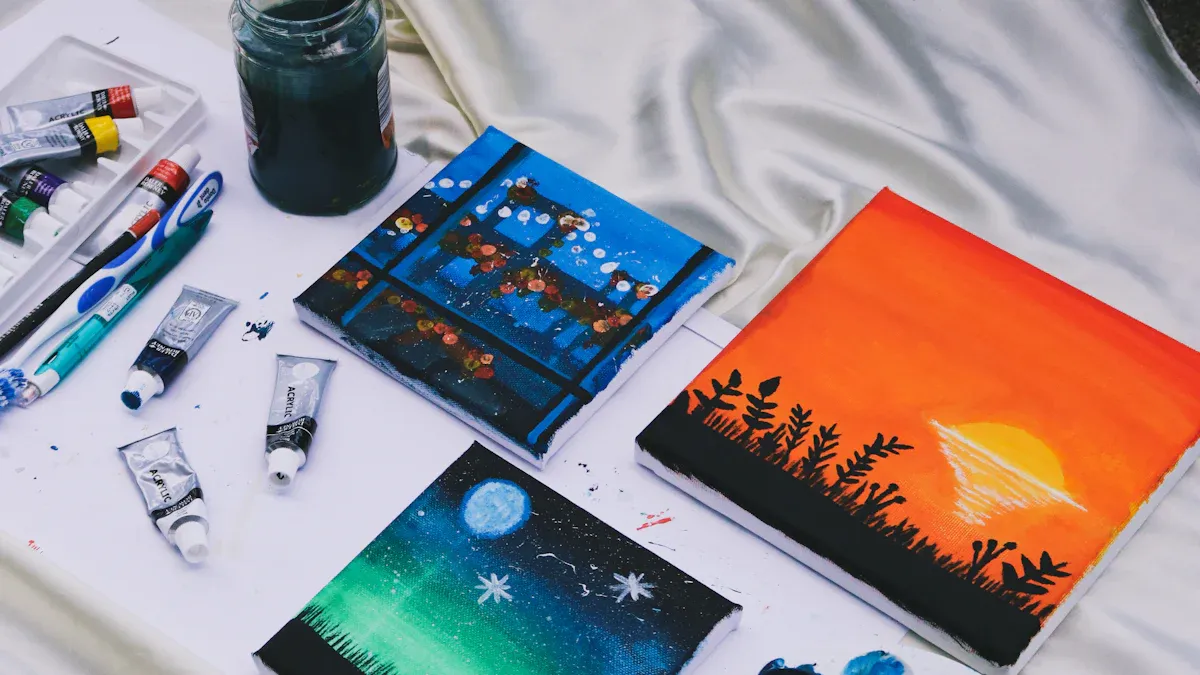
Best Paints for Sunsets
You have plenty of choices when it comes to paint. Acrylic painting is the most popular for sunset scenes because it dries fast and is easy to use. You can also try oil, watercolor, or gouache if you want to experiment. Acrylic painting gives you bright colors and smooth blending, which makes it perfect for beginners and pros alike.
Here’s a quick look at the colors that work best for sunset painting:
Color Type |
Description |
|---|---|
Blue |
Darker and lighter blue for depth |
Red |
For vibrant highlights |
Orange |
To create warmth |
Yellow |
For brightness |
Maroon |
For shadowing |
Black |
For contrast |
Grey |
For subtle tones |
Purple |
Optional for customization |
Dark Blue |
Optional for depth |
You can also use these colors for your palette:
Dark blue
Lighter blue
Pink
Orange
Yellow
Essential Brushes and Tools
You want to pick the right brushes for your sunset painting. A medium-sized, soft brush helps you blend colors smoothly across the sky. Round brushes work well for both details and broad strokes, so you can paint clouds or add highlights with ease. Try using a palette knife if you want to add texture or bold lines.
Choosing Surfaces
Canvas is a classic choice for acrylic painting. You can also use thick paper or wood panels. If you’re just starting, canvas boards are affordable and easy to handle. Make sure your surface is sturdy and can hold paint without warping.
Paint by Numbers for Beginners
Tucocoo Paint by Numbers
Paint by Numbers kits make sunset painting easy for beginners. You follow simple steps and fill in each area with the right color. This helps you build hand-eye coordination and learn how to mix colors. You also get better at paying attention to details, which is important for painting a beautiful sunset.
Tip: If you feel nervous about starting, grab a Paint by Numbers kit. You’ll see your skills improve with every brushstroke!
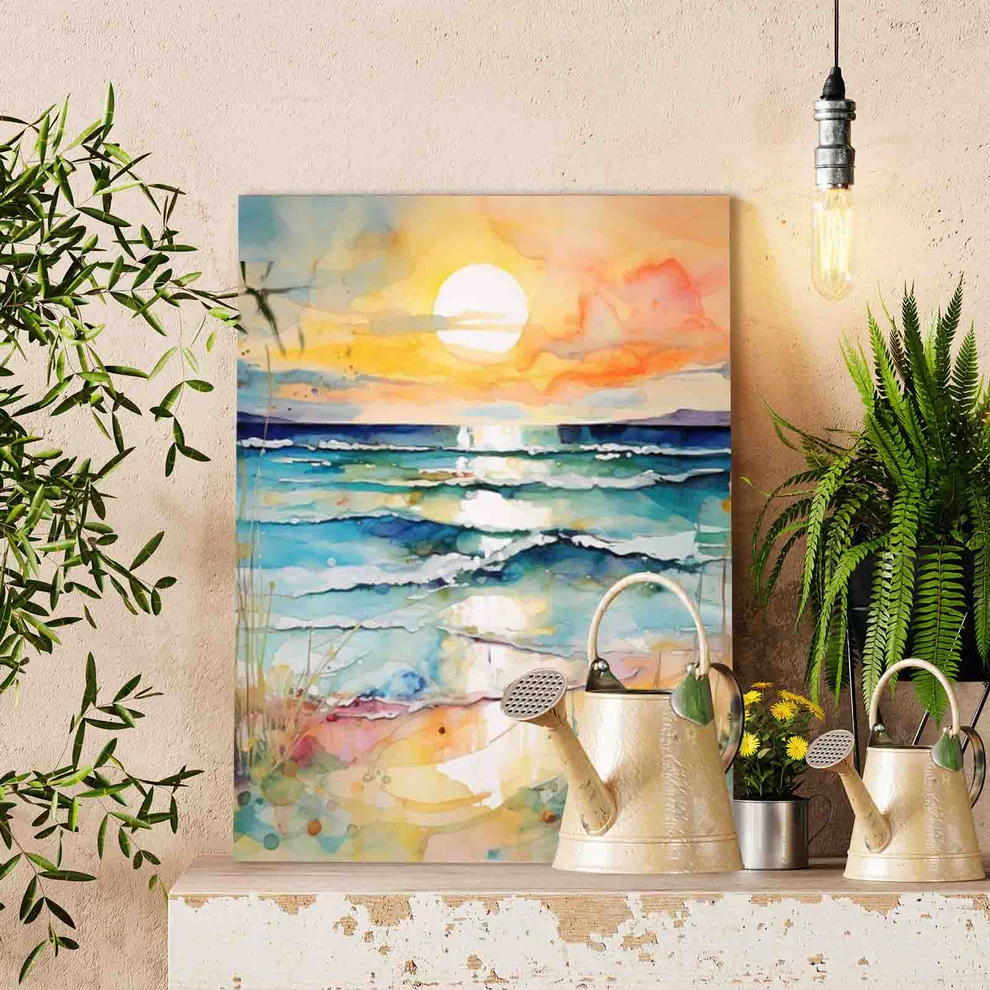
Sunset Color Blending
Picking Sunset Colors
The colors you choose make your sunset painting stand out. You can use orange, yellow, and red for a classic look. You can also pick different color palettes to show new moods. Here are some color palettes that artists use for real sunsets:
Palette Name |
Color Names |
Hex Codes |
|---|---|---|
Valley |
Ultra violet, China rose, Cool gray, Jonquil, Burnt sienna |
#63507E, #AB6A81, #9096BA, #FFCD00, #F46A43 |
Cloudglow |
Earth yellow, Jasmine, Flax, Azure, Polynesian blue |
#FFB45B, #FDD684, #FFF9A1, #007BEF, #084596 |
Pink Ash |
Pomp and power, Blush, Rose pompadour, Uranian blue, Silver lake blue |
#825389, #DA5380, #E187A8, #A9D4F6, #6B8CC3 |
Serengeti |
Flame, Cocoa brown, Spanish orange, Princeton orange, Xanthous |
#D3602B, #D8682C, #EA6B20, #FB9739, #FFB42A |
Day’s End |
Cerulean, Bondi blue, Naples yellow, Atomic tangerine, Coquelicot |
#3B7794, #2F88A8, #FEE161, #FE9347, #FB502B |
Tropic |
Magenta haze, Fandango, Cerise, Folly, Safety orange |
#9F3379, #A7408B, #C83C63, #F34C5E, #FF8120 |
Pick a palette that fits the mood you want. Try adding a bit of blue or purple for more depth.
Blending for Smooth Gradients
Blending colors helps your sky look soft and bright. Start with your lightest color, like yellow, near the sun. Then add darker colors as you move away. Use a clean, soft brush to mix the colors together. This makes the colors change smoothly. If you want a dreamy sky, blend while the paint is still wet. Don’t worry if it’s not perfect. You will get better with practice!
Tip: Use a dry brush to blur sharp lines between colors. This makes your sunset look soft and glowing.
Light, Value, and Saturation
Light, value, and saturation change how your sunset feels. Changing the light areas keeps your painting bright and lively. If you balance the color strength, your painting will feel warm and cozy. Here is a quick guide:
Aspect |
Description |
|---|---|
Light |
Changing light spots keeps your sunset bright and full of life. |
Saturation |
Balancing color strength in bright spots sets the mood of your painting. |
Warm sunset colors help people feel calm and peaceful.
Using reds and oranges in the sky changes the mood.
Leaving the sun white or yellow makes it look bright and warm.
Adding red to the sky keeps your sunset looking real.
Try these tips and see your sunset painting become full of color and feeling!
Sunset Painting Composition
Horizon and Balance
When you start a sunset painting composition, think about where you want to place the horizon. You can make your painting more interesting by following a few simple rules:
Place the horizon low if you want the sky to stand out. This works well when the colors in the sky are the main focus.
Avoid putting the horizon right in the center. A centered horizon can make your painting look flat and less exciting.
Try putting the sun along the top right third of your canvas. This draws the viewer’s eye and keeps things balanced.
If you add people or objects, place them along the left third of your painting for a natural look.
Use leading lines, like a road or shoreline, to guide the viewer’s gaze toward the main subject.
Tip: Make the sun lighter than the sky around it. You can darken the background sky to help the sun pop.
Silhouettes and Focal Points
Silhouettes add drama to your sunset painting. You can use them to create a strong focal point. Here are some ways to make your silhouettes stand out:
Choose simple shapes. Too many details can distract from the sunset.
Try layering. Add more than one layer of silhouettes to build depth.
Use contrast. Make sure your silhouettes are dark against the bright sky.
You can also use the rule of thirds. Place the horizon in the upper third if you want the sky to dominate. Leading lines, like a winding path, help guide the viewer’s eyes across your painting.
Using References
Reference photos can help you capture the perfect moment in your sunset painting. They let you freeze a scene that might change quickly in real life. If you want to focus on light and shadow, try turning your photo black and white. This makes it easier to see the values without worrying about color. You can also paint the colors from memory. This lets you add your own feelings and style to the sunset.
Beginner Sunset Painting Techniques

Wet-on-Wet Blending
Wet-on-wet blending is one of the easiest painting techniques for sunset painting. You start by adding a layer of paint to your canvas while it is still wet. Then, you blend new colors right into that wet paint. This helps you create smooth transitions and soft edges in your sky. You can use a soft brush and move it gently back and forth. Try not to press too hard. If you want to keep your colors bright, stop blending once the colors look natural. Overworking the paint can make your sunset look dull.
Tip: If you see harsh lines, use a clean, dry brush to blur them. This helps with keeping edges soft and makes your sunset glow.
Simple Layering
Layering lets you build up colors and shapes in your sunset. You paint one color, let it dry, and then add another color on top. This method works well for painting the light and shadow in the sky. You can start with lighter colors and add darker ones as you go. Many beginners make a few common mistakes when layering:
Overworking color areas. If you blend too much, you lose the luminous quality of your sunset.
Making the sun too bright. Real sunsets have warm yellows or oranges, not pure white.
Not recognizing when to stop. Step back often to see how your painting looks. This helps you keep colors vibrant and avoid muddy spots.
Forgetting to set a timer for blending. Try limiting your blending time to 10-15 minutes for each section. This keeps your brushwork fresh and spontaneous.
If you want to keep your painting lively, remember to stop and look at your work often. You will notice when your colors start to lose their glow.
Basic Brushwork
Brushwork is all about how you move your brush. You can use short strokes for clouds or long strokes for the sky. Try holding your brush at different angles. This gives you new textures and shapes. If you want to add silhouettes, use a small round brush for sharp edges. For keeping edges soft, use a larger brush and blend gently. You can also tap your brush to create fluffy clouds or dab it for a misty effect.
Here is a quick table to help you choose the right brush for each part of your sunset:
Area |
Brush Type |
Technique |
|---|---|---|
Sky |
Large soft brush |
Long, gentle strokes |
Clouds |
Round brush |
Tapping and blending |
Silhouettes |
Small round |
Careful outlining |
Sun |
Medium round |
Circular blending |
Note: Practice different brush movements. You will find your favorite way to paint a sunset.
If you focus on keeping edges soft, your sunset painting will look more natural. Try these painting techniques and see how your sunset changes with each brushstroke.
Advanced Sunset Painting Techniques

Glazing and Texture
You can make your sunset painting glow by using glazing. Glazing means you add thin, see-through layers of paint over dry colors. This technique lets light pass through the layers, making your painting look deep and rich, almost like stained glass. Try using high-quality transparent pigments, such as madder lake or natural ultramarine, for the best results. Always let each glaze dry before you add another. If you rush, your colors might turn muddy.
Here’s how you can use glazing and texture in your sunset painting:
Start with a dry, finished layer of your sunset sky.
Mix a small amount of transparent paint with a glazing medium.
Brush a thin layer over the area you want to enhance. For example, add a warm orange glaze over the horizon to make it glow.
Let it dry completely before adding another glaze.
Use the vacant shadows technique to create soft, subtle shadows in the clouds or along the shoreline. This helps your painting look more realistic and adds depth.
Try a palette knife to add texture to clouds or waves. This makes your tropical sunset scene feel lively and full of movement.
Tip: Glazing works best when you use it in select areas. You don’t need to glaze the whole painting. Focus on spots where you want extra shine or depth.
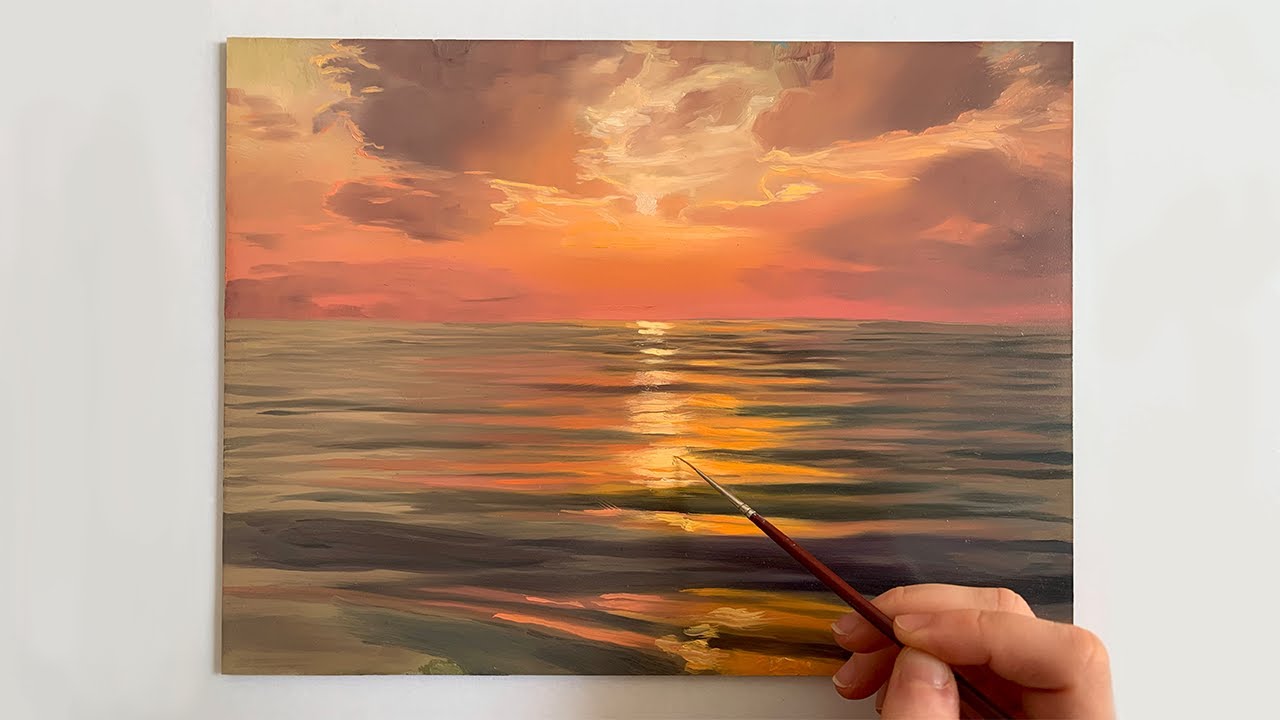
Water and Reflections
Painting water in a sunset scene can feel tricky, but you can do it with a few simple steps. Water reflects the colors of the sky, but the reflections look darker and softer. If you want to paint a tropical sunset with calm water, use the same colors as the sky, but tone them down a bit.
Follow these steps to paint realistic water reflections:
Paint the sky first. Let it dry.
Mix the sky colors again, but add a touch of blue or gray to make them less bright.
Paint these colors in horizontal strokes across the water area.
Use the vacant shadows technique to add soft, dark shapes under clouds or along the water’s edge.
For a tropical sunset, add hints of pink, orange, and yellow in the water, but keep them muted.
If you want to show gentle waves, use a small round brush to add thin, wavy lines of lighter color.
Step back and check if the water looks natural. Adjust the colors and values as needed.
Note: The color of the water changes with the time of day and the environment. In a tropical sunset, you might see bright oranges and pinks, but the water will always look a bit darker than the sky.
Atmospheric Effects
You can make your sunset painting feel real by adding atmospheric effects. Start by observing a sunset in person or looking at photos of a tropical sunset. Notice how the colors change across the sky and how clouds shape the scene. Don’t use colors straight from the tube. Mix your own shades to create depth and interest.
Here are some ways to create beautiful atmosphere in your sunset painting:
Pay attention to the architecture of clouds. Use soft, rounded shapes for a peaceful sky or sharp, dramatic clouds for excitement.
Use the vacant shadows technique to add gentle, misty shadows in the distance. This makes the sky look bigger and the scene more dreamy.
Add touches of color to other parts of the sky and landscape, not just around the sun. In a tropical sunset, you might see purples and blues far from the sun.
Balance your colors. Sometimes less is more. Too many bright colors can make your painting look busy.
For ocean scenes, add a thin layer of white or light blue near the horizon to show haze or humidity.
Tip: Try painting a tropical sunset with palm trees or ocean waves. Use atmospheric effects to make the scene feel warm and inviting.
You can use these advanced techniques to make your sunset paintings stand out. Practice often, and soon you’ll create sunsets that glow with color and life.
Common Sunset Painting Mistakes
Avoiding Muddy Colors
You want your sunset painting to look bright and lively, not dull or muddy. Muddy colors happen when you mix paints without thinking about how they work together. Here are some common mistakes that can make your colors look muddy:
Using only bright colors like pinks, mauves, and oranges can make your sunset look childlike.
Applying dark colors before lighter ones can contaminate the bright areas.
Overlapping contrasting colors, such as violet and yellow, often creates muddy streaks.
Generalizing sunset colors leads to inaccurate skies.
Darkening bright colors with black usually makes them look muddy.
Misunderstanding tonal values can cause you to pick the wrong colors.
Painting the horizon as a black silhouette can take away from the sunset’s vibrancy.
A saturated blue under warm light or a saturated red under cool light can look out of place.
Awkward jumps in value confuse the viewer.
Colors that are too saturated or dull compared to the rest of the painting can ruin the effect.
Ignoring the warm light, cool shadow guideline often leads to muddy results.
Tip: Try mixing your colors on a palette first. Test small amounts before you add them to your painting. This helps you avoid surprises.
Fixing Harsh Edges
Harsh edges can make your sunset look unnatural. You want soft transitions between colors, especially in the sky. If you see a sharp line, use a clean, dry brush to gently blend it out. You can also use a damp brush to soften the edge. Work quickly while the paint is still wet. If the paint dries, add a little more of the lighter color and blend again.
Here’s a quick table to help you fix harsh edges:
Problem |
Quick Fix |
|---|---|
Sharp color line |
Blend with dry brush |
Hard cloud edge |
Tap with round brush |
Stiff silhouette |
Soften with lighter paint |
Note: Step back and look at your painting from a distance. You will spot harsh edges more easily.
Natural Lighting
Understanding natural lighting helps you create a believable sunset. Each part of the sky has at least two gradients. Warm light creates cool shadows, especially in clouds. If you use colors straight from the tube, your sky might look too intense or fake. Skies are usually lighter in value, so you should modify colors like Cadmium Orange and Cadmium Red to match what you see in nature.
Using colors at their fullest intensity can make your sky look unrealistic.
Misjudging the lightness of colors can flatten your painting.
Failing to notice the subtle changes in light and shadow can make your sunset less real.
Tip: Mix your colors to match the softness of real sunsets. Notice how the light changes across the sky and try to show that in your painting.
Practice and Inspiration

Quick Gradient Exercises
You can boost your sunset painting skills with quick gradient exercises. These drills help you master smooth color transitions in the sky. Try these two simple methods:
Wet Gradient Technique
Start by brushing a thin layer of water over your paper. Mix your paint so it’s mostly color with a little water. Begin at the top and use gentle strokes from left to right. Let the color fade as you move down. If you want a softer look, dip your brush in water and blend the paint downward. You can darken the top for extra depth and finish with smooth blending.Dry Gradient Technique
Mix your paint with a bit of water. Paint side-to-side strokes at the top of your surface. Use a wet brush to pull the color into the middle. Clean your brush and add water to the lower part. Blend everything together for a seamless gradient.
Tip: Practicing gradients helps you create glowing skies and natural transitions in your sunset paintings.
Painting Silhouettes
Painting silhouettes adds drama and interest to your sunset scenes. You can use warm colors for the sky and cool tones for twilight sections. Make sure your brush is wet enough for smooth strokes. When you practice silhouettes, you learn how dark shapes stand out against bright backgrounds. This exercise helps you understand depth and makes your paintings more exciting.
Focus on the contrast between dark shapes and vibrant sunset colors.
Practice with simple shapes to keep things easy.
Use silhouettes to simplify your painting and concentrate on color and brushwork.
Note: Silhouettes help you build confidence with bold shapes and strong color choices.
Personalizing Your Art
You can make your sunset painting unique by adding your own style. Pick a reference photo that inspires you. Look for interesting compositions and bright colors. Change the colors or layout to match your vision. Try mixing vibrant shades like cadmium orange, burnt sienna, or Alizarin crimson for the landscape. Add complementary colors for extra depth. Use lively brush strokes to show movement in the sky.
Choose references that excite you.
Adjust colors and shapes to fit your mood.
Mix bold colors for a lively scene.
Add dynamic strokes to make your painting pop.
🎨 Your sunset painting should reflect your personality. Experiment and have fun with every brushstroke!
You can make the sun glow in your painting if you follow a few simple steps. Try these top tips from professional artists:
Paint the glow of the sun first to show the light of the sunset.
Make the sun glow by keeping edges soft and focusing on light and shadow.
Make the sun glow by watching how light interacts with clouds and water.
Make the sun glow by using a bright color palette.
Make the sun glow by using less detail and more light.
Make the sun glow by blending colors smoothly.
Make the sun glow by practicing often and trying new styles.
You will get better at capturing the beauty of a sunset every time you paint. Share your sunset art and keep learning!