Sunset Painting Made Easy for Beginners
Tcocoo Sunset Paint by Numbers
🎨 Have you ever dreamed of creating your own sunset painting to capture the breathtaking beauty of the evening sky? Sunset painting is not only a relaxing and enjoyable way to express your creativity but also perfect for beginners. With an easy-to-follow painting tutorial, you can craft something truly stunning. Made a mistake? No problem—mistakes are just part of the process for every aspiring sunset painter!
Key Takeaways
Try acrylic paints for sunset art. They dry fast and mix easily, great for beginners.
Keep your workspace tidy and neat. This helps you concentrate and prevents errors.
Blend colors to create smooth transitions. Begin with light shades and work quickly for a nice sunset look.
Materials for Sunset Painting
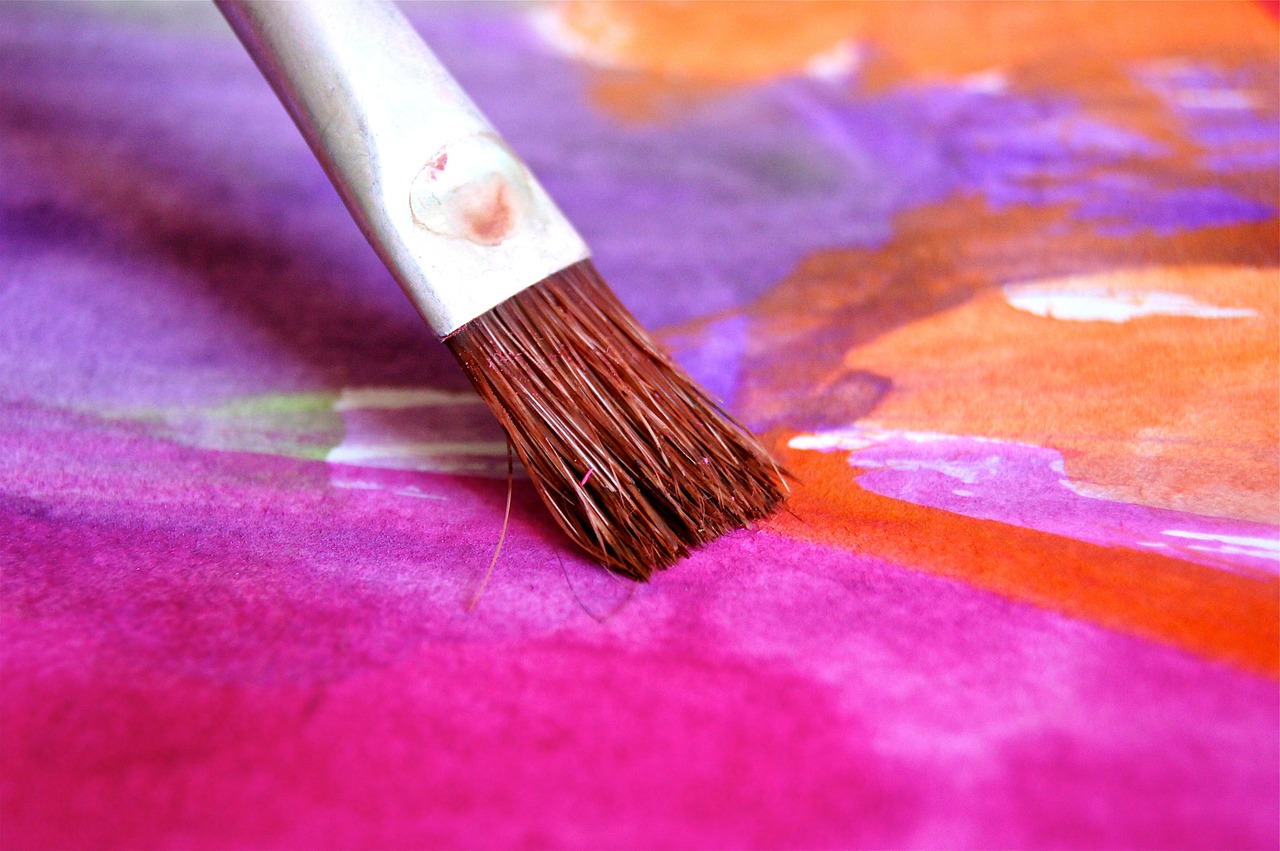
🖌️ Essential Paints and Brushes
Starting sunset painting is easier with the right tools. Acrylic paints are great for beginners. They dry fast, are simple to use, and need fewer supplies. To paint a sunset, you’ll need yellow, orange, pink, purple, black, and white. These colors help create smooth gradients and depth in your art.
For brushes, having different types is helpful. Here’s a quick guide:
Brush Type |
Description |
Key Features |
|---|---|---|
Dagger |
A slanted brush for detailed work. |
Sharp edge for precise strokes. |
Mop |
A thick brush that holds more paint. |
Perfect for blending big areas. |
Detail |
Thin brushes for small designs. |
Great for fine lines and tiny details. |
These brushes help with smooth blends and detailed designs.
🖼️ Choosing the Right Canvas or Paper
Picking good materials makes painting more fun. Canvases are strong and easy for beginners. They hold paint well and make your art look professional. If you want something cheaper, thick paper works too. Both are great for practice and trying out colors.
Acrylic paints work on many surfaces. Whether painting a sunset over water or a glowing sky, these materials will support your ideas.
🛠️ Additional Tools for Convenience
Extra tools can make painting easier. A palette knife helps mix colors better. Apps like ArtStudio or an iPad can help edit photos or plan your design. These tools mix modern tech with classic painting.
Keep water and paper towels nearby. They’re useful for cleaning brushes and fixing mistakes. With these tools, you’ll be ready to create your sunset art!
Preparing for Your Sunset Painting

🖼️ Setting Up Your Workspace
Having a good workspace is important for painting sunsets. A neat area helps avoid mistakes like messy colors or odd tones. Follow these steps to set up your space:
Keep clean brushes handy. This stops dark colors from ruining light ones.
Tape your canvas to a strong board. This helps when switching between sunset studies.
Try toning your canvas first. It helps plan colors and improves your painting.
A well-prepared workspace makes painting easier and gives you better color control.
🧹 Organizing Your Materials
A tidy space makes painting fun and simple. Start by sorting your materials:
Arrange paint tubes by color groups. This helps you find colors fast.
Use dividers to store paper or unfinished art neatly.
Sort brushes by size and type to keep them safe.
Set up spots for palettes, water jars, and towels.
For extra supplies, use stackable bins to stay organized. A clean area helps you focus on your art without distractions.
💡 Ensuring Proper Lighting
Good lighting helps show the bright colors of a sunset. Natural light is best, so work near a window if you can. If painting at night, use a daylight lamp to copy natural light. Avoid dim or harsh lights as they can change how colors look.
Check your lighting before starting. This small step makes a big difference in your painting!
Step-by-Step Tutorial for Sunset Painting
✏️ Step 1: Sketching the Horizon Line
Start by lightly sketching a horizon line across your canvas or paper. This line separates the sky from the ground or water. Use a pencil and keep the line faint so it doesn’t show through the paint. If you’re painting a sunset lake pier, place the horizon slightly above the center to leave room for the pier and reflections. This simple step helps you plan your composition and ensures balance in your sunset painting.
🌅 Step 2: Painting the Sky Gradient
To create a stunning sky, begin with a gradient. Wet your brush, remove excess water, and apply a strip of dark blue at the top. Gradually blend pink into the blue, followed by red, and finally yellow near the horizon. Work quickly while the paint is wet to achieve smooth transitions. Remember, blending acrylic paint requires patience. Use intermediary colors between contrasting hues to avoid harsh lines.
Pro Tip: Half-close your eyes to simplify the scene into basic tones. Apply pale colors first to prevent contamination by darker shades.
🎨 Step 3: Blending Colors for a Smooth Transition
Blending is key to a realistic sunset. Use a clean, slightly damp brush to soften edges between colors. Avoid over-blending, as it can muddy the colors. Focus on the glow near the horizon by keeping the edges soft and the tones bright. This technique enhances the illusion of light radiating from the sun.
☀️ Step 4: Adding the Sun and Its Glow
Paint the sun as a small, bright circle near the horizon. Surround it with a vibrant glow using yellow and white. Keep the center of the glow brighter than the rest to emphasize the light source. Use soft edges and warm tones to make the sun stand out.
🌄 Step 5: Creating Silhouettes for Depth
Add silhouettes to bring your sunset painting to life. Simple shapes like trees, mountains, or a sunset lake pier work well. Use black or dark colors for these elements. Keep the designs simple and recognizable to avoid cluttering the scene.
✨ Step 6: Adding Final Details and Highlights
Finish your painting with small details. Add light rays around the sun using a dry brush. Highlight the edges of clouds or water reflections with white or pale yellow. These touches make your sunset painting more dynamic and realistic.
Common Mistakes and Tips for Sunset Painting

🎨 Avoiding Over-Blending Colors
Over-blending happens often with beginners. It can make sunsets look messy. To stop this, try these tips:
Use light or bright colors first. This keeps darker shades from mixing in.
Change brushes after blending each color. This keeps colors fresh and neat.
Wash your brush when switching colors. A dirty brush can ruin your painting.
Pro Tip: Stop blending once colors look smooth. Overdoing it can take away the sunset's glow.
🌈 Fixing Uneven Gradients
Uneven gradients can make your sunset look off. Beginners may find this tricky, but these tips can help:
Add middle colors between strong shades. For example, use soft orange between red and yellow.
Stick to colors close on the color wheel. They blend better and look smoother.
If you see lines between colors, add a slight texture to soften them.
Quick Tip: Blend while the paint is still wet. This makes it easier to get smooth gradients.
🌄 Tips for Realistic Silhouettes and Details
Silhouettes make sunsets more dramatic. To make them look real, follow these tips:
Don’t use pure black for silhouettes. Mix dark colors like brown and blue for a natural look.
Check your reference for light and dark areas. The sun should always be brighter than the sky.
Add small details like tree leaves or water ripples for realism.
Technique |
Description |
|---|---|
Control Values |
|
Saturation Control |
Tone down the sky to make sunset colors stand out. |
Fun Fact: Small color changes can make a big impact. Look closely at your reference photo for realistic results.
🎨 Painting sunsets is a fun way to be creative. Practicing often helps you get better quickly:
You’ll find new places with beautiful sunsets to inspire you.
Each painting will make your skills stronger.
You’ll enjoy watching more sunsets than before.
Keep trying new ideas and show your art to others. You can do it!
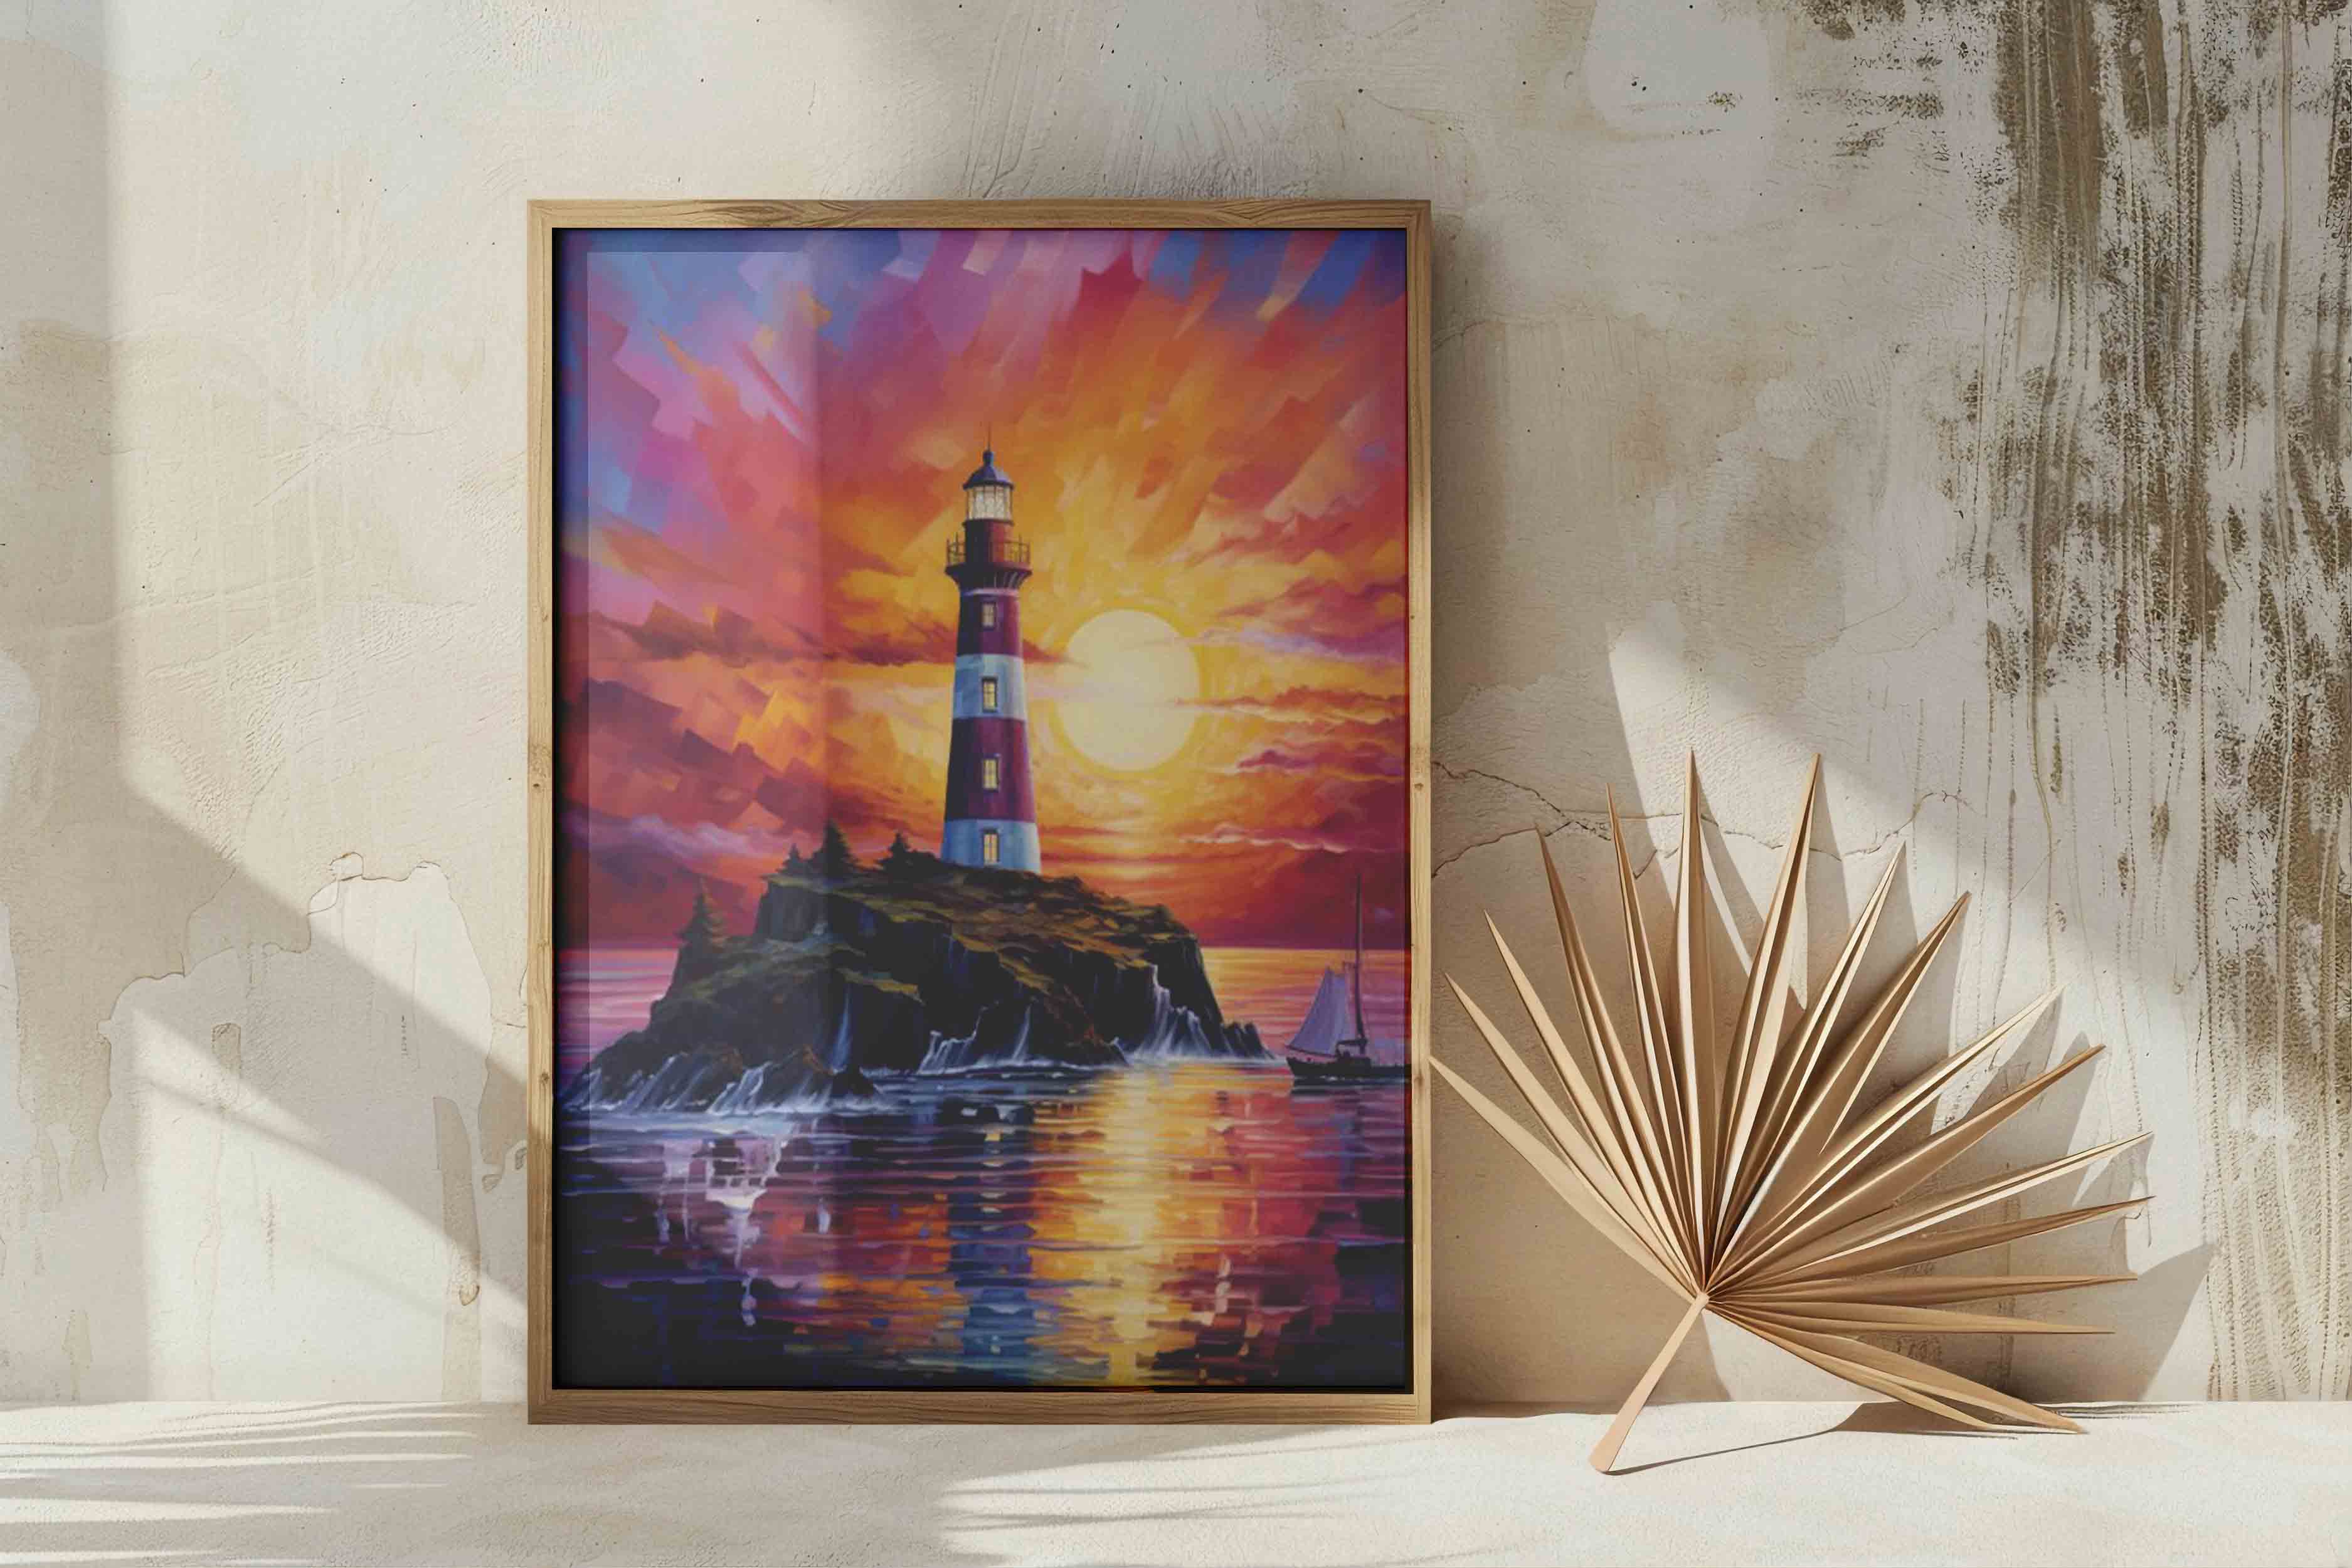
Tucocoo Sunset Paint by Numbers
FAQ
❓ How much time does a sunset painting take?
It takes about 1-2 hours. This depends on size and details. Relax and enjoy painting!
🎨 Which paint is best for beginners painting sunsets?
Acrylic paint is great for beginners. It dries fast, blends well, and is affordable. It’s perfect for bright sunset skies.
🌅 Can I use photos as guides for sunset painting?
Yes, you can! Photos help with colors and layout ideas. Use them for inspiration but add your own style too.