How to Draw a Tree Step by Step for Beginners
You might feel nervous about drawing trees, but you can do it. A step-by-step tutorial makes learning less stressful. Many people find that breaking things down helps them succeed. Visual guides, like probability tree diagrams, often help beginners understand new ideas faster. Paint by Numbers can make tree drawing even simpler.
Key Takeaways
Start with easy tools like colored pencils and smooth paper. Draw your tree using light lines first. You can make the lines darker later.
Draw your tree in steps. First, draw the trunk. Next, add the main branches. Then, draw smaller branches. Sketch groups of leaves. Add texture and shading to make it look real.
Practice drawing trees often. Use things like Paint by Numbers kits or photos for help. These can help you feel more sure and get better at drawing.
Materials & Setup
Tools for Tree Drawing

You do not need fancy supplies to start drawing trees. Simple tools work best for beginners. Here is a list of what you need and how each one helps:
Colored Pencils (various colors)
Use light earth tones or medium-light grays to sketch the basic shape of your tree. These colors let you make soft, light lines that are easy to change.Light Purplish-Pink Pencil
This pencil helps you block in flowers or general shapes. Use gentle, circular strokes to add color without worrying about details.Medium-Dark Gray and Darker Colors
These pencils help you add shadows and make your branches stand out. Try layering colors and changing your stroke direction for more depth.Black Pencil
Use this for the darkest shadows and to highlight important parts, like where branches overlap.Medium Brown Pencil
Add warmth and natural color to the main parts of your tree with this pencil.Bristol Vellum Paper
This smooth paper lets you blend colors and erase mistakes easily.
Tip: Start with light lines. You can always make them darker later.
Paint by Numbers for Beginners
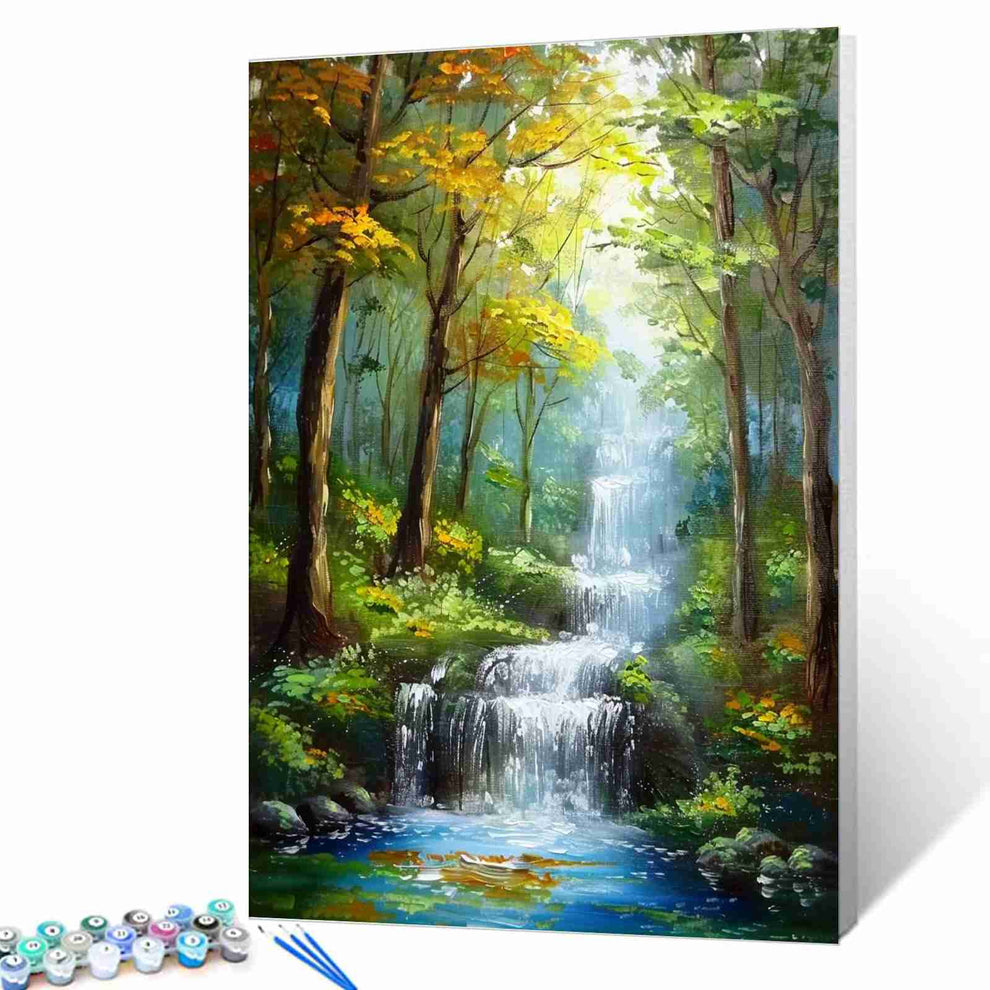
Paint by Numbers kits can make your first tree drawing much easier. These kits give you a ready-made outline and numbered sections. You just match the numbers to the right colors. This method helps you see how a tree comes together, step by step. You can focus on learning shapes and colors without feeling lost. Many beginners find that using a kit builds confidence before trying a freehand tutorial.
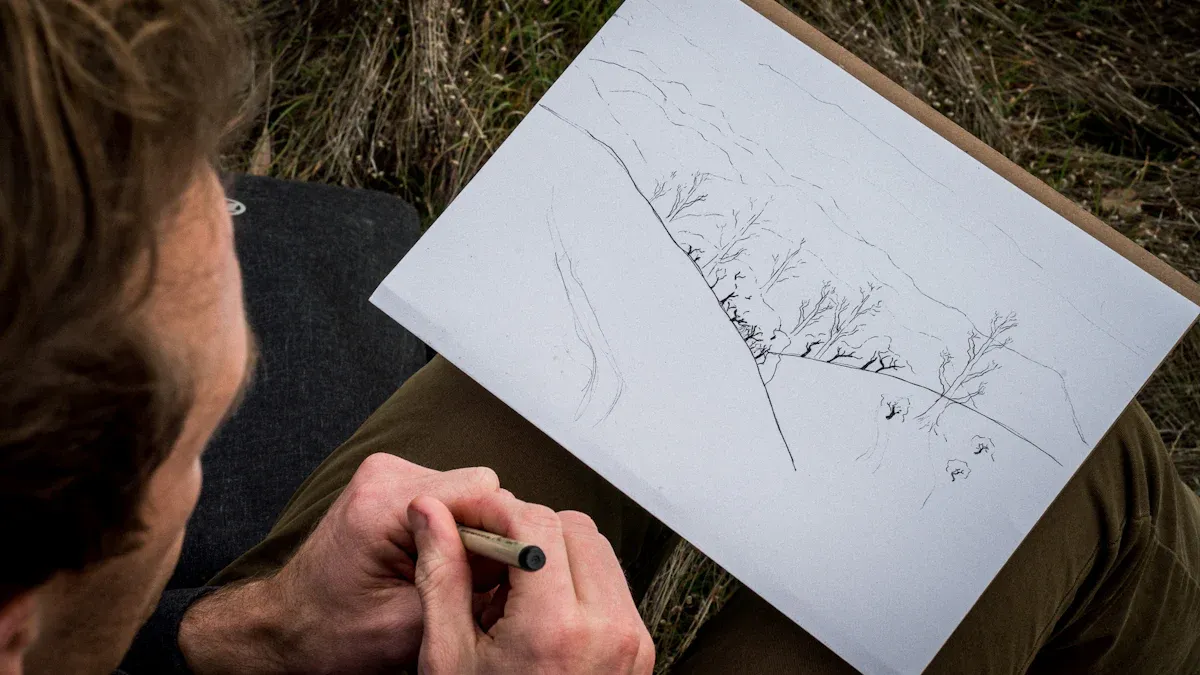
How to Draw a Tree: Step by Step
Drawing a tree can feel tricky at first, but you can do it if you break it down into small steps. Let’s walk through the process together. You’ll find that these step by step instructions make tree drawing much easier.
Sketch the Trunk
Start with the trunk. Use your pencil to draw a long, slightly curved line from the bottom of your paper upward. This line will be the center of your trunk. Next, draw another line beside it to make the trunk’s width. Make the base a little wider than the top. Trees don’t grow perfectly straight, so let your lines wiggle a bit. This gives your tree a natural look.
Tip: Try using short, light strokes. You can always go back and darken the lines later.
Outline the Crown
The crown is the leafy top part of your tree. Lightly sketch a big, bumpy shape above the trunk. You can make it round, oval, or even a bit uneven. Trees come in many shapes, so don’t worry about making it perfect. Imagine you are drawing a fluffy cloud. This outline will help you place the leaves later.
Add Main Branches
Now, add the main branches. Start at the top of the trunk and draw lines that reach out toward the crown. These branches should spread in different directions. Make some branches thicker and others thinner. Let them curve and split as they move away from the trunk. Real branches don’t all look the same, so have fun with it.
Draw 3 to 5 main branches.
Let some branches cross over each other.
Make sure the branches get thinner as they move away from the trunk.
Draw Smaller Branches
Once you have the main branches, add smaller ones. These branches shoot off from the main ones. Use quick, light lines. Let them twist and turn. Some can even overlap. This step adds more detail and makes your tree look fuller.
Note: If you look at a real tree or a photo, you’ll see that small branches often point in many directions. Try to copy that in your drawing.
Foliage and Leaf Clusters
Now it’s time to add leaves. You don’t need to draw every single leaf. Instead, draw clusters. Use small, curved lines or little circles to show where the leaves gather. Place these clusters along the branches and inside the crown outline. Leave some spaces empty to make your tree look more natural.
Use a zigzag or scribble motion for leaf clusters.
Make some areas thicker with leaves and others lighter.
Tree Drawing Details & Texture
Let’s add texture to your tree drawing. Use short, quick lines on the trunk to show bark. Draw some lines up and down, and some side to side. You can also add little bumps or knots. On the branches, use tiny marks to show rough spots or broken twigs.
Try using different pencil pressures. Press harder for dark lines and lighter for soft details.
Shading and Depth
Shading brings your tree to life. Pick a side for your light source. Shade the opposite side of the trunk and branches with a darker pencil. Use gentle, circular motions to add shadow under the leaf clusters. This makes your tree look round and full. You can blend the shading with your finger or a piece of paper.
Shade under the crown and along one side of the trunk.
Add darker shadows where branches overlap.
Practice Tips
You get better at tree drawing with practice. Try drawing different types of trees. Use photos or go outside and look at real trees. Notice how the branches grow and how the leaves cluster. Practice drawing quick sketches before making a full drawing.
Remember: Every tree is unique. Don’t worry if your tree looks different from someone else’s. The more you draw, the better you’ll get.
If you want extra help, try a step-by-step demonstration using a Paint by Numbers kit or a reference image. These tools can show you how to draw trees and help you learn new techniques. Keep these instructions handy and practice often. Soon, you’ll feel confident in your tree drawing skills!
You just learned how to draw a tree step by step!
Start with the trunk.
Add branches and leaf clusters.
Finish with details and shading.
Keep practicing and try new tree shapes. Paint by Numbers or reference images can help you feel more confident. Enjoy drawing—don’t stress about perfection! 🌳
Tucocoo Paint by Numbers
FAQ
How do I make my tree look more realistic?
Try using reference photos. Notice how branches split and curve. Add shadows and texture with short pencil strokes. Practice helps you spot details in real trees.
What if I make a mistake while drawing?
No worries! Use an eraser to lighten or remove lines. Mistakes help you learn. You can always redraw or adjust parts until you like the result.
Can I use markers or pens instead of pencils?
Yes, you can! Markers and pens give bold lines. Start with pencil for sketching, then trace over with pen or marker for a finished look.